Our How-To Home

  • How-To
  • DIY
  • Lifestyle
    • Recipes
    • Kristen’s Book Club
  • Blog
    • Home Updates

Explore

  • How-To
  • DIY
  • Lifestyle
  • Blog
  • About Us
  • Ask Us Anything
  • Kristen’s Book Club

Connect

You are here: Home / Home Updates / Floor Reveal Day! Check Out Our New White Oak Hardwood Floors!

Home Updates · June 29, 2021

Floor Reveal Day! Check Out Our New White Oak Hardwood Floors!

We’re so excited to show you these white oak hardwood floors because having multiple floor types in the same room can be really frustrating. With so many different floor types, we’re constantly tripping on all of the different levels and textures. And quite frankly it’s just plain ugly. 

If you’ve been following along here for a while, you’ve probably seen the series we did on removing the floors. The main floor of our house had vinyl, hardwood and carpet that we had to remove and while some of it was easy (carpets) it was actually a ton of work! For the most part, Kristen did the demo herself which saved us thousands. The saved cash went right back into the house and is helping pay for the installation of the floors because we are not going to take on such a big, back breaking project ourselves. 

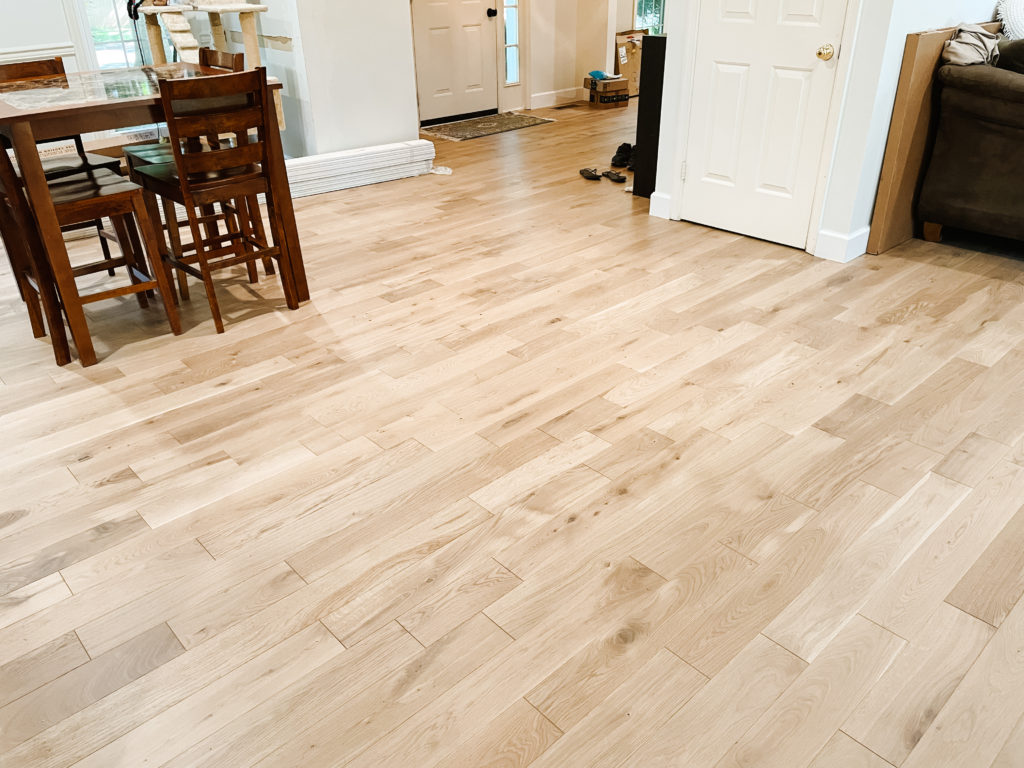
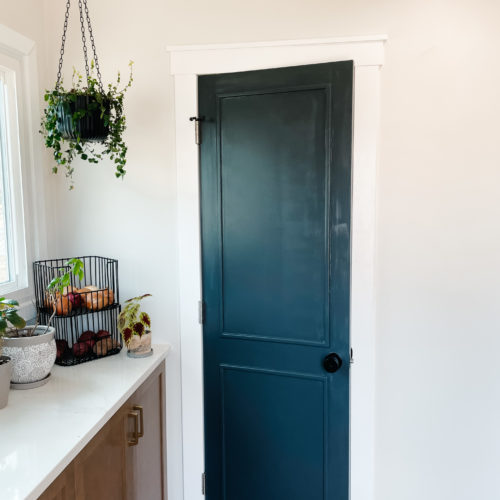
After much debating and color testing we decided on White Oak Toledo from Floor & Decor. We really wanted something light, but also full of knots and texture so it could stand anything we threw at it. The White Oak will hide scratches that we’ll inevitably make and temporarily cover up dirt and debris. This sounds a little gross, but it’s important to consider. While super dark floors can really pop in a home, they also show every bit of dust on the ground. 

For the molding, we chose 9/16” x 5-1/4” White Base molding from Lumber Liquidators. It’s a pretty high base molding, but we really love the crisp look of it. Unfortunately, due to the quantity that we needed and the scarcity of materials available these days, we had to go to two different stores an hour apart to pick it up what we needed. We didn’t have time to have them ship everything to one store… so next time we’ll plan ahead a bit more.

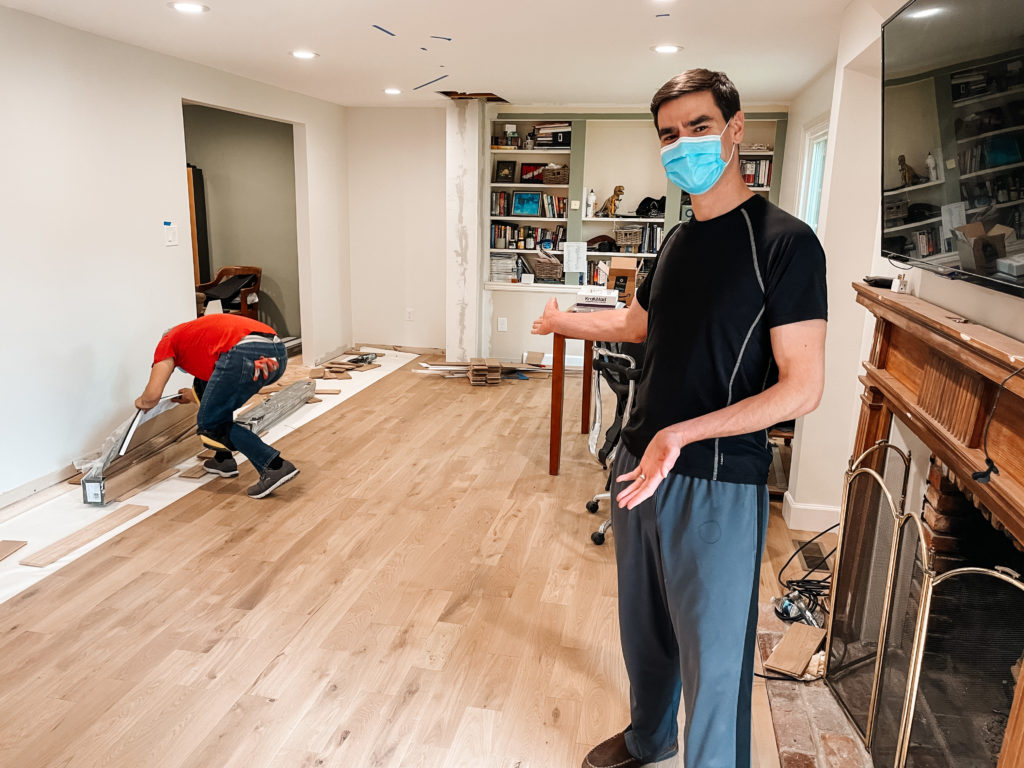
Now, on to reveal day!

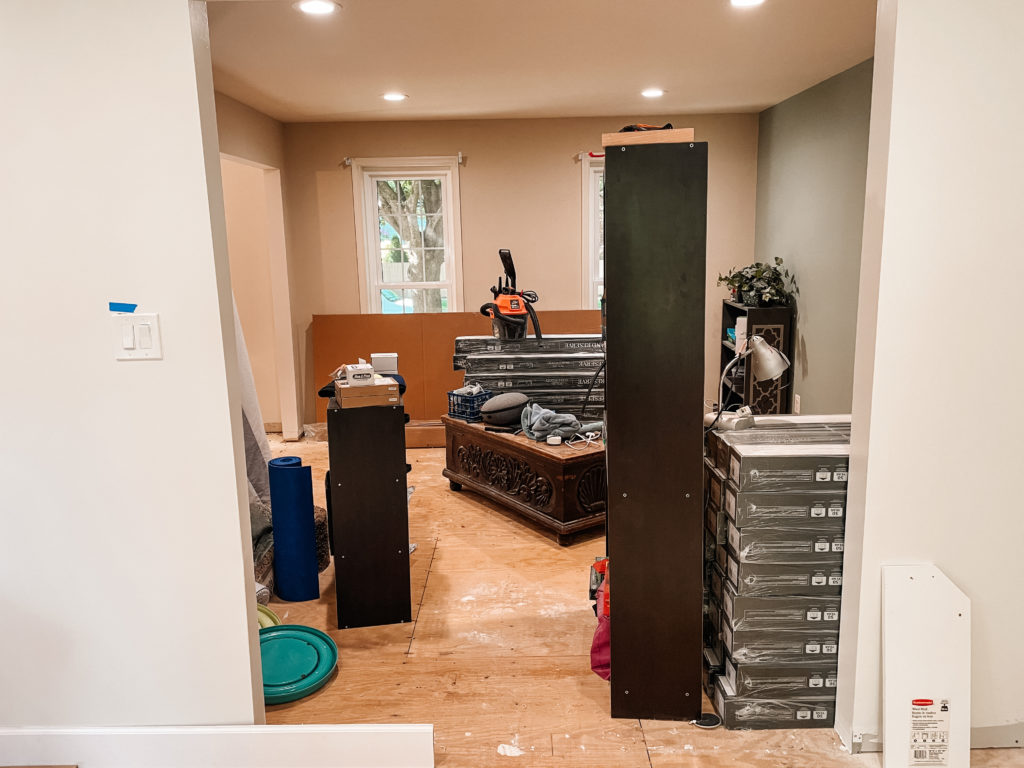
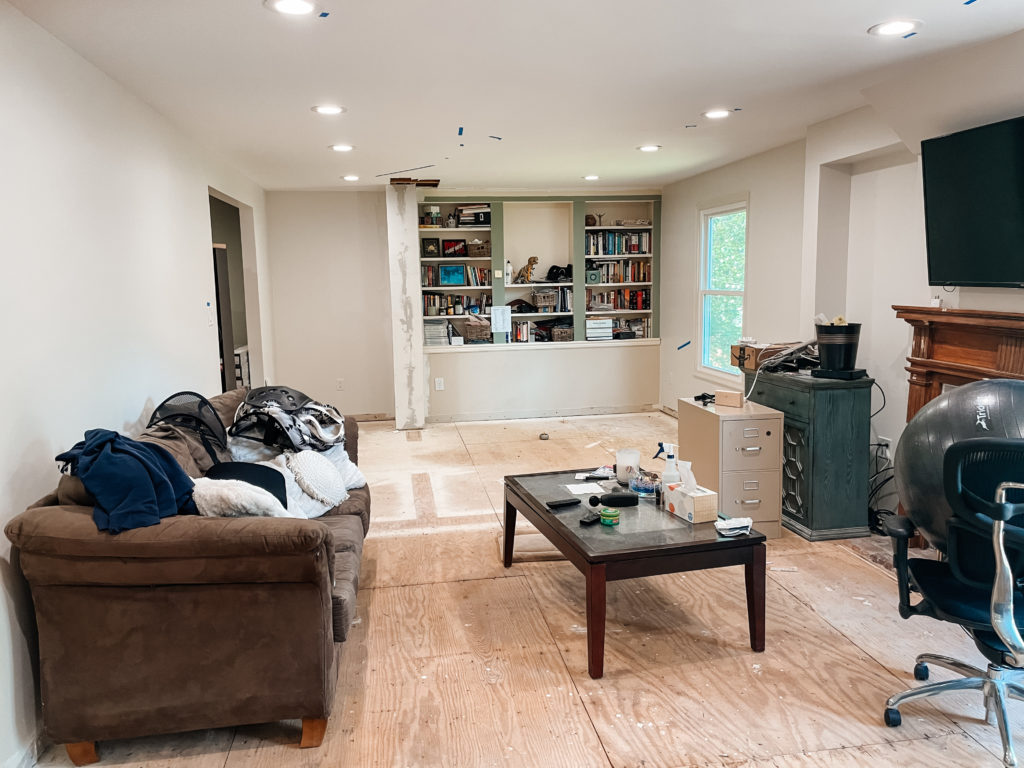
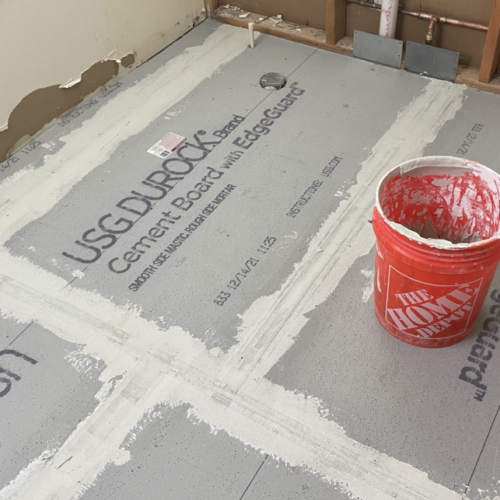
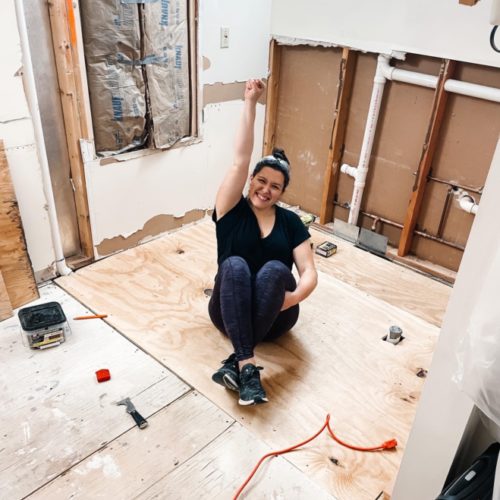
Here’s what it looked like before they started working. At this stage, all of the floors had been removed and we were down to the plywood subfloor throughout the entire house.

One side effect of removing walls and cabinets in an older home is the general wear and tear on the existing subfloor. In the “high traffic” areas such as hallways, kitchen, and doorways there are low points in the floor. This ultimately means our floors are completely unleveled. This meant we had three options: 

  1. Remove all of the subfloor and replace it with new plywood. Cost: $$$$
  2. Put a new layer of plywood on top of the existing subfloor (which would raise the floor a bit) Cost: $$$
  3. Do nothing and live with the unleveled floors and the understanding that we may need new floors in 20 year. Cost: Free

If you remember back in spring of 2021, a sheet of plywood was close to $90. This means to get enough to cover the whole first floor would have cost us about the same price as the hardwood floors themselves. For that reason we opted to do nothing and live with the unleveled floors that we really didn’t even notice. 


Watching them work was actually pretty fun!

They started by walking around the house testing for squeaks, which we had a lot of. In the squeaky spots, they screwed down the plywood so it was better attached to the floor joists.

A squeaky floor can be caused by a few things:

  1. The nails holding down the plywood subfloor to the joists have loosened over time and now when you step on the subfloor, the plywood rubs against the nail causing the squeak.
  2. If you have a type of floor that’s nailed down, it could have loosened from the subfloor causing gaps. When you step on the wood, it rubs against the nail causing a squeak.  
  3. Low humidity in the air could have made the boards shrink and therefore putting pressure on the nails.

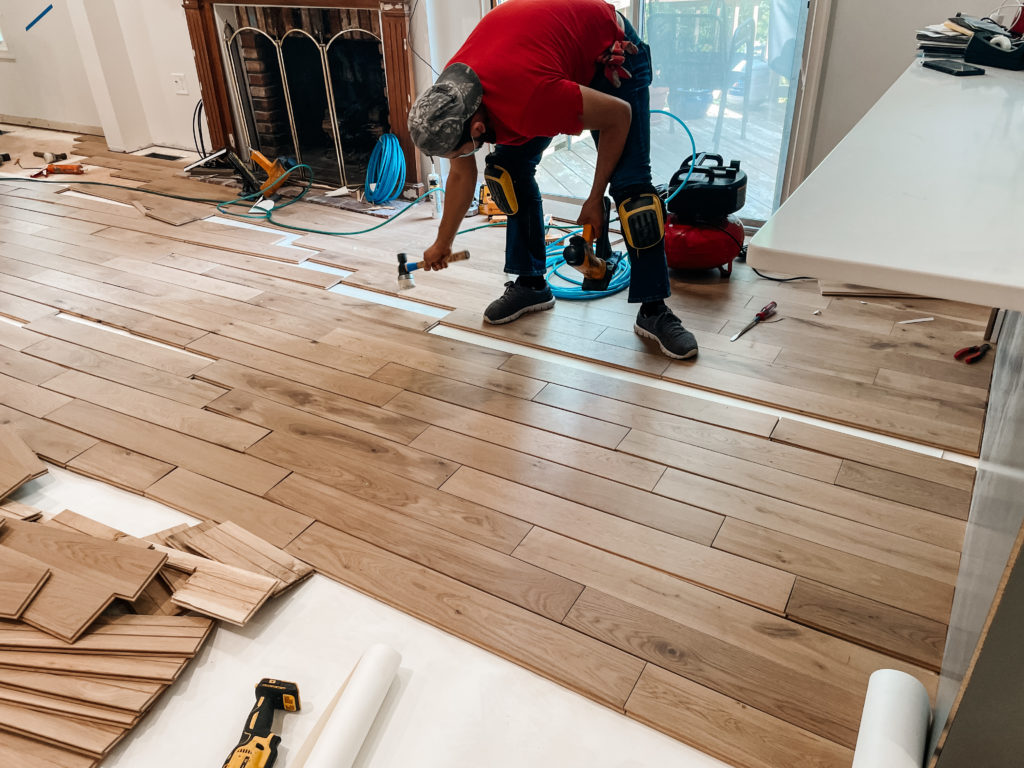
After they fixed as many squeaks as they could, they laid down the underlayment paper and then started to line up the pieces making sure they’ll all fit properly and inspecting each piece to make sure they’re all in good condition. Having large sections pre-laid out made nailing the floors down pretty quick.

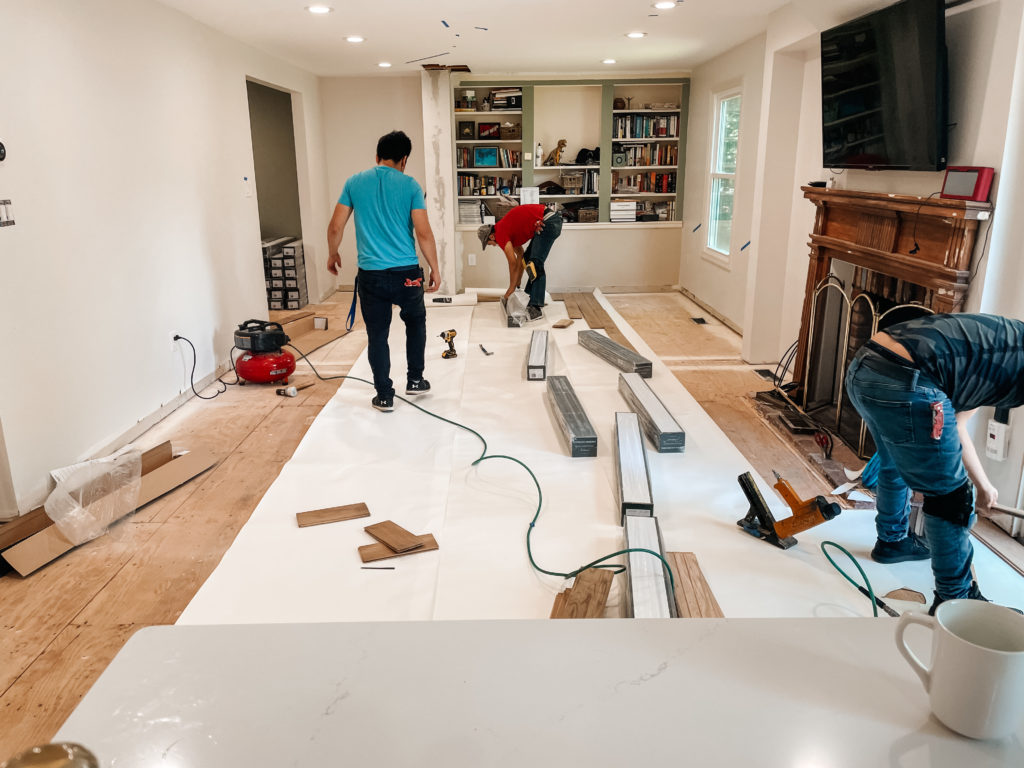
Before a single piece was nailed down, they had us review the laid-out pieces to make sure we approved them. Kristen did end up having them replace a bunch of pieces because either the color didn’t match well or had odd looking markings. They quickly caught on and didn’t use those types of pieces for the rest of the install.

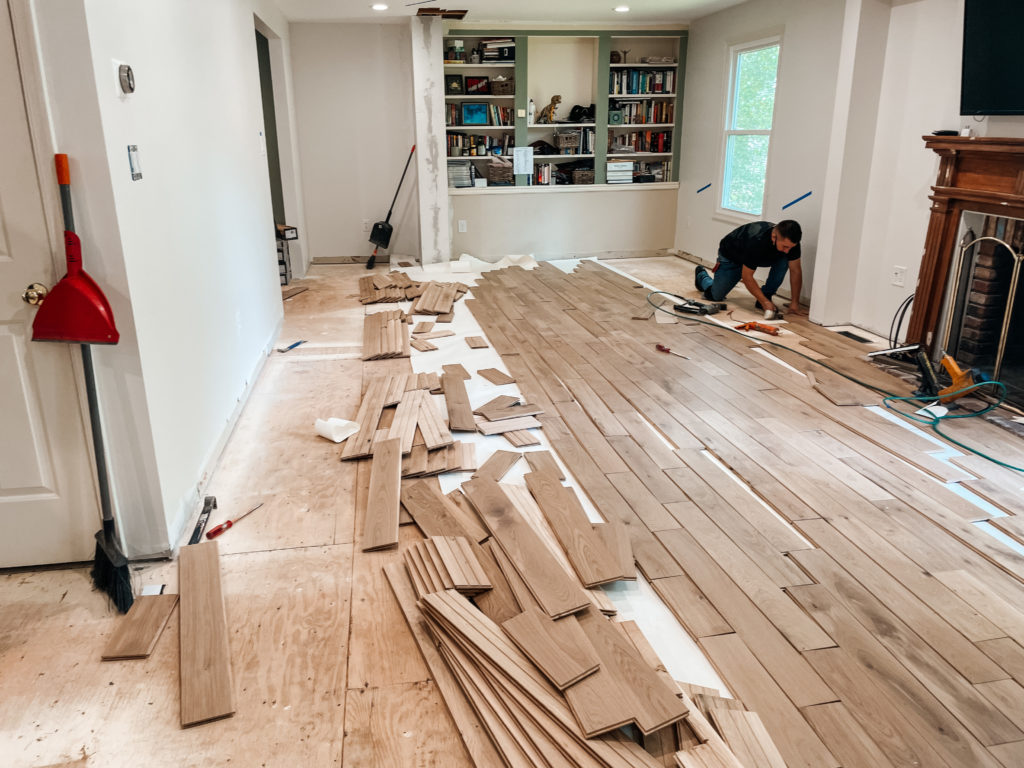
Then they started installing the white oak hardwood floors!

One thing that was important during the install was how the flooring around the 
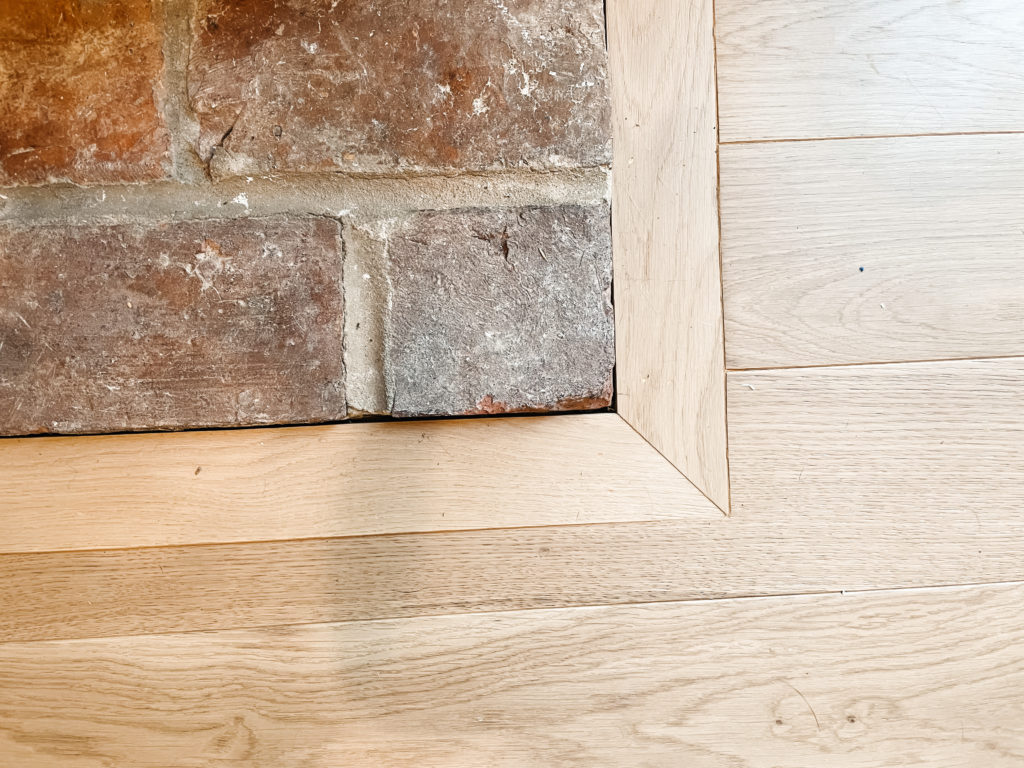
mantle was installed. We had the option between adding molding or in-laying the wood. We really liked the look of the inlay which is what it looked like before. So even though it took a little bit longer, we went with that option.

Each plank then got nailed by hand and the whole install took about 3 days including the new white molding around the house.

We were so excited to have the same floor everywhere! This was a major step for us and it’s the first time in a year that we can walk across the house without walking on four different floor heights and textures. We’re so happy with the results and it was worth the time picking out the perfect floor.

Now we just need to wait until our new couch gets here in September so we can finish out the design part.


Posted By: Kevin · In: Home Updates

We’ve Changed Our Exterior to a Modern Updated Colonial Home
Mini Chicken and Waffles – The Ultimate Brunch Appetizer!

You’ll Also Love

Easily Install Cement Board to Prep for Tile Installation
Check Out These Easy Tricks to Install a Subfloor
black door with decorative trim and white craftsman moldingChange your Home’s Whole Look with Simple Custom Door Trim

Leave a Reply Cancel reply

Your email address will not be published. Required fields are marked *

Recipe Rating


Trending

  • Want a Black Interior Front Door? How New Trim And Paint Change Everything
  • Our Beautiful Traditional Brick House With Black Windows Remodel
  • Mini Chicken and Waffles – The Ultimate Brunch Appetizer!
  • Glass Barn Doors Gave Our Office A Stunning Modern Look
  • Gray, black and gold powder bathroom
    Get the Room: Details & Links – The Powder Room

Categories

  • Blog
  • DIY
  • How-To
  • Lifestyle
    • Kristen’s Book Club

More You’ll Love

Raspberry Pina Colada Recipe – Incredibly Delicious And So Easy!

Raspberry Pina Colada Recipe – Incredibly Delicious And So Easy!

The Best Healthy Blackberry Lemon Zucchini Muffins

The Best Healthy Blackberry Lemon Zucchini Muffins

This Simple Change Made Our Kitchen Island Look Super Custom

This Simple Change Made Our Kitchen Island Look Super Custom

ourhowtohome

Scarlett Annette Mangold ♥️ You are so so lov Scarlett Annette Mangold ♥️ 
You are so so loved baby girl.
One view of this nursery just isn’t enough😍 One view of this nursery just isn’t enough😍

We’re days away from meeting our little girl and if she’s anything like her parents we’re in big trouble! 

At least the room is cute. 

#nursery #babygirl #nurserydecor #nurseryinspo #nurserydesign #safaribaby #safaritheme #littlegirlsroom #38weekspregnant #whitefurniture #refurbishedfurniture #refinishedfurniture #diyhomedecor #diyprojects #housetohome
We’re so ready for you baby girl! When we starte We’re so ready for you baby girl! When we started working in the nursery there was not a chance I thought it would be totally ready in time. Close? Sure. But finished? No way. 

We are so lucky to have so many people help us along the way (and for getting so many great deals on marketplace to bring this room together!) 

Now all we need is a little girl to use it!

#nursery #nurserydecor #nurseryinspo #babygirl #babygirlnursery #safari #animalnursery #facebookmarketplace #refurbished #38weekspregnant #nurseryideas #babygirlroom #homedesign #bedroomdesign #changingstation #safaribaby
Bookshelves for the nursery are FINISHED!! Can yo Bookshelves for the nursery are FINISHED!!

Can you believe this was all done with scrap wood that we had in the garage? 

For our baby shower we asked guests to bring a book in lieu of a card and im obsessed. We have the perfect amount of new stories to fill our shelves and a million memories to make in this cozy nook. 

#booknook #bookshelves #bookshelvesofinstagram #childrensbooks #nursery #nurserydecor #nurseryinspo #scrapwood #scrapwoodproject #reelsinstagram #memoriesforlife #snuggletime #cozynook #reelsvideo #nurseryroom #nurseryinspiration #childrensroom #reelsviral #childrensroominspo
What a year it’s been! I feel like we’ve don What a year it’s been! 

I feel like we’ve done so much work to the house this year but when it’s almost all in one room, I’m realizing it doesn’t always look like it. 

With the nursery almost ready to go and baby girl coming any day, we can only begin to imagine the great things 2023 is going to have in store for us! 

Happy New Year everyone!

Thanks for sticking around and being a part of our story 💜

#newyearseve #2022recap #2022wrapped #homeprojects #2023 #happynewyear #housetoahome #primarybathroom #livingroom #homedecor #renovation #newyear #recap2022 #reelsofinstagram😍 #reelsvideo #homesweethome #homedesign #nursery #boardandbatten
GAME CHANGER After years of making gingerbread h GAME CHANGER 

After years of making gingerbread houses and waiting the torturous overnight for the icing to dry we finally asked the question - why are we doing it this way?
 
Hot glue for the win! We saved the icing for decorating and the brownstones we’re ready for decorating immediately. 

Even Kevin who was a skeptical gingerbread traditionalist agrees… we’re never going back!

#nevergoingback #gamechanger #rowhomes #gingerbreadhouse #gingerbread #reelsinstagram #instagood #christmascrafts #christmasdecor #reelinstagram #christmasreels #holidayseason #christmasvibes
When I found this sleigh in the Target dollar sect When I found this sleigh in the Target dollar section, I knew it needed to be part of our holiday decor this year. Only problem? It needed a little something extra- queue for the stain! 

This updated sleigh is so cute and the perfect addition to our mantle. I found this pine cone filler and mini ornaments to complete the look! 

#christmasdecor #sleigh #pinecone #miniornaments #mantledecor #merrychristmas #holidaydecor #holidaycrafts #reelsvideo #merryandbright #stain #sleighride #christmastime #holidayseason #reelforyou #christmasmantel
Load More... Follow on Instagram
  • Privacy Policy

Copyright © 2023 Our How-To Home · Theme by 17th Avenue