Our How-To Home

  • How-To
  • DIY
  • Lifestyle
    • Recipes
    • Kristen’s Book Club
  • Blog
    • Home Updates

Explore

  • How-To
  • DIY
  • Lifestyle
  • Blog
  • About Us
  • Ask Us Anything
  • Kristen’s Book Club

Connect

You are here: Home / DIY / Love Gold Accents? How to use Rub n Buff to Update your Look

DIY · August 12, 2021

Love Gold Accents? How to use Rub n Buff to Update your Look

Let me just be the first to say that golds are HARD. Finding the right gold for your project, making sure it matches the rest of the room, working through different vendors.. it’s just too much! There are just too many versions of gold and as a self-identified gold hardware expert, I am very confident in saying they are not all pretty. But the good news is, you can easily change them! I’m going to show you the magic of how to use rub n buff.

Check out the video to see how I applied Rub n Buff to our vanity handles: 

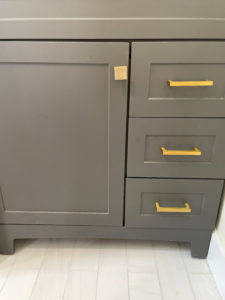
First, here is our powder room vanity. So far, I have purchased 2 different sets of hardware online. One ended up being too silver (it was called elusive nickel so I blame myself) and one ended up being a very brassy gold. The gold that I’m looking for is somewhere in the middle and would match our vanity light perfectly. I stumbled upon Rub n Buff and honestly it seems too good to be true. Rub n Buff is a metallic paste that can be applied to anything from metal to wood to ceramic to create a natural gold finish. The application is super easy, it can be used on a ton of different materials and the results are gorgeous.

Here’s how to use Rub n Buff

You’ll need:

  • Your hardware (or lamp, bed frame, really anything you plan to use it with)
  • Rub n Buff – I’m using the color Antique Gold
  • Latex gloves
  • A cloth
  • A paper plate
  • A small brush – useful but not necessary

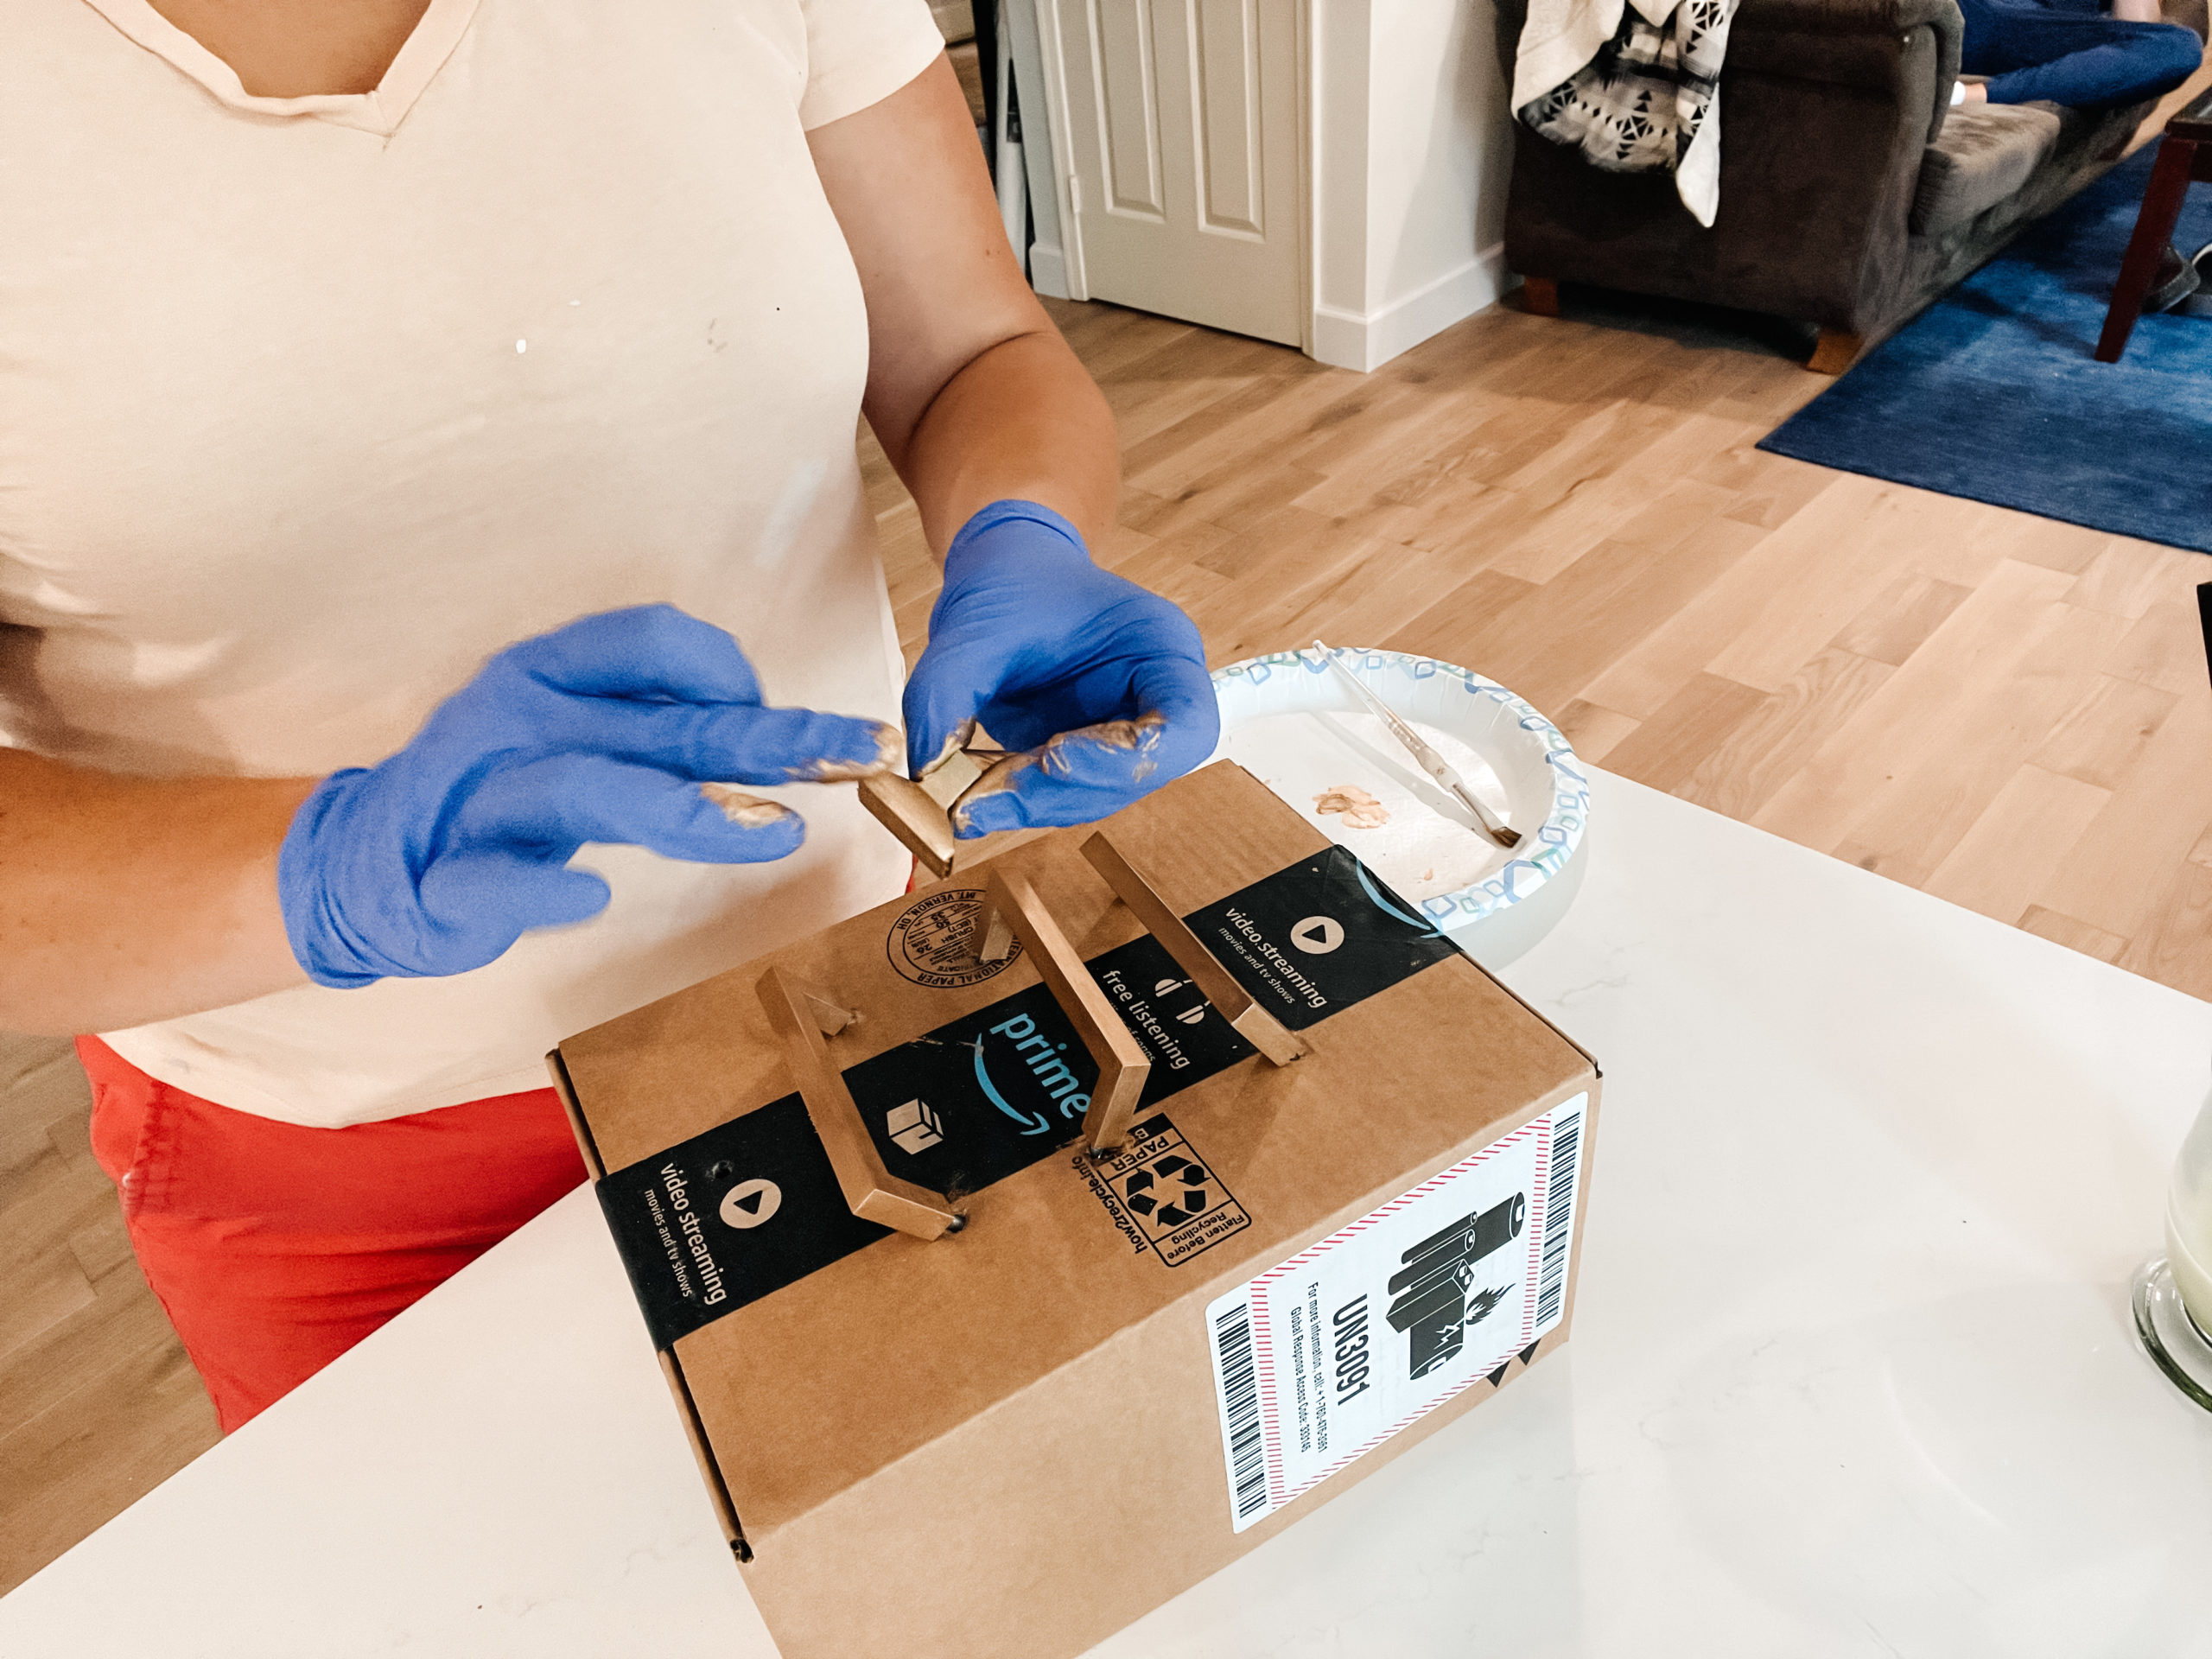
You’re really going to want to use gloves for this project because you’re basically going to throw it back to kindergarten and just paint with your hands. If you’re starting with a very smooth surface, you may also want to sand it down with some sand paper or steel wool first to make sure the paint will adhere.

For a solid gold look: Take a small amount of the paint onto your plate and then all you have to do is dab your finger into it and rub it evenly onto your object. A little goes a long way so I would only use a small bit at a time (roughly the size of a dime for a project this size).

For a brushed gold look: If you’re using another color such a black as your base color and really want it to look antiqued, take a small amount onto a brush and lightly dust the paint on. This will give the gold a feathered look and make the item look like an antique!

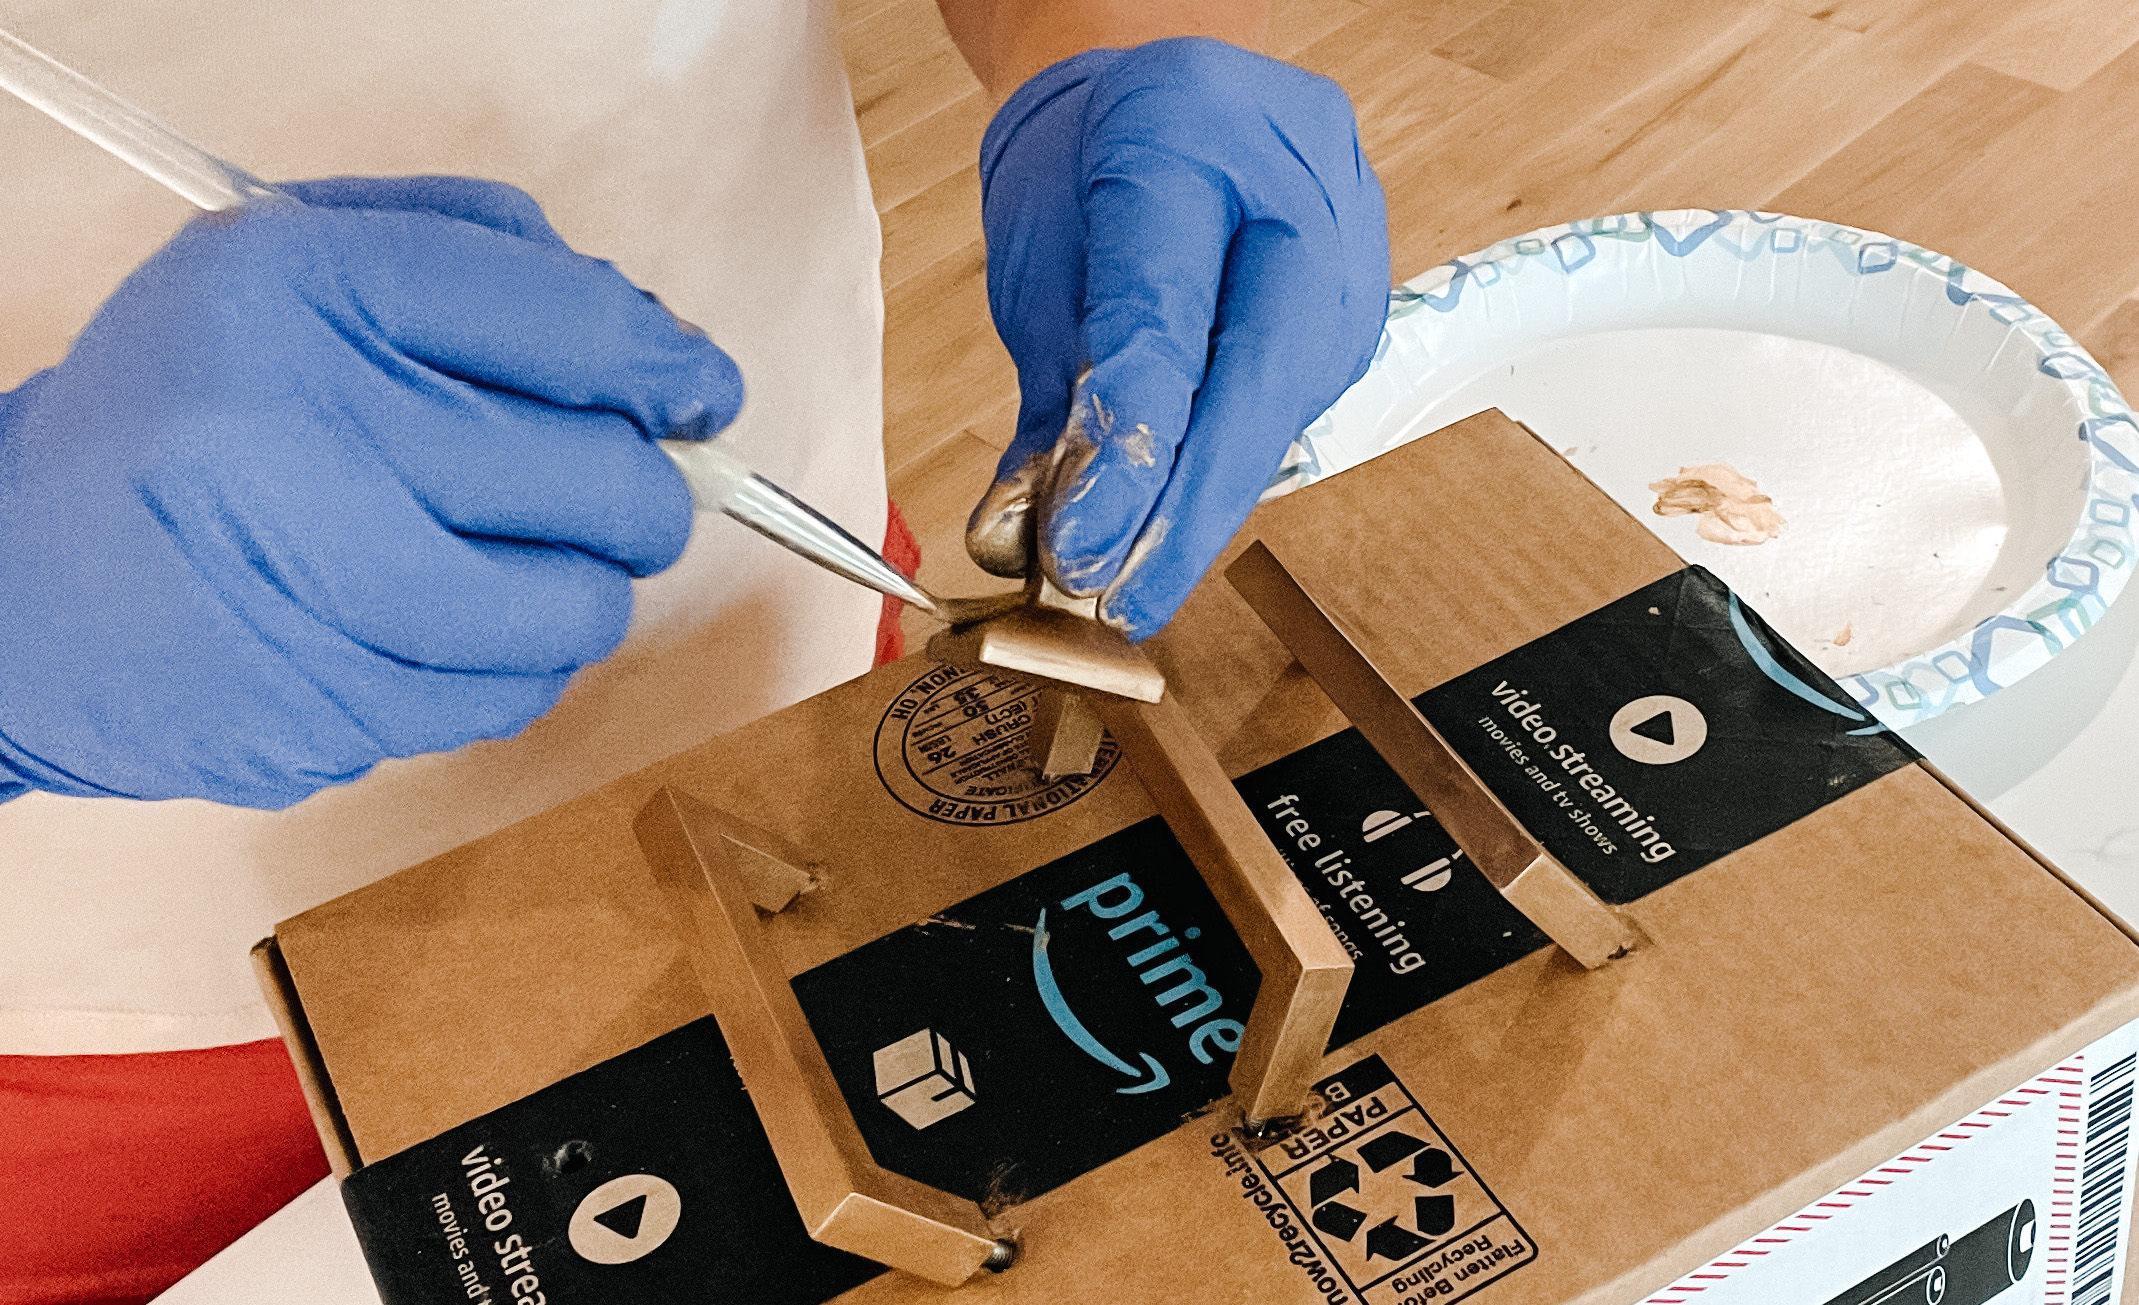
Once the paint was applied, I went back through with a small brush and just continued to blend the paint into the metal. It also helped smooth some of the areas where I had put too much on and it had started to cake. You do want to make sure that the paint goes on smoothly since the imperfections are quite noticeable once it dries.

You can see I used an old box to help keep the handles upright while they dried. This ended up being clutch because even though the paint does dry quickly, it can get messed up… (speaking from experience when I accidentally knocked over the entire box into the grass).

If you do mess up, you can do as I did and use steel wool to buff it up again. Then just reapply the paint and you’re as good as new.

When the paint was dry to the touch, it was time for the last coat. If you’re learning how to use rub n buff for a low traffic area (such as a light fixture), you can probably just end here, but if you’re like me and doing hardware which is constantly going to be touched, you’re going to want a clear coat to add a protective layer over your handles. I went with a Satin Clear Enamel from Rust-oleum, but there are a ton of great options out there.

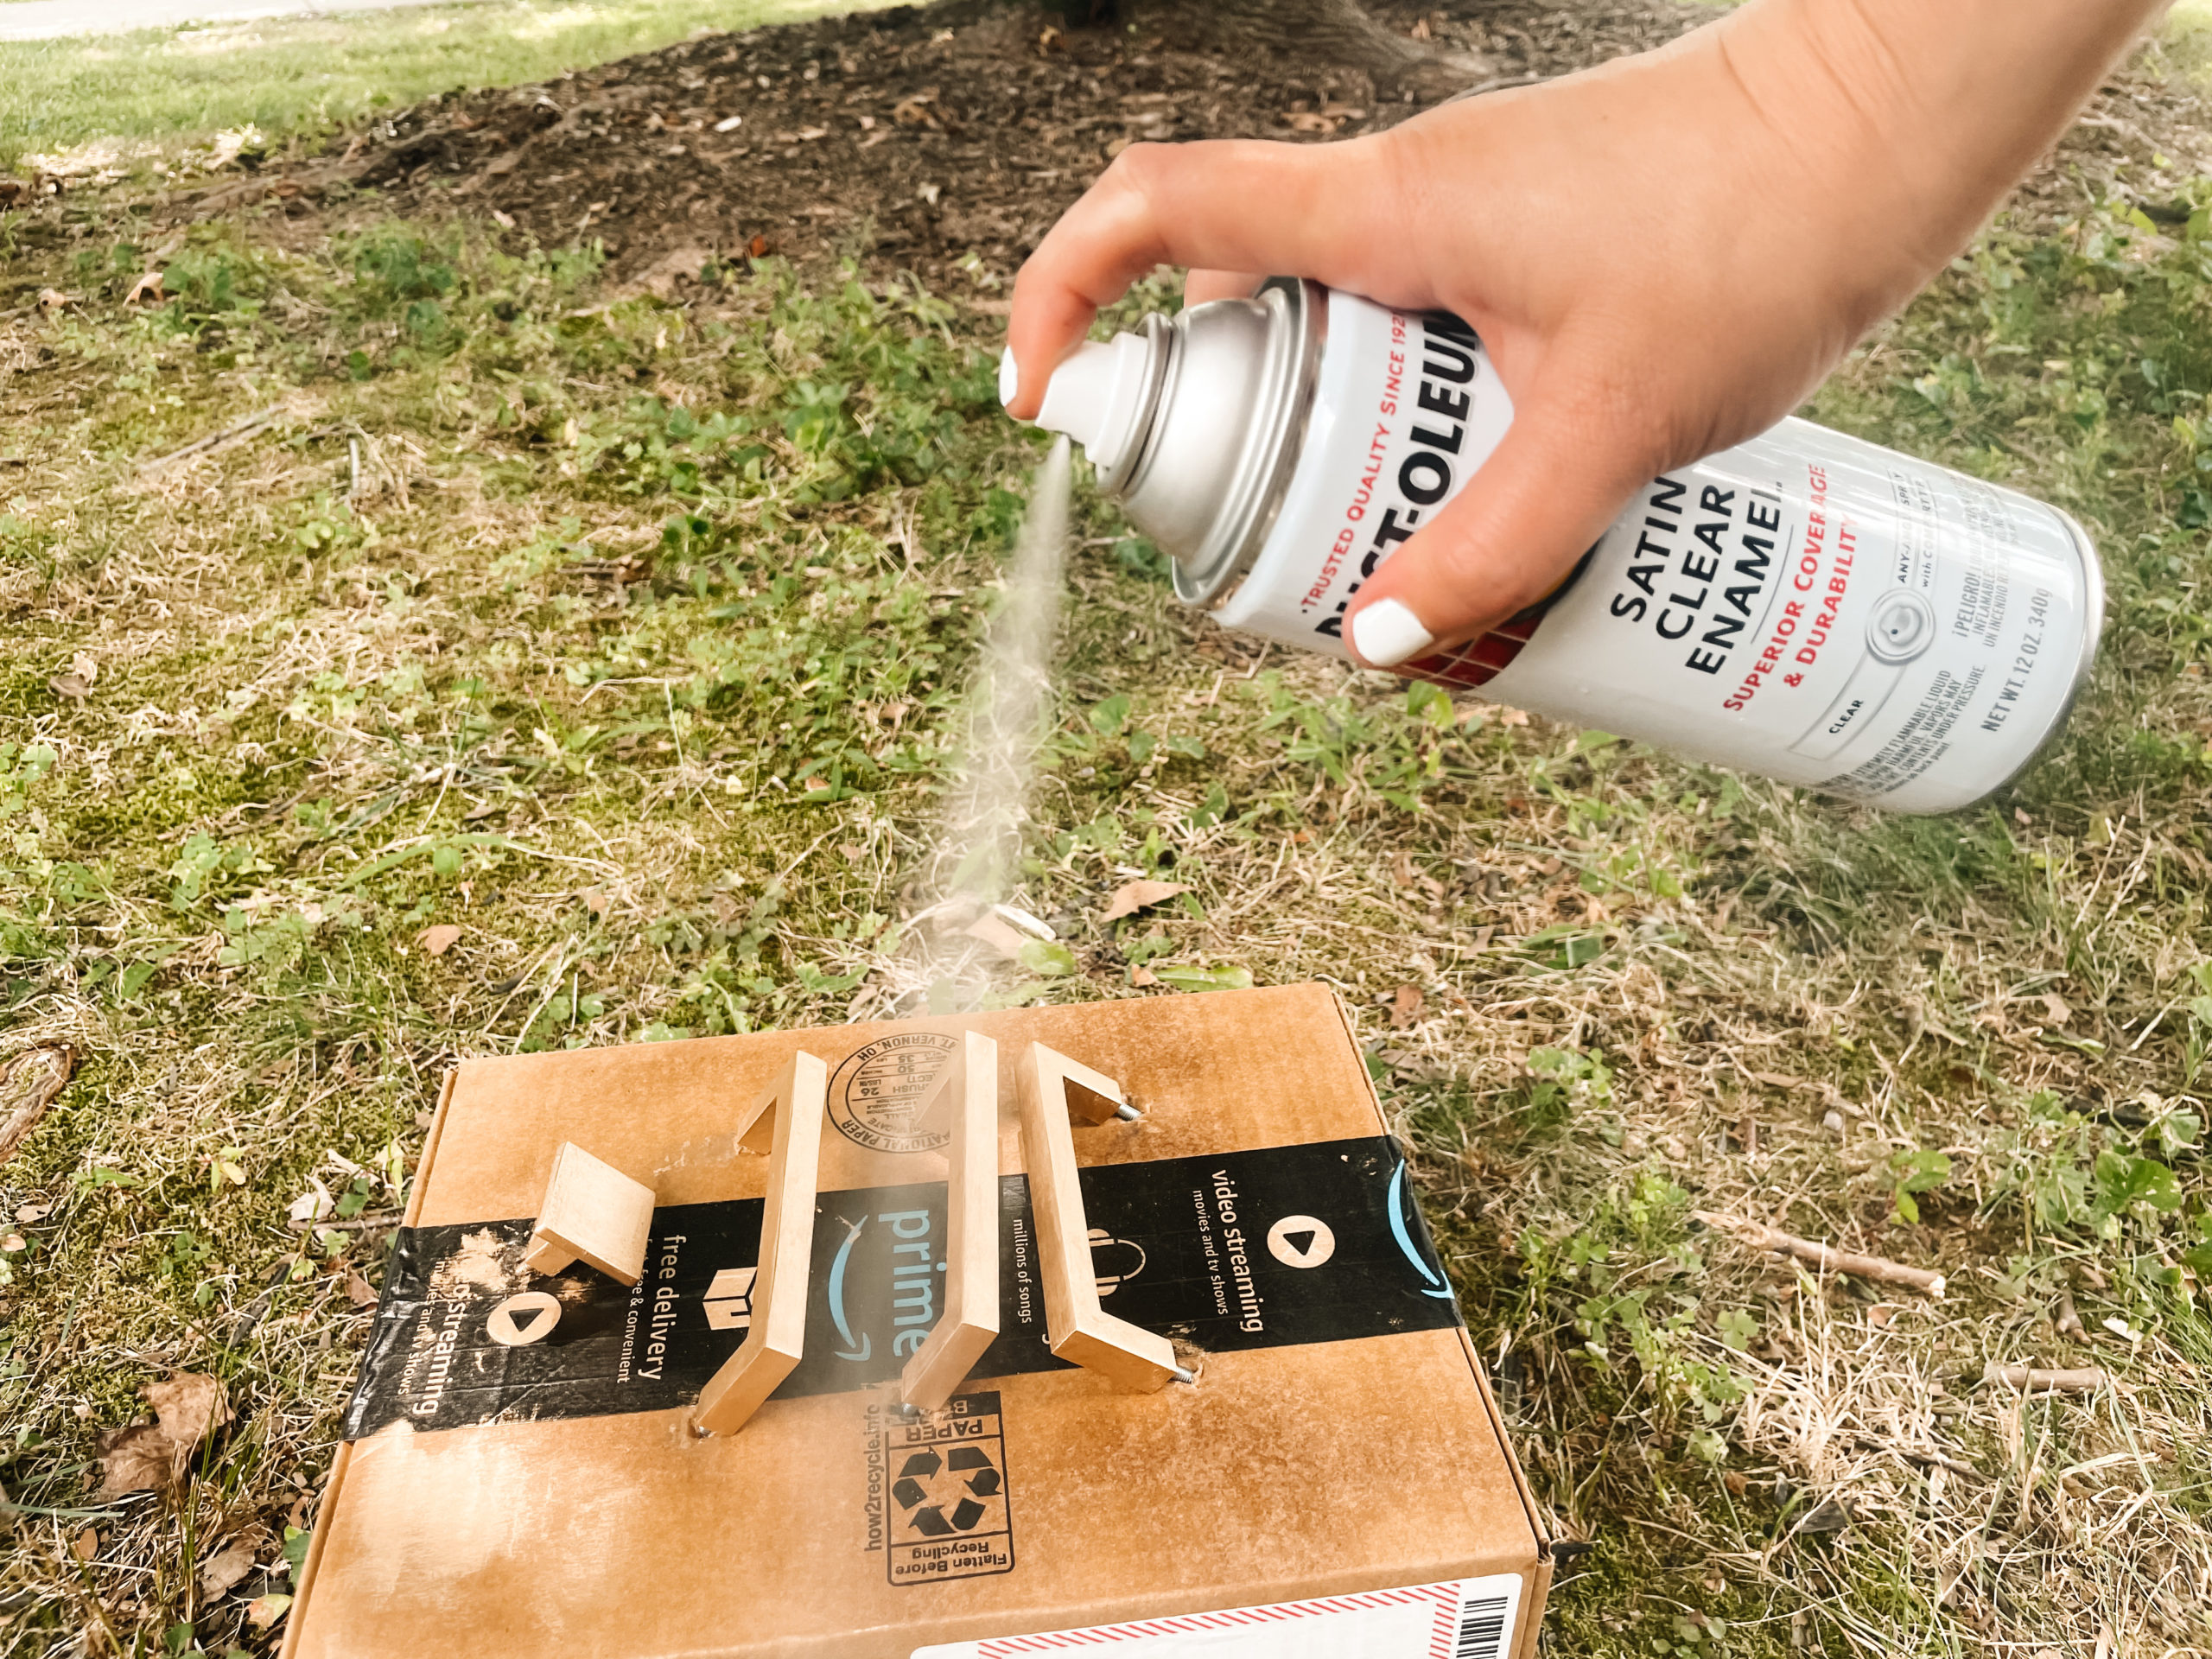
Apply in very light coats (I did two coats on mine). And make sure to get not only the tops of your handles but in the hand grips as well as they’ll be getting the most action. 

Let everything sit overnight to make sure it dries fully and then you’re good to install! I’m actually shocked at how close this color is to the vanity light fixture. Also, it feels so good to have all the same color hardware for the first time in this bathroom! Powder Room – COMPLETE!

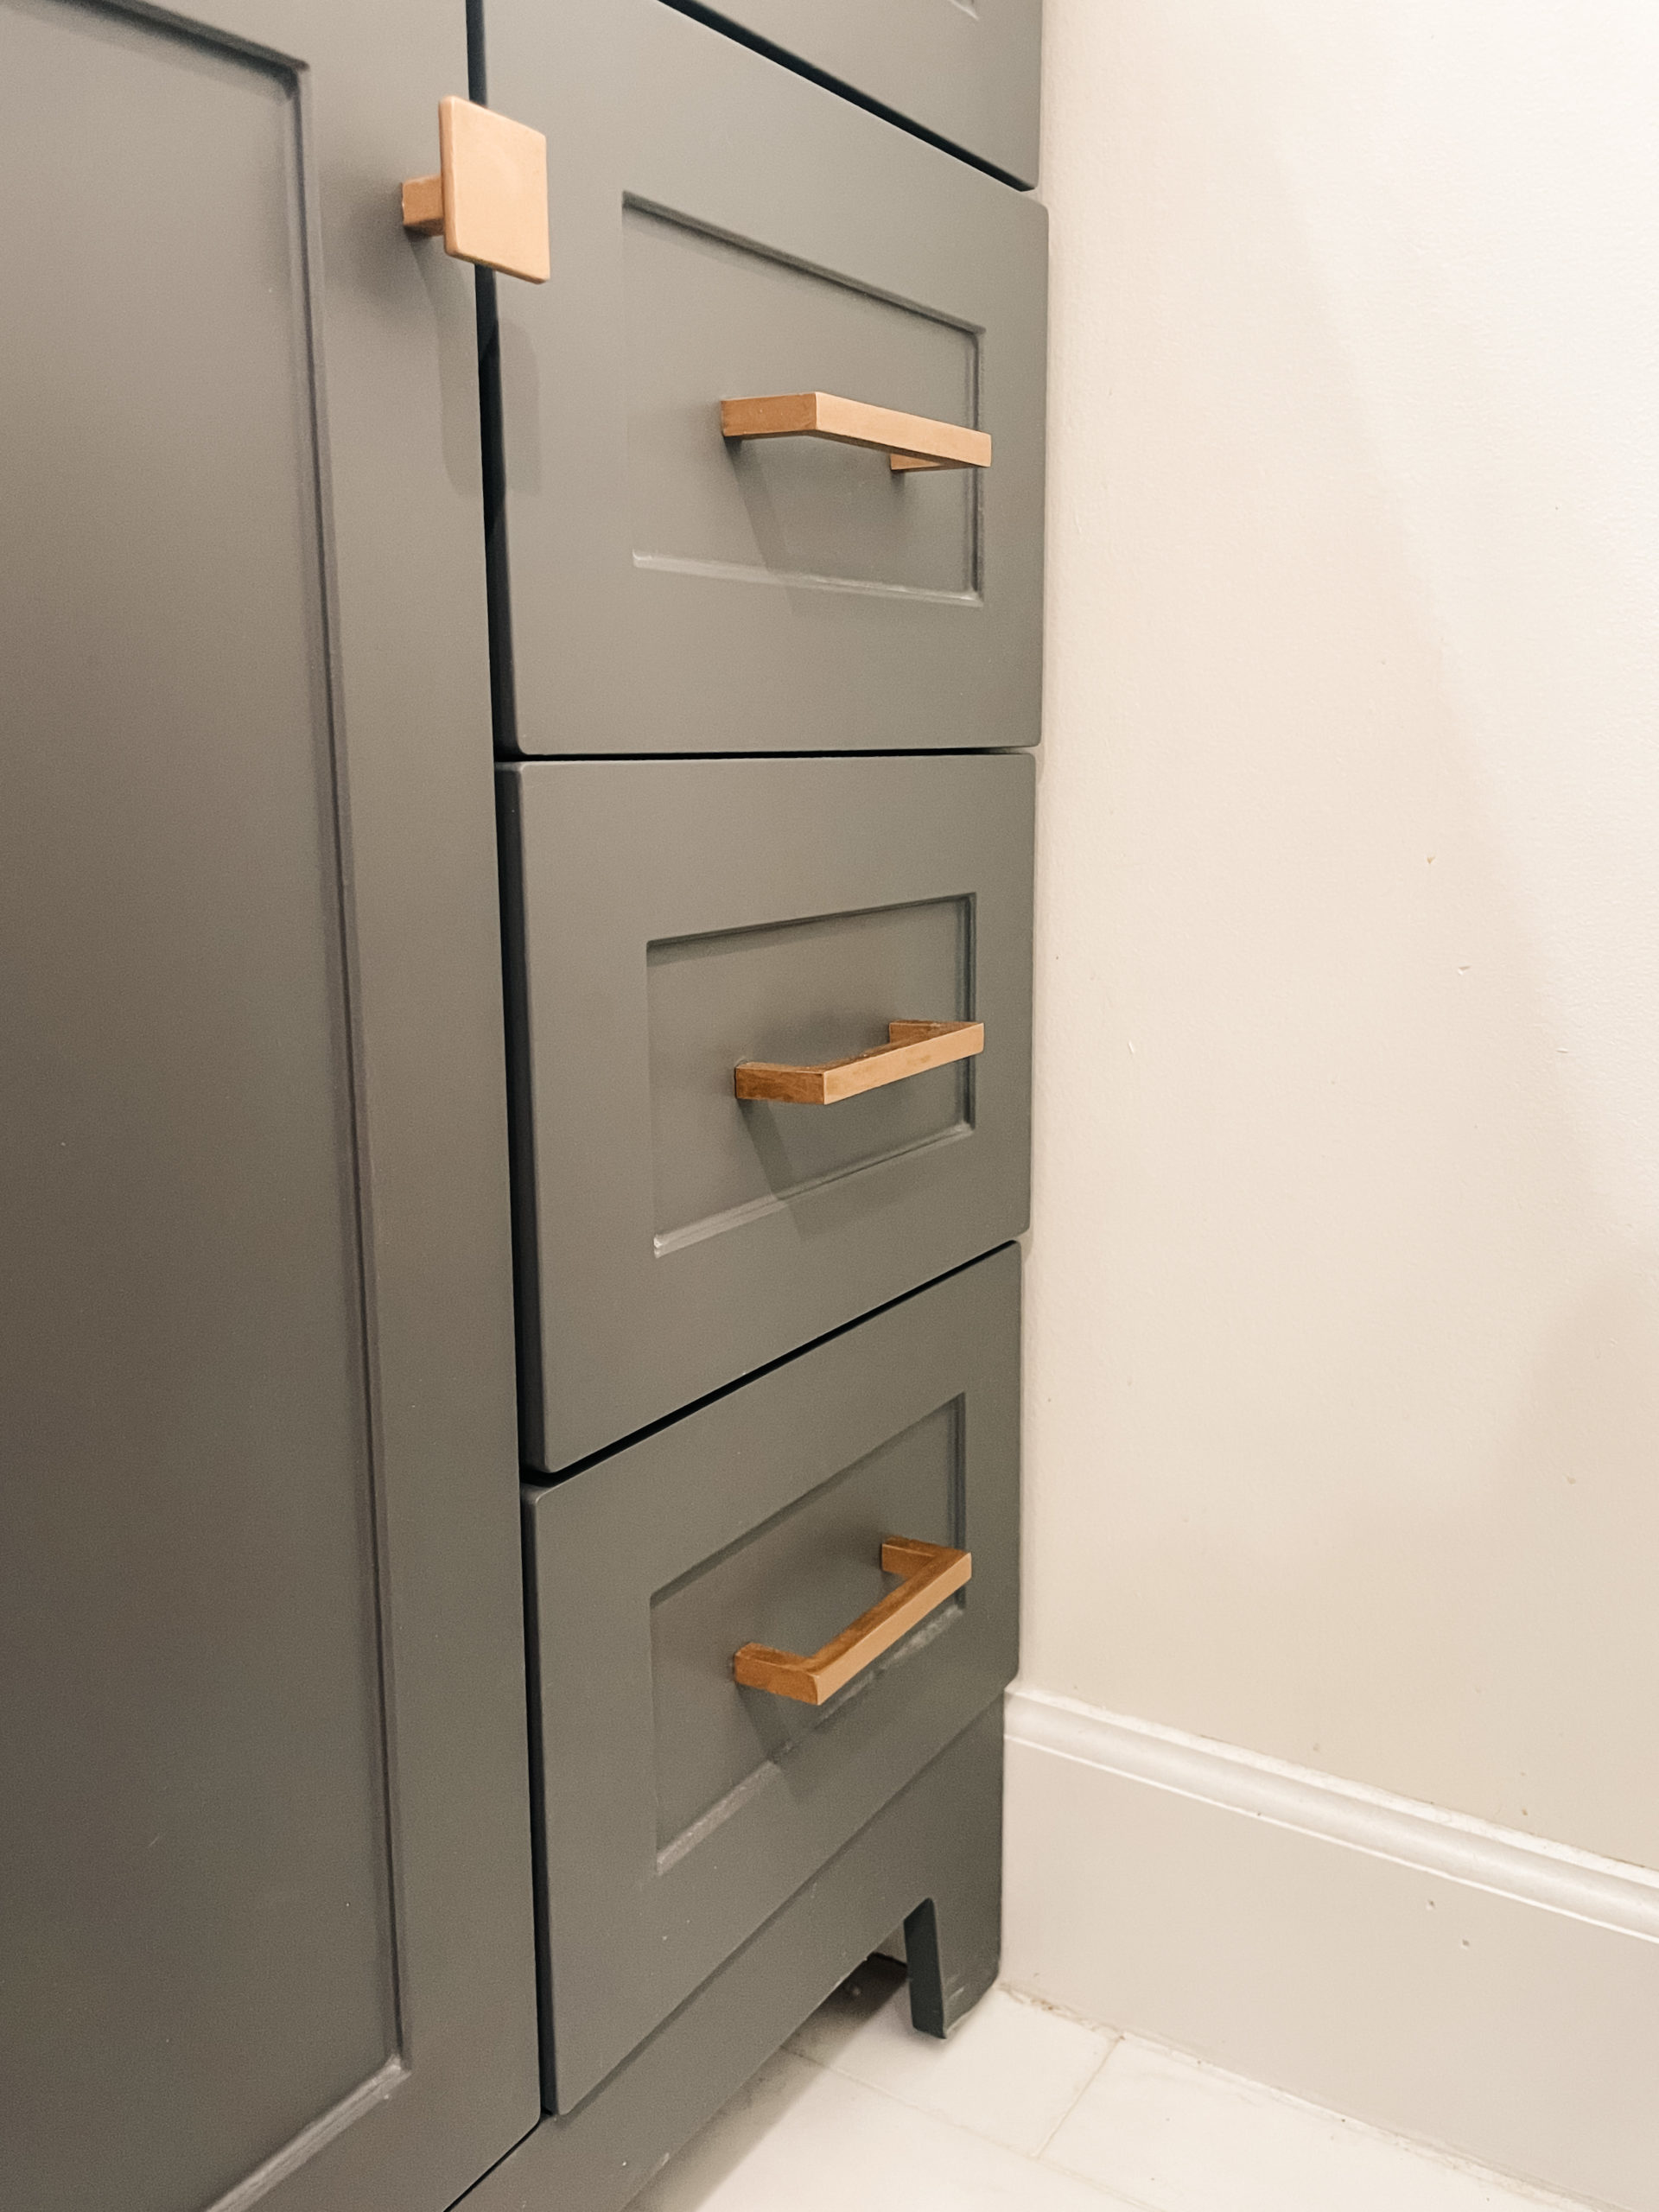
Are your gears turning on how you can use this in your next project? You’re not alone! Let me know what project you decide to use Rub n Buff for in the comments below. I can’t wait to hear!

Posted By: Kristen · In: DIY

How our Kitchen Laundry Closet Became a Luxury Powder Room
Unique and Untraditional White Subway Tiles to Elevate Your Kitchen

You’ll Also Love

Easily Install Cement Board to Prep for Tile Installation
Check Out These Easy Tricks to Install a Subfloor
black door with decorative trim and white craftsman moldingChange your Home’s Whole Look with Simple Custom Door Trim

Leave a Reply Cancel reply

Your email address will not be published. Required fields are marked *

Recipe Rating


Trending

  • Want a Black Interior Front Door? How New Trim And Paint Change Everything
  • Our Beautiful Traditional Brick House With Black Windows Remodel
  • Mini Chicken and Waffles – The Ultimate Brunch Appetizer!
  • Glass Barn Doors Gave Our Office A Stunning Modern Look
  • Gray, black and gold powder bathroom
    Get the Room: Details & Links – The Powder Room

Categories

  • Blog
  • DIY
  • How-To
  • Lifestyle
    • Kristen’s Book Club

More You’ll Love

Trim Your Interior Windows for a Modern Look

Trim Your Interior Windows for a Modern Look

The Best Peppermint White Russians

The Best Peppermint White Russians

We’ve Changed Our Exterior to a Modern Updated Colonial Home

We’ve Changed Our Exterior to a Modern Updated Colonial Home

ourhowtohome

Scarlett Annette Mangold ♥️ You are so so lov Scarlett Annette Mangold ♥️ 
You are so so loved baby girl.
One view of this nursery just isn’t enough😍 One view of this nursery just isn’t enough😍

We’re days away from meeting our little girl and if she’s anything like her parents we’re in big trouble! 

At least the room is cute. 

#nursery #babygirl #nurserydecor #nurseryinspo #nurserydesign #safaribaby #safaritheme #littlegirlsroom #38weekspregnant #whitefurniture #refurbishedfurniture #refinishedfurniture #diyhomedecor #diyprojects #housetohome
We’re so ready for you baby girl! When we starte We’re so ready for you baby girl! When we started working in the nursery there was not a chance I thought it would be totally ready in time. Close? Sure. But finished? No way. 

We are so lucky to have so many people help us along the way (and for getting so many great deals on marketplace to bring this room together!) 

Now all we need is a little girl to use it!

#nursery #nurserydecor #nurseryinspo #babygirl #babygirlnursery #safari #animalnursery #facebookmarketplace #refurbished #38weekspregnant #nurseryideas #babygirlroom #homedesign #bedroomdesign #changingstation #safaribaby
Bookshelves for the nursery are FINISHED!! Can yo Bookshelves for the nursery are FINISHED!!

Can you believe this was all done with scrap wood that we had in the garage? 

For our baby shower we asked guests to bring a book in lieu of a card and im obsessed. We have the perfect amount of new stories to fill our shelves and a million memories to make in this cozy nook. 

#booknook #bookshelves #bookshelvesofinstagram #childrensbooks #nursery #nurserydecor #nurseryinspo #scrapwood #scrapwoodproject #reelsinstagram #memoriesforlife #snuggletime #cozynook #reelsvideo #nurseryroom #nurseryinspiration #childrensroom #reelsviral #childrensroominspo
What a year it’s been! I feel like we’ve don What a year it’s been! 

I feel like we’ve done so much work to the house this year but when it’s almost all in one room, I’m realizing it doesn’t always look like it. 

With the nursery almost ready to go and baby girl coming any day, we can only begin to imagine the great things 2023 is going to have in store for us! 

Happy New Year everyone!

Thanks for sticking around and being a part of our story 💜

#newyearseve #2022recap #2022wrapped #homeprojects #2023 #happynewyear #housetoahome #primarybathroom #livingroom #homedecor #renovation #newyear #recap2022 #reelsofinstagram😍 #reelsvideo #homesweethome #homedesign #nursery #boardandbatten
GAME CHANGER After years of making gingerbread h GAME CHANGER 

After years of making gingerbread houses and waiting the torturous overnight for the icing to dry we finally asked the question - why are we doing it this way?
 
Hot glue for the win! We saved the icing for decorating and the brownstones we’re ready for decorating immediately. 

Even Kevin who was a skeptical gingerbread traditionalist agrees… we’re never going back!

#nevergoingback #gamechanger #rowhomes #gingerbreadhouse #gingerbread #reelsinstagram #instagood #christmascrafts #christmasdecor #reelinstagram #christmasreels #holidayseason #christmasvibes
When I found this sleigh in the Target dollar sect When I found this sleigh in the Target dollar section, I knew it needed to be part of our holiday decor this year. Only problem? It needed a little something extra- queue for the stain! 

This updated sleigh is so cute and the perfect addition to our mantle. I found this pine cone filler and mini ornaments to complete the look! 

#christmasdecor #sleigh #pinecone #miniornaments #mantledecor #merrychristmas #holidaydecor #holidaycrafts #reelsvideo #merryandbright #stain #sleighride #christmastime #holidayseason #reelforyou #christmasmantel
Load More... Follow on Instagram
  • Privacy Policy

Copyright © 2023 Our How-To Home · Theme by 17th Avenue