Our How-To Home

  • How-To
  • DIY
  • Lifestyle
    • Recipes
    • Kristen’s Book Club
  • Blog
    • Home Updates

Explore

  • How-To
  • DIY
  • Lifestyle
  • Blog
  • About Us
  • Ask Us Anything
  • Kristen’s Book Club

Connect

You are here: Home / How-To / Moving A Doorway: Demo And Rebuild In One Day

How-To · November 4, 2021

Moving A Doorway: Demo And Rebuild In One Day

It’s Demo Day 2 and frankly we didn’t even know there was going to be a day two! The original plan was to finish all of the demo between the old bathroom and the vanity room and leave it at that for a while. There are a ton of projects in this room so my goal was to prioritize them as best I could around contractor work getting done. Moving a doorway was the last thing I had planned.  

Once the demo was “finished”, our plumber stopped by so that we could go over the plan and make sure we both had everything we needed to move forward with next steps of the project. We learned that we needed to rip up the plywood floor so that he could see the plumbing pipes underneath. Only problem is, that means pulling up the floor right in front of our closet door.

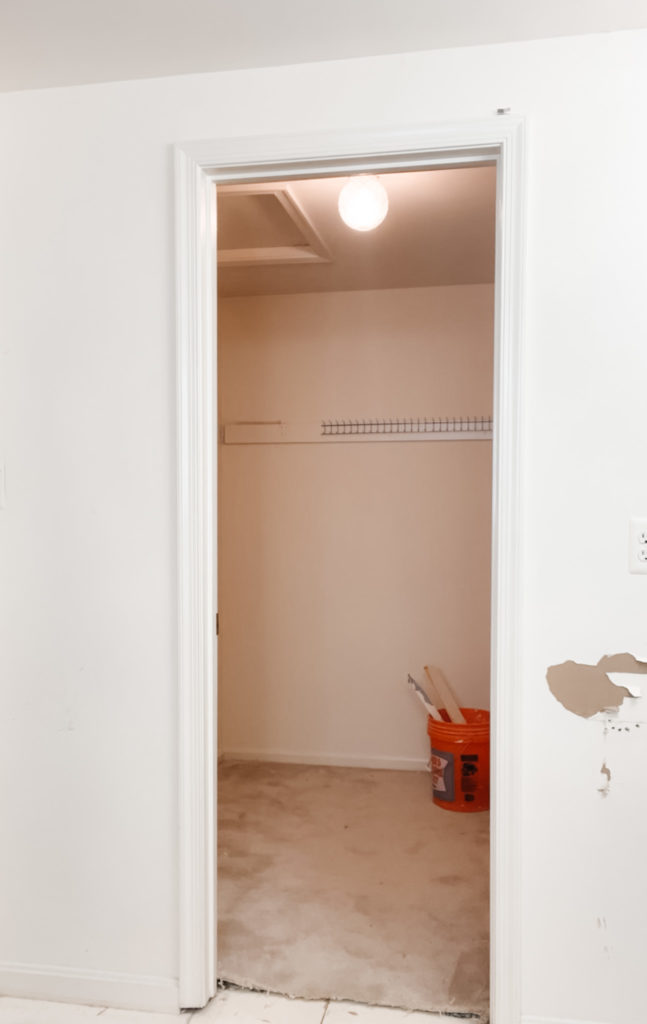
Moving the closet door became top priority.

For now, we’re moving all the clothing to a spare bedroom and it is a DISASTER. All I can say is we need to get this project done quickly because it looks like a bomb went off in there.  

Once the clothing was gone, I started taking down the shelfs. I plan to reuse them in the closet for now so I tried to salvage as much of the demo as possible. Eventually we will be redoing the closet, but this project came a lot faster than we had planned so the Master Bathroom comes first.

How to Move a Doorway

To take out the doorframe, I took the door off the hinges and then used a crowbar to pry off the molding. (for an example, check out the video above!) The molding was the hard part to get off and I’m sure there’s a more strategic way to do it, but I just scored the edges, wedged my crowbar into the crack and pried it off. Scoring the edges is an important step to help avoid the paint ripping as you pry the molding away.

Once that was out, the interior frame came out pretty easily.

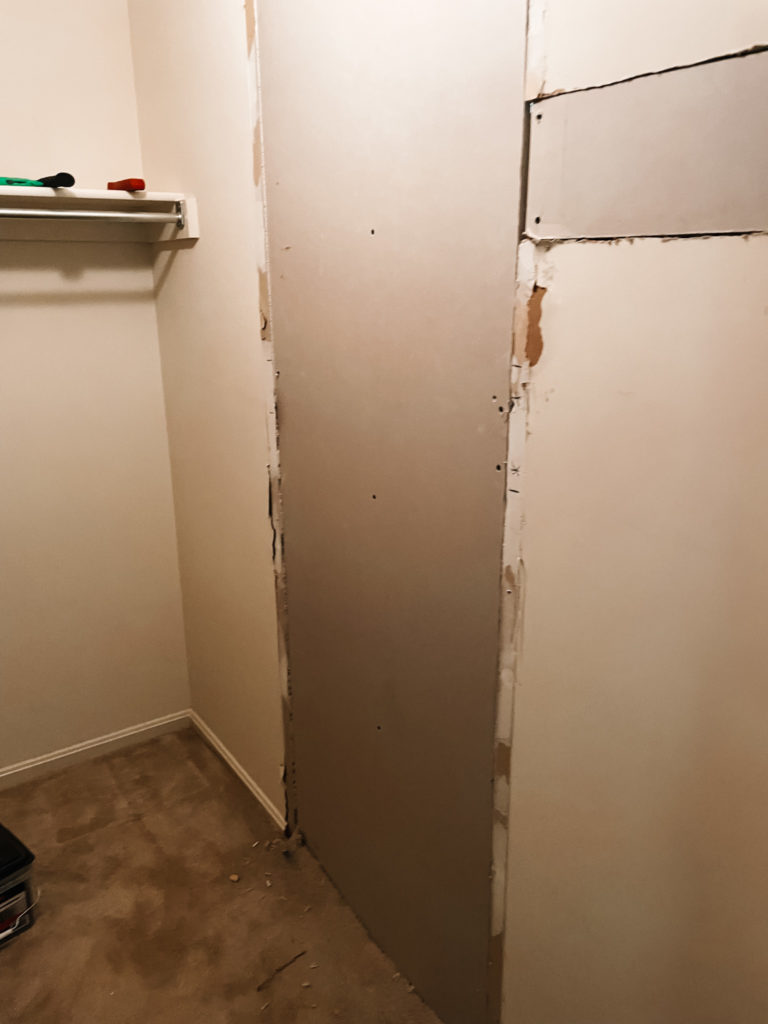
Next came building out the wall. Since the studs for the doorframe were already there, the new wall really only needed two things: a base and a stud through the middle of the opening. I started by fitting the bottom piece of wood and screwing it to the floor.

For this type of work, we’re using construction screws which are perfect for attaching studs. You can also use a nail gun if you have one.

The final stud needs to fit TIGHT. Do you see me hammering it into place in the video? It should be that tight of a fit. The better your studs fit the stronger your wall will be. This will help avoid your wall from having structural issues in the future.

Finally, I fit the drywall and secured it in place.

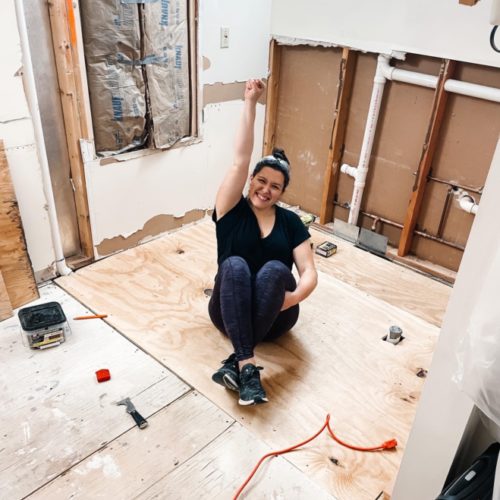
I did go ahead and demo the new doorway for the closet first so that we can get into the room, but there is a still a long way to go there. Plus this room is going to need to be taped, spackled, and painted AND the closet need to be rebuilt! WOOF. 

Next, I go ahead and build the new doorframe for our awesome doors. 

This project is forcing me to learn so many new skills that I never imagined I’d learn ever let alone so quickly. The biggest projects are yet to come. Stay tuned and watch this master bathroom turn into something incredible!


Posted By: Kristen · In: How-To

Cornbread Croutons – The Best Fall Addition
Make a Doorway in an Existing Wall

You’ll Also Love

Easily Install Cement Board to Prep for Tile Installation
Check Out These Easy Tricks to Install a Subfloor
black door with decorative trim and white craftsman moldingChange your Home’s Whole Look with Simple Custom Door Trim

Leave a Reply Cancel reply

Your email address will not be published. Required fields are marked *

Recipe Rating


Trending

  • Want a Black Interior Front Door? How New Trim And Paint Change Everything
  • Our Beautiful Traditional Brick House With Black Windows Remodel
  • Mini Chicken and Waffles – The Ultimate Brunch Appetizer!
  • Glass Barn Doors Gave Our Office A Stunning Modern Look
  • Gray, black and gold powder bathroom
    Get the Room: Details & Links – The Powder Room

Categories

  • Blog
  • DIY
  • How-To
  • Lifestyle
    • Kristen’s Book Club

More You’ll Love

Easy to Follow Instructions for Installing a Backsplash in the Kitchen

Easy to Follow Instructions for Installing a Backsplash in the Kitchen

Our Main Floor: The Master Plan

Our Main Floor: The Master Plan

Easily Demo your Floors: Remove Nailed Down Hardwood Flooring

Easily Demo your Floors: Remove Nailed Down Hardwood Flooring

ourhowtohome

Scarlett Annette Mangold ♥️ You are so so lov Scarlett Annette Mangold ♥️ 
You are so so loved baby girl.
One view of this nursery just isn’t enough😍 One view of this nursery just isn’t enough😍

We’re days away from meeting our little girl and if she’s anything like her parents we’re in big trouble! 

At least the room is cute. 

#nursery #babygirl #nurserydecor #nurseryinspo #nurserydesign #safaribaby #safaritheme #littlegirlsroom #38weekspregnant #whitefurniture #refurbishedfurniture #refinishedfurniture #diyhomedecor #diyprojects #housetohome
We’re so ready for you baby girl! When we starte We’re so ready for you baby girl! When we started working in the nursery there was not a chance I thought it would be totally ready in time. Close? Sure. But finished? No way. 

We are so lucky to have so many people help us along the way (and for getting so many great deals on marketplace to bring this room together!) 

Now all we need is a little girl to use it!

#nursery #nurserydecor #nurseryinspo #babygirl #babygirlnursery #safari #animalnursery #facebookmarketplace #refurbished #38weekspregnant #nurseryideas #babygirlroom #homedesign #bedroomdesign #changingstation #safaribaby
Bookshelves for the nursery are FINISHED!! Can yo Bookshelves for the nursery are FINISHED!!

Can you believe this was all done with scrap wood that we had in the garage? 

For our baby shower we asked guests to bring a book in lieu of a card and im obsessed. We have the perfect amount of new stories to fill our shelves and a million memories to make in this cozy nook. 

#booknook #bookshelves #bookshelvesofinstagram #childrensbooks #nursery #nurserydecor #nurseryinspo #scrapwood #scrapwoodproject #reelsinstagram #memoriesforlife #snuggletime #cozynook #reelsvideo #nurseryroom #nurseryinspiration #childrensroom #reelsviral #childrensroominspo
What a year it’s been! I feel like we’ve don What a year it’s been! 

I feel like we’ve done so much work to the house this year but when it’s almost all in one room, I’m realizing it doesn’t always look like it. 

With the nursery almost ready to go and baby girl coming any day, we can only begin to imagine the great things 2023 is going to have in store for us! 

Happy New Year everyone!

Thanks for sticking around and being a part of our story 💜

#newyearseve #2022recap #2022wrapped #homeprojects #2023 #happynewyear #housetoahome #primarybathroom #livingroom #homedecor #renovation #newyear #recap2022 #reelsofinstagram😍 #reelsvideo #homesweethome #homedesign #nursery #boardandbatten
GAME CHANGER After years of making gingerbread h GAME CHANGER 

After years of making gingerbread houses and waiting the torturous overnight for the icing to dry we finally asked the question - why are we doing it this way?
 
Hot glue for the win! We saved the icing for decorating and the brownstones we’re ready for decorating immediately. 

Even Kevin who was a skeptical gingerbread traditionalist agrees… we’re never going back!

#nevergoingback #gamechanger #rowhomes #gingerbreadhouse #gingerbread #reelsinstagram #instagood #christmascrafts #christmasdecor #reelinstagram #christmasreels #holidayseason #christmasvibes
When I found this sleigh in the Target dollar sect When I found this sleigh in the Target dollar section, I knew it needed to be part of our holiday decor this year. Only problem? It needed a little something extra- queue for the stain! 

This updated sleigh is so cute and the perfect addition to our mantle. I found this pine cone filler and mini ornaments to complete the look! 

#christmasdecor #sleigh #pinecone #miniornaments #mantledecor #merrychristmas #holidaydecor #holidaycrafts #reelsvideo #merryandbright #stain #sleighride #christmastime #holidayseason #reelforyou #christmasmantel
Load More... Follow on Instagram
  • Privacy Policy

Copyright © 2023 Our How-To Home · Theme by 17th Avenue