Our How-To Home

  • How-To
  • DIY
  • Lifestyle
    • Recipes
    • Kristen’s Book Club
  • Blog
    • Home Updates

Explore

  • How-To
  • DIY
  • Lifestyle
  • Blog
  • About Us
  • Ask Us Anything
  • Kristen’s Book Club

Connect

You are here: Home / How-To / Check Out These Easy Tricks to Install a Subfloor

How-To · February 25, 2022

Check Out These Easy Tricks to Install a Subfloor

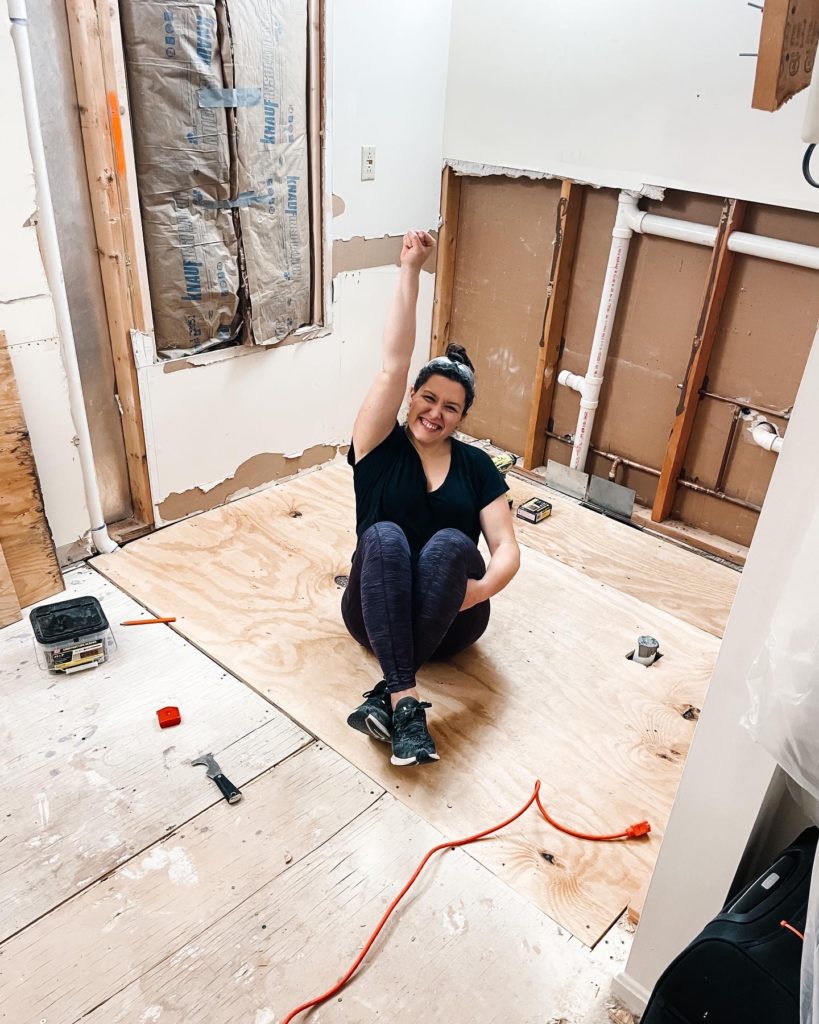
This bathroom is about as demo’d as could possibly be (for now at least!) Now that the floor has been completely removed, our plumber was finally able to come in and move all of the plumbing in the room to fit the new configuration. With the work complete it means it’s FINALLY time to start rebuilding and the first thing we need to do is install a subfloor and end my near constant fear of falling through to the living room below.

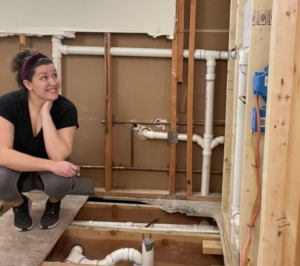
Over the next few weeks, we’re going to go over all of the steps we took to install a subfloor, add cement board and then finally cover everything with a leveler (basically how to completely replace and build a bathroom floor). Don’t be deceived, these projects took a lot of time since it was weaved into other projects. Today, let’s tackle a big one – how to install a subfloor!

Want to watch instead? Check out the video below:

A New Layout

Let’s start with basics. Every bit of plumbing was moved in this room. We moved the toilet to another corner of the room. Although it was out choice, we decided to limit where we could put the toilet and keep it in within the same floor joists as it was in the original design. This was important to us because move toilet plumbing can be crazy challenging and expensive so we wanted to make it as uncomplicated as possible. We’re doing big work, but still trying to make choices that will keep costs down when we can.

Our super official layout that we drew on the old drywall.

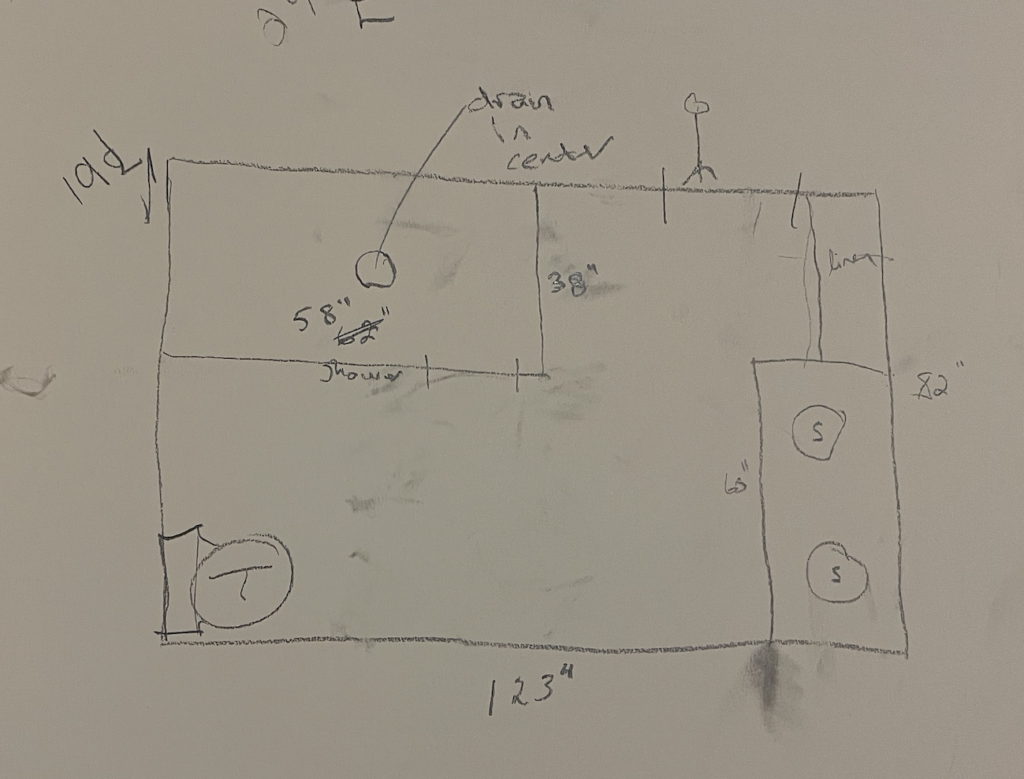
In the old toilet’s place is the new location for our walk-in shower. It’s not going to be huge, but at 58”x36” it will be the largest in the house and that will be just fine for us.

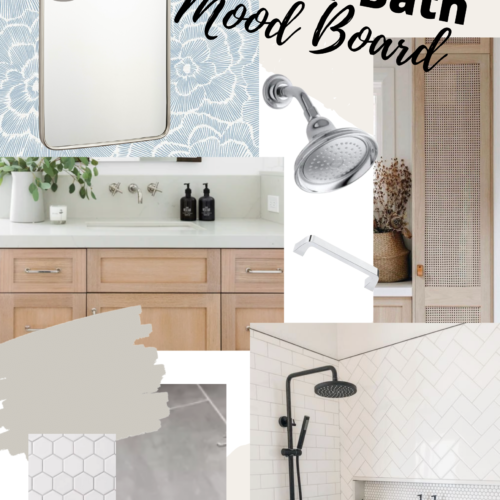
An important aspect of this shower will be dual shower heads running on completely different lines. One will be a traditional, stationary shower head and the other will be removable handheld on a slider bar. This is going to be ideal for cleaning the shower, washing dogs, and also getting hit by water at multiple angles.

Prior to our plumber coming to do the job, our plumber required that I have all of our faucets purchased. Unfortunately, my knowledge of plumbing parts goes about as far and knowing the difference between Kolher and Moen. Turns out, having “all of the parts” also includes the valves behind the handles. At the end of the day, I opted for the Kohler Bancroft brand shower heads and handles in Polished Chrome. I also got a Kohler Rite-temp Pressure-Balancing valve for each shower.

The vanity plumbing for a dual sink was moved to the opposite side of the room.

Prepping to Install a Subfloor

Putting down new subfloor is no small task. In sticking with the rest of the house, we planned for 5/8’ inch plywood. When we later add the cement board, mortar and new tile, the floor will be flush with the carpet in the bedroom. We approached it by dry fitting the plywood to make sure everything was going to fit tight.

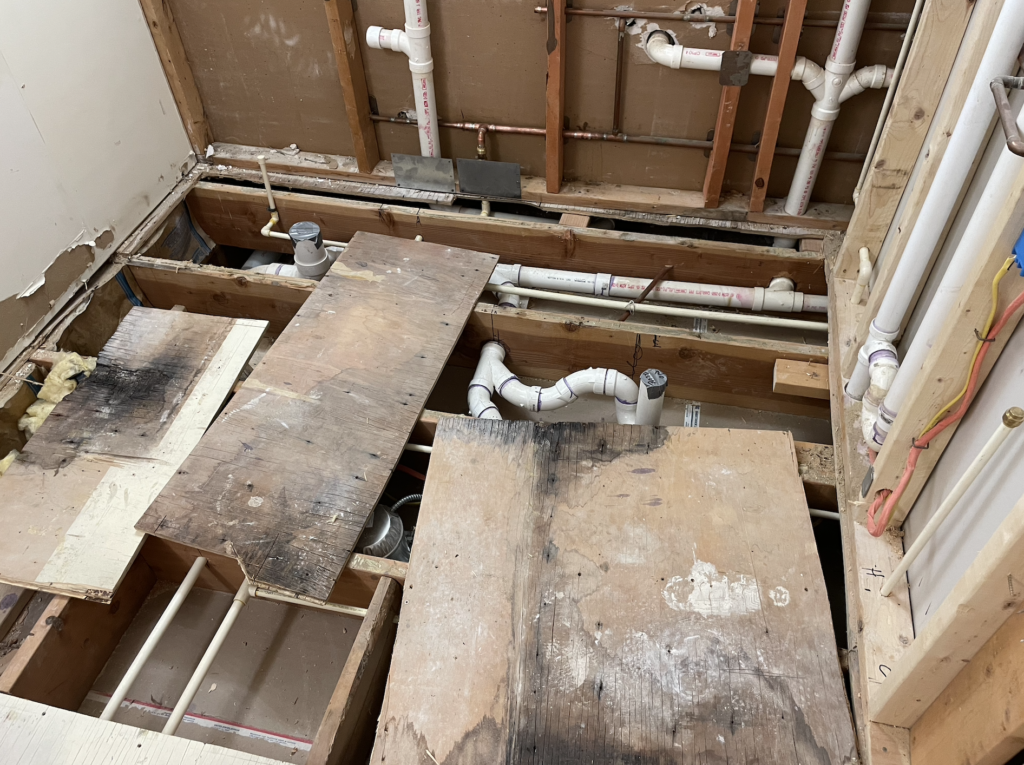
Since this is of course a bathroom, (and we just had a ton of plumbing done) there are obviously a few pipes that are coming up through the floor. A hole saw is a great tool to make those cuts quickly and safety. It’s easily attached to your drill and is the perfect tool for this job. We use the Milwaukee Tool Hole Dozer, but there are several other options that would work.

Basically, the way that a hole saw works is you screw it on to the front of your drill and it will spin the saw at whatever speed your drill is moving. It’s actually a super handy tool to have for projects like this.  The holes don’t have to be perfect, but they should sit relatively snug around the pipes.

Some of the plywood holes were more pretty than others… for the toilet and shower holes, we didn’t have a hole saw large enough so instead we used a reciprocating saw. To do this, create an X across your circle and then connect the ends of the X to create a slightly rounded square, which for our purposes, will do just fine.

Once everything was fit to size, I went ahead and screwed it down using construction screws. Construction screws are going to be your best bet for this project. Ever notice how the floors in old houses creak? Many times those floors were nailed down rather than screwed. Overtime the boards will loosen and the sound that you’re hearing is actually the floor rubbing against the nails. Using constructions screws to install a subfloor will give a much tighter fit and keep your floors from squeaking overtime. 

As the plywood started getting installed, not all of them were able to sit directly on the floor joists. Making sure your floor is properly supported is imperative. To remedy this, I took 6-inch pieces of wood and drilled them into the support beams to create a shelve for the subfloor to sit on. If you’re having trouble visualizing what I mean, this can best be explained in the video above around the 2-minute mark.

Securing the floor went pretty quickly and all of a sudden, we had new fully functional floor that we no longer had to stress about. I’m so relieved that I was able to install the subfloor so quickly! 

I can’t tell you how excited I am to finally be building something for once rather than tearing things down. We have so many big projects planned for this bathroom so stick around and see what we’re up to next!

Upcoming Projects:

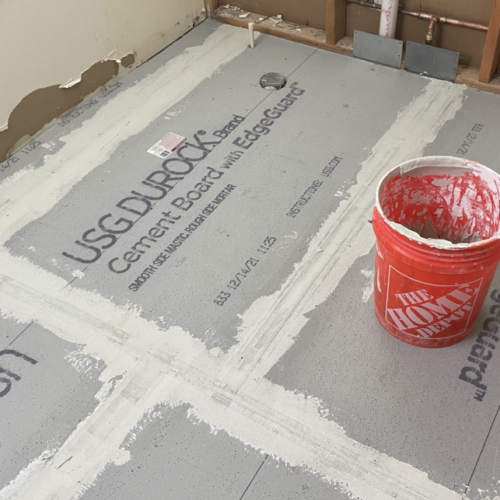
  • Cement Board Installation
  • Adding Leveler to the floor
  • Skylights!!
  • Framing out the room
  • Building a SHOWER!

Don’t forget to check out the mood board for our bathroom here!

Posted By: Kristen · In: How-To

Change your Home’s Whole Look with Simple Custom Door Trim
My Favorite Outfits from Amazon (on sale for Prime Day!)

You’ll Also Love

Easily Install Cement Board to Prep for Tile Installation
En Suite Bathroom plan with grey slate floors, white tile backsplash and warm brown cabinetsOur Master Bath Mood Board: Chic With A Touch Of Warmth
Easy DIY Mirror Barn Doors Using Reclaimed French Doors

Leave a Reply Cancel reply

Your email address will not be published. Required fields are marked *

Recipe Rating


Trending

  • Want a Black Interior Front Door? How New Trim And Paint Change Everything
  • Our Beautiful Traditional Brick House With Black Windows Remodel
  • Mini Chicken and Waffles – The Ultimate Brunch Appetizer!
  • Glass Barn Doors Gave Our Office A Stunning Modern Look
  • Gray, black and gold powder bathroom
    Get the Room: Details & Links – The Powder Room

Categories

  • Blog
  • DIY
  • How-To
  • Lifestyle
    • Kristen’s Book Club

More You’ll Love

Floor Reveal Day! Check Out Our New White Oak Hardwood Floors!

Floor Reveal Day! Check Out Our New White Oak Hardwood Floors!

Holiday Gift Guide 2021

Holiday Gift Guide 2021

Change your Home’s Whole Look with Simple Custom Door Trim

Change your Home’s Whole Look with Simple Custom Door Trim

ourhowtohome

Scarlett Annette Mangold ♥️ You are so so lov Scarlett Annette Mangold ♥️ 
You are so so loved baby girl.
One view of this nursery just isn’t enough😍 One view of this nursery just isn’t enough😍

We’re days away from meeting our little girl and if she’s anything like her parents we’re in big trouble! 

At least the room is cute. 

#nursery #babygirl #nurserydecor #nurseryinspo #nurserydesign #safaribaby #safaritheme #littlegirlsroom #38weekspregnant #whitefurniture #refurbishedfurniture #refinishedfurniture #diyhomedecor #diyprojects #housetohome
We’re so ready for you baby girl! When we starte We’re so ready for you baby girl! When we started working in the nursery there was not a chance I thought it would be totally ready in time. Close? Sure. But finished? No way. 

We are so lucky to have so many people help us along the way (and for getting so many great deals on marketplace to bring this room together!) 

Now all we need is a little girl to use it!

#nursery #nurserydecor #nurseryinspo #babygirl #babygirlnursery #safari #animalnursery #facebookmarketplace #refurbished #38weekspregnant #nurseryideas #babygirlroom #homedesign #bedroomdesign #changingstation #safaribaby
Bookshelves for the nursery are FINISHED!! Can yo Bookshelves for the nursery are FINISHED!!

Can you believe this was all done with scrap wood that we had in the garage? 

For our baby shower we asked guests to bring a book in lieu of a card and im obsessed. We have the perfect amount of new stories to fill our shelves and a million memories to make in this cozy nook. 

#booknook #bookshelves #bookshelvesofinstagram #childrensbooks #nursery #nurserydecor #nurseryinspo #scrapwood #scrapwoodproject #reelsinstagram #memoriesforlife #snuggletime #cozynook #reelsvideo #nurseryroom #nurseryinspiration #childrensroom #reelsviral #childrensroominspo
What a year it’s been! I feel like we’ve don What a year it’s been! 

I feel like we’ve done so much work to the house this year but when it’s almost all in one room, I’m realizing it doesn’t always look like it. 

With the nursery almost ready to go and baby girl coming any day, we can only begin to imagine the great things 2023 is going to have in store for us! 

Happy New Year everyone!

Thanks for sticking around and being a part of our story 💜

#newyearseve #2022recap #2022wrapped #homeprojects #2023 #happynewyear #housetoahome #primarybathroom #livingroom #homedecor #renovation #newyear #recap2022 #reelsofinstagram😍 #reelsvideo #homesweethome #homedesign #nursery #boardandbatten
GAME CHANGER After years of making gingerbread h GAME CHANGER 

After years of making gingerbread houses and waiting the torturous overnight for the icing to dry we finally asked the question - why are we doing it this way?
 
Hot glue for the win! We saved the icing for decorating and the brownstones we’re ready for decorating immediately. 

Even Kevin who was a skeptical gingerbread traditionalist agrees… we’re never going back!

#nevergoingback #gamechanger #rowhomes #gingerbreadhouse #gingerbread #reelsinstagram #instagood #christmascrafts #christmasdecor #reelinstagram #christmasreels #holidayseason #christmasvibes
When I found this sleigh in the Target dollar sect When I found this sleigh in the Target dollar section, I knew it needed to be part of our holiday decor this year. Only problem? It needed a little something extra- queue for the stain! 

This updated sleigh is so cute and the perfect addition to our mantle. I found this pine cone filler and mini ornaments to complete the look! 

#christmasdecor #sleigh #pinecone #miniornaments #mantledecor #merrychristmas #holidaydecor #holidaycrafts #reelsvideo #merryandbright #stain #sleighride #christmastime #holidayseason #reelforyou #christmasmantel
Load More... Follow on Instagram
  • Privacy Policy

Copyright © 2023 Our How-To Home · Theme by 17th Avenue