I spent HOURS scouring the internet looking for reasonably priced, full garland. I finally settled on one with great reviews, solid pictures and even better, it was on sale! But this lesson will be one I continue learn: Don’t believe everything you see on the internet. When the garland came in, it was the same as most – kind of cheap and not full enough to stand on it’s own, even after fluffing. It was time to learn how to make Christmas garland look expensive.
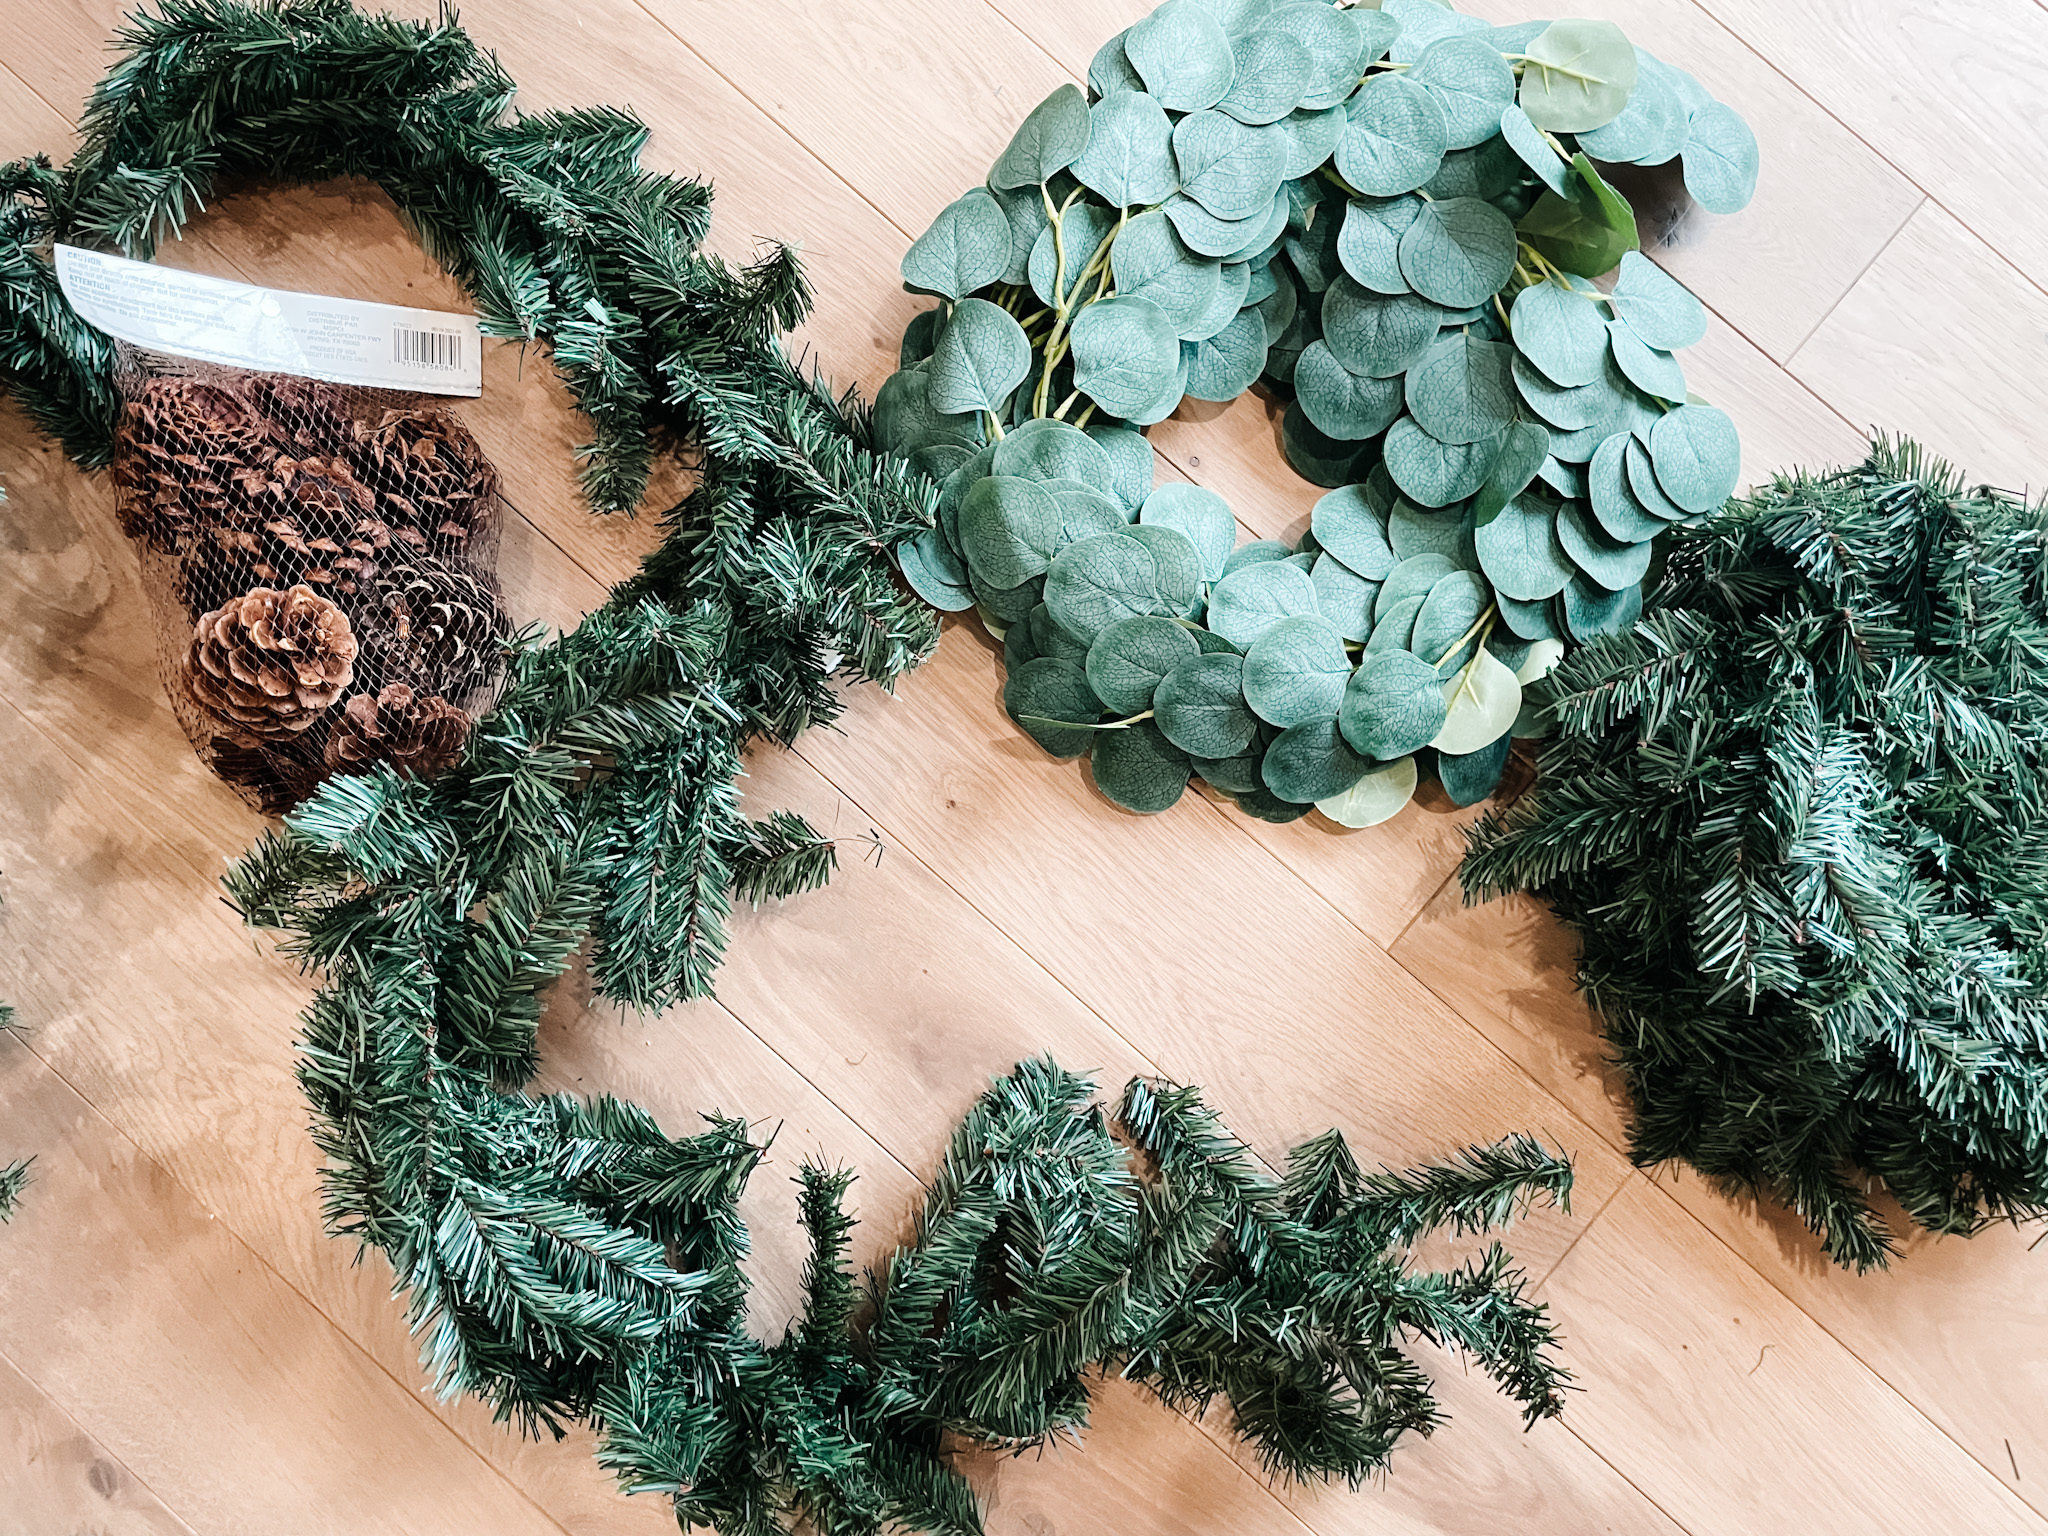
I decided the key to an expensive looking garland was it’s lushness. The thick I could make this, the richer it would look. This was especially important since this garland will be going outside of our house and will need to hold its own as our only outdoor decor.
I found this eucalyptus garland on amazon and it comes with three strands which was perfect for my garland needs! The pinecones are from Michaels and Kevin is so happy they are outside now because they aggressively smell like cinnamon.
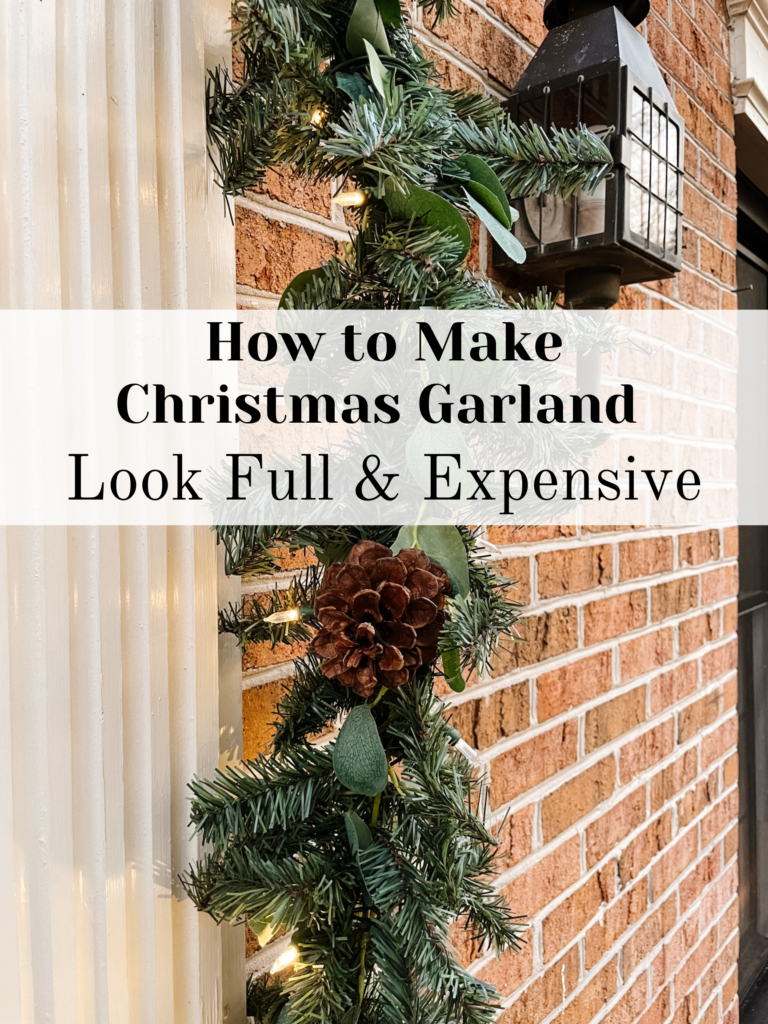
How to Make Christmas Garland Look Expensive
- Connect all of your evergreen garland pieces together into one long strand. For this I used green floral wire, twisting together the hooks that came at the end of the garland.
- Fluff your garland. Take the evergreen garland and spread out all of the leaves so it looks as big as possible. I can’t stress how important it is to fluff your garland, Christmas tree, etc. This is the difference between full and Charlie brown.
- Line your eucalyptus garland along side its newly fluffed friend and begin twisting the eucalyptus around, weaving the leaving into each other so they look fully blended. To do this, I ended up wrapping the eucalyptus around the evergreen to make it look fully incorporated. Because it was wrapped, I didn’t worry about securing it any other way.
- Using a hot glue gun, attach your pine cones. Keep them relatively evenly spaced, but still try to keep the placement random so that it looks more natural.
- Wrap the whole garland in Christmas lights. Tuck the lights into the middle of the garland and let the lights peak out every now and again. To make this process easier, I recommend turning the lights on while you attach them so that you can visualize what the end result will look like.
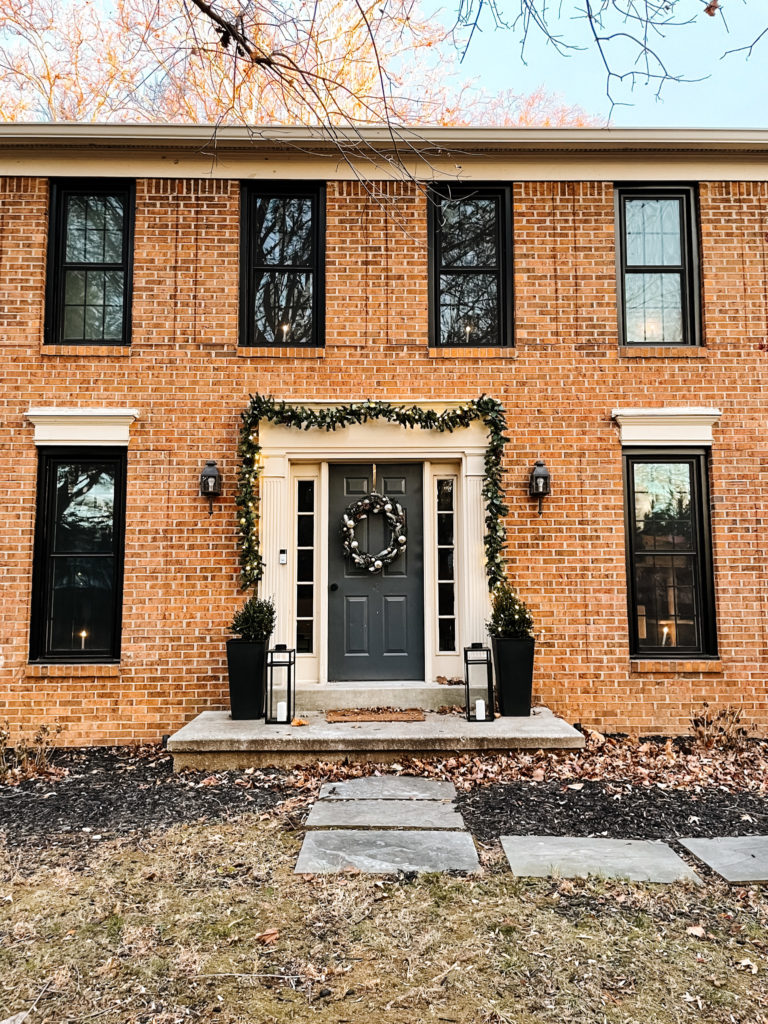
 This updated garland looks so much more full and totally custom! As a bonus, this made the Christmas garland look expensive, even though I paid a fraction of it’s worth. (But we’ll just keep that between us). I would definitely recommend doing this and will be adding more garland outside next year to match!
Want to take your garland to the next level? Adding ornaments, holly or a particular color theme can make this garland look completely custom with your home and can be changed year to year to adjust to trends!
You can also use this technique for your holiday mantel or staircase to take the look throughout your entire home.
What are you going to add to your garland?

Leave a Reply