To say this kitchen molding install was a quick process would be a HUGE UNDERSTATEMENT. For the most part the actual install went quickly, but the planning for it when wayyy too long. My original plan to add kitchen island trim molding was to do more of a board and batten look to match the shaker cabinets, but I could not for the life of me get the molding to make sense. I brought in Kevin, my brother, my dad… we all had solutions but all of them were just a little bit clunky.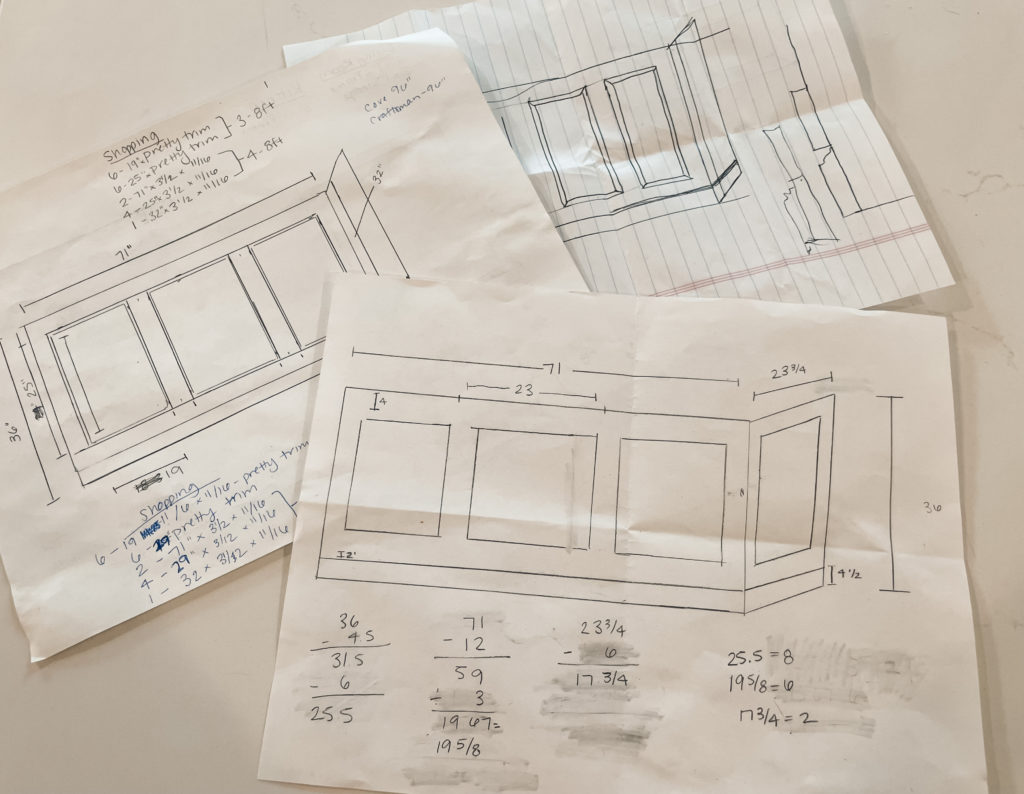
So here we are with a much simpler design. It’s clean, requires minimal materials and frankly looks really good!
While we waited for me to get my plans together, we had put the whole island on hold, including the base molding since my original plan had a different molding than the rest of the kitchen.
When we finally decided on this easier design, we knew the very first thing that would need to happen is the base molding would need to be installed. It would not only set the height for the trimmed squares, but it also just give us a better sense of what the final result would look like.
The molding we chose that wraps around our entire kitchen is 4.5 inches high. This is also in line with the molding around the rest of our home. I prefer the taller profile because I feel like it draws the eye up from the floor and has a more modern look.
Did I mention, I cannot under any circumstances… cut base molding.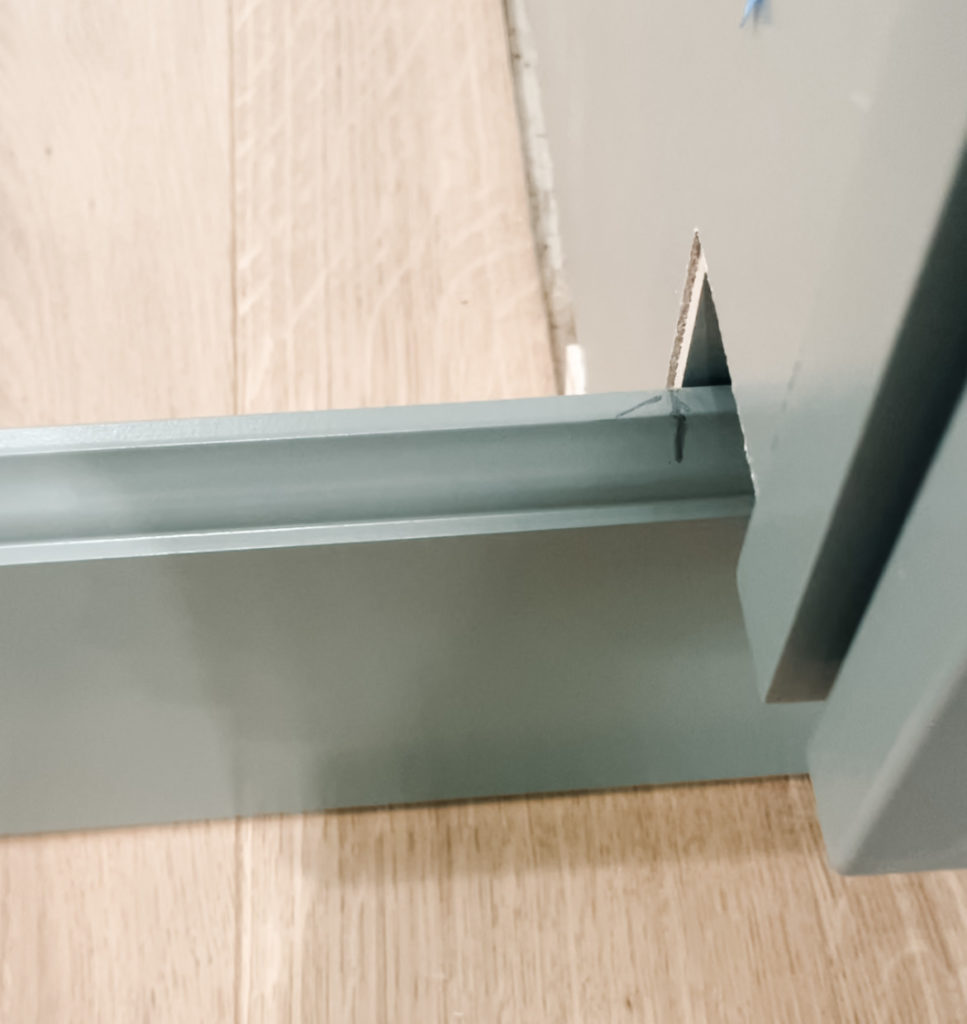
It’s not that I’m just a little bad at it… I legit have never cut a piece correctly in my life. We were down to 1.5 pieces of this trim left and there was no room for “attempts”. So, Kevin cut the base molding on his lunch hour. (Thank goodness for work from home!)
The first thing Kevin did was measure the molding against the cabinet to determine where he needed to cut. He drew a line where the cabinet ended and then he drew a second line on a 45 degree angle to determine where the cut would have to be. The goal is for the shortest part of the molding to end at the cabinet.
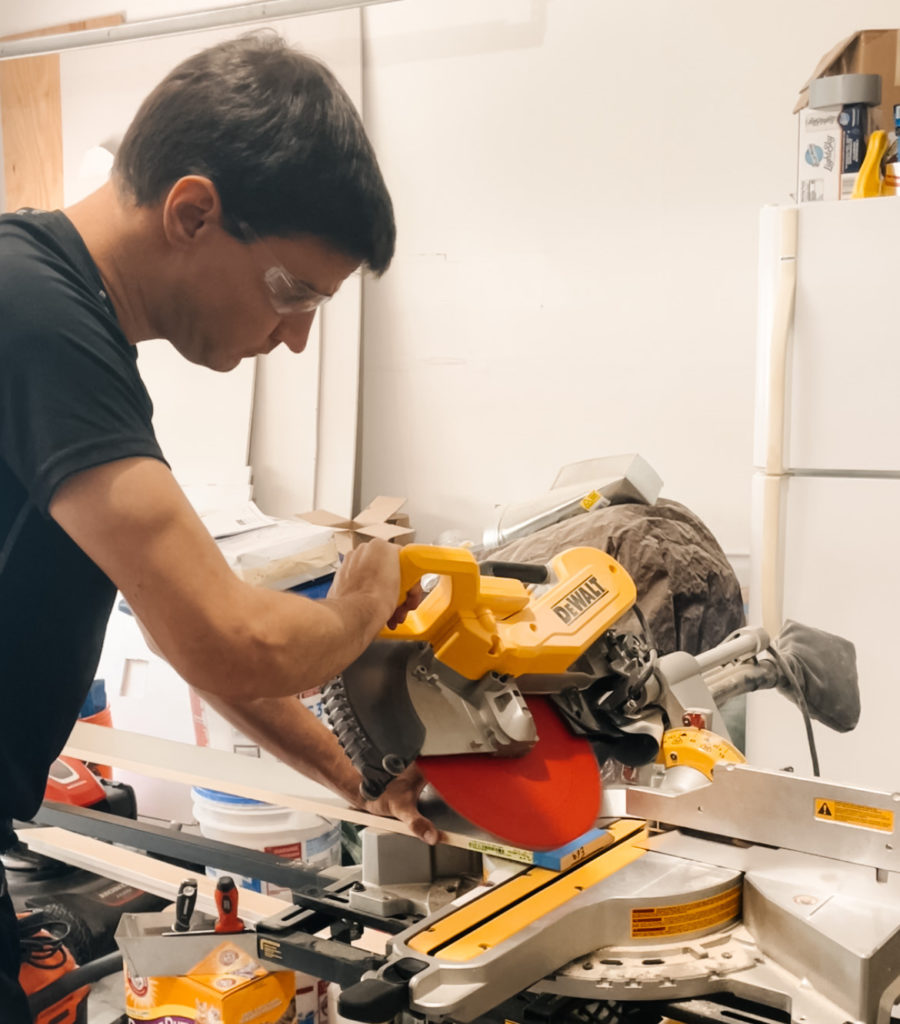
Once we had the first piece cut, it was smooth sailing working our way around the cabinet… and by our way I mean Kevin.
We made sure all the pieces fit and then Kevin went back to work and I got down to business.
While he was in charge of the cuts, I was in charge of installation. There was one section of the trim that was pushed in more than I wanted it and for that, I used a shim. A shim is basically piece of wood that goes from thin to thinner. You just need to break off the amount that you need (I usually either just snap it or score it with a knife) and shove it behind whatever needs to be bumped out. You can see me go into more detail on this on the video.
Once the shim was in place, I got to work nailing in that molding. 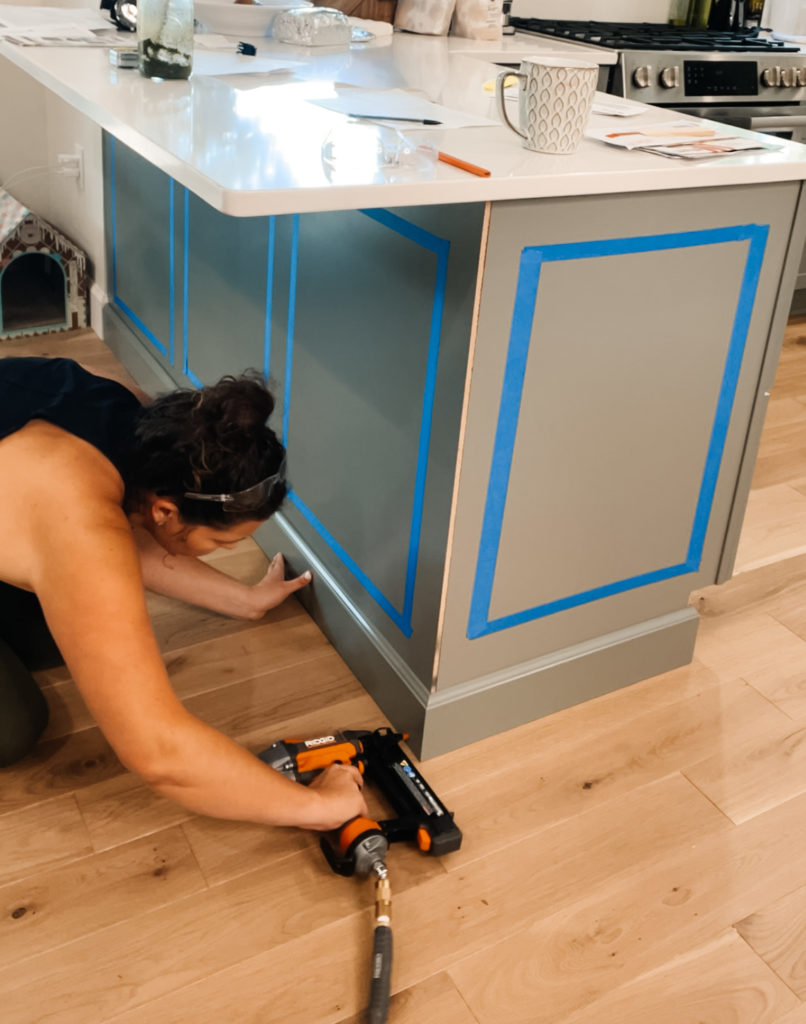 For this part I used, 18 gauge 1 ½ inch nails which left only a very small mark.
The last piece cabinet molding that needed to go in was the corner trim. And yes, as you can tell by the video, I cut the first piece an inch too short, but that’s why you have extra right?
And then we get to the good stuff. Actually, doing the trim details!
This is how we decided to add kitchen island trim molding
Like anything that I do, I needed to map it all out to visualize it first. Painters tape is PERFECT for this! As you can see in the photos, it’s not an exactly replica of the finished product but it really helps set proportions.
Once I had the look down, the very first thing I did was measure and cut 2 pieces from the long side of the peninsula. I knew that I was going to need a ton of cuts that were all the same length so the goal was to perfect it once and then replicate.
The easiest way to do this is using your saw stand’s stop block to create a wall where your cut needs to be. Once you have it set up to the proper measurement, this essentially means that you can simply line up your trim to the stop block and it will cut perfect pieces every time without having to measure each on individually.
I’ve never used the stop block before (mainly because I’ve never had to cut the same size in bulk before), but it was clutch. If you don’t have one you can use a clamp and a piece of wood to get the same effect. It’s such a game changer when you add kitchen island trim molding.
For this project we chose 2/14 inch MDF casing molding mainly because it was much cheaper than a lot of the other options. I was nervous about the angle and whether it would like weird but it actually isn’t even noticeable unless you’re looking for it.
I laid them all out to make sure everything looked good and then prepped them for paint. The best way to do this is to line them up one two pieces of scrap wood to get them off the ground. This will help avoid the pieces sticking to the ground/tarp which could potentially leave weird marks in your finished product.
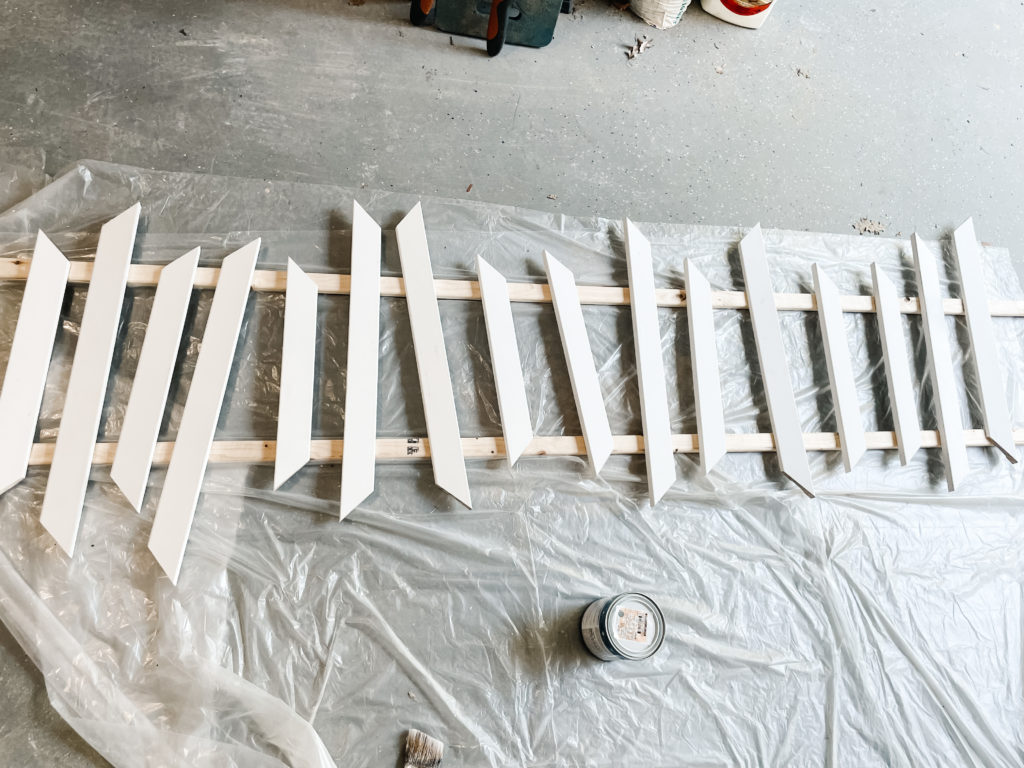
We took a small piece of the trim to home depot and got it color matched to make sure we had the correct color and I’m not sure how they do it, but it was the perfect color of sage.
Now painting is the easy part, right? Haha I wish. The trickiest part about painting was making sure I caught all the drips… and I thought I did until the next day when I checked out the first coat. Every. Single. Piece. had to be sanded down from drips. I had been really careful about not using too much paint so I honestly think it was just the hard edges of my trim that did it. If you have a paint sprayer, I would use that. It probably would have made the process go a lot smoother.
Eventually I did get them all repainted, but just… if you come over, don’t look at the bottom pieces too closely ok? We hide what we can’t fix right?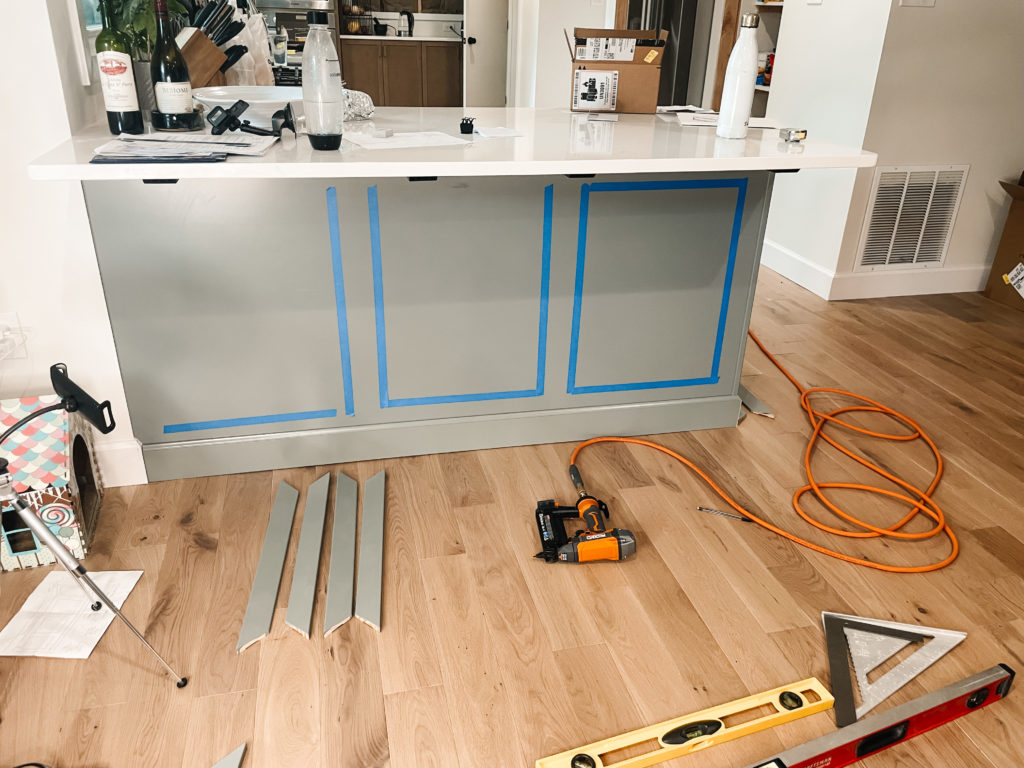
Next was installation and I thought we could easily put them up, but we know by now, nothing is as easy as it seems.
I swear this is easy, the type A piece of my personality was coming out REAL HARD during this process and I wanted it to be perfect.
Unfortunately for us, the floor is not totally even which means we had to be very strategic between the boxes being level and the it being parallel to the base molding.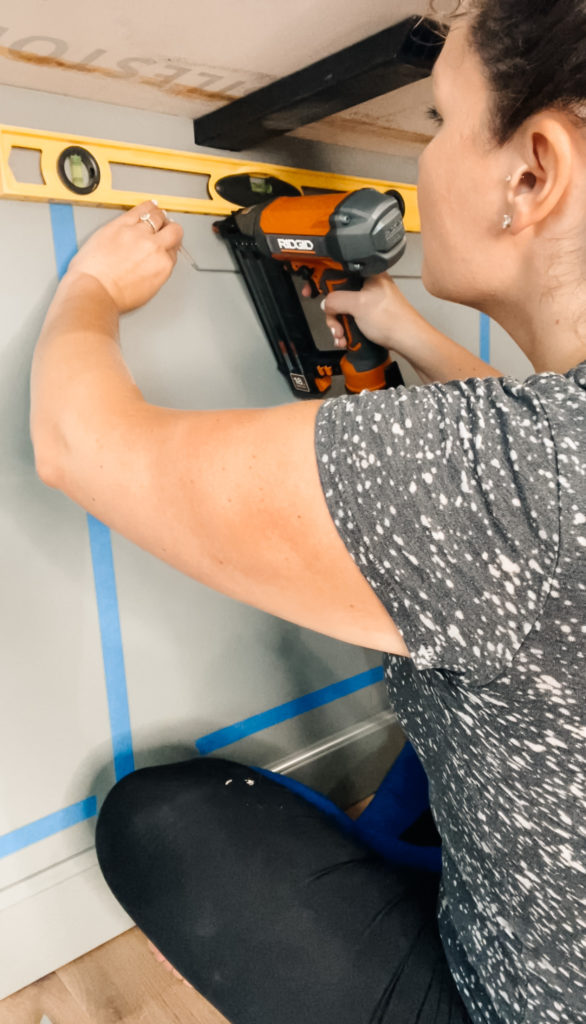
You end up having to sacrifice it being totally level for it being “visually level” and that’s completely ok. It’s your house and you have to live with it so do what’s going to make you happy in the long run.
I actually installed the first block, then had to remove it because I didn’t like it, only to pretty much reinstall it in the exact same spot… it took me longer than it should have. It’s a process.
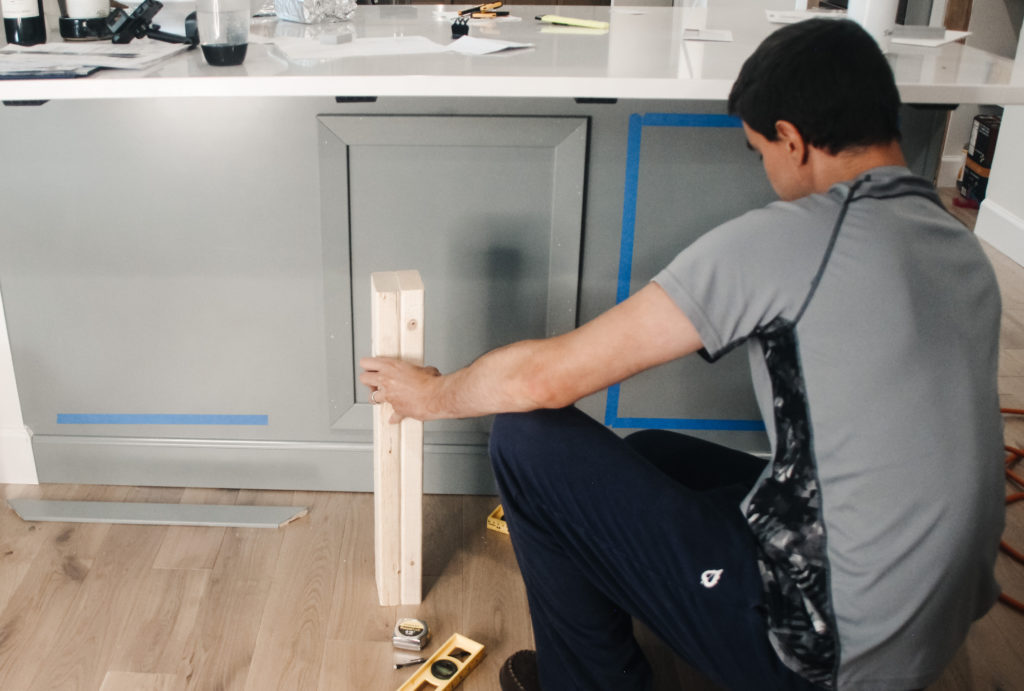
One important thing that I should mention is we started with the middle square rather than a side. This would guarantee the squares were even (at least for the most part). To do this, measure to the middle of your cabinet taking into account the height that you want your first piece to sit. (To be sure I had the right spot, after I found the middle, I measured each side to the center mark to make sure they were even). Next measure to the center of your trim piece making a mark there as well. Finally, just line up your two marks and you should be good to go.
When adding the other two squares, we used a wood divider to make sure the squares are evenly spaced and multiple levels to make sure everything was even.
Kevin ended helping me with this part since it really is easier with two sets of hands. I’m not going to lie, this took longer than I think either of us expected, but we’re also both perfectionists so I’m sure that didn’t help.
The final day to add kitchen island trim molding was easy (THANK GOODNESS) and all I had to do was simply fill the holes with wood filler and touch up with paint.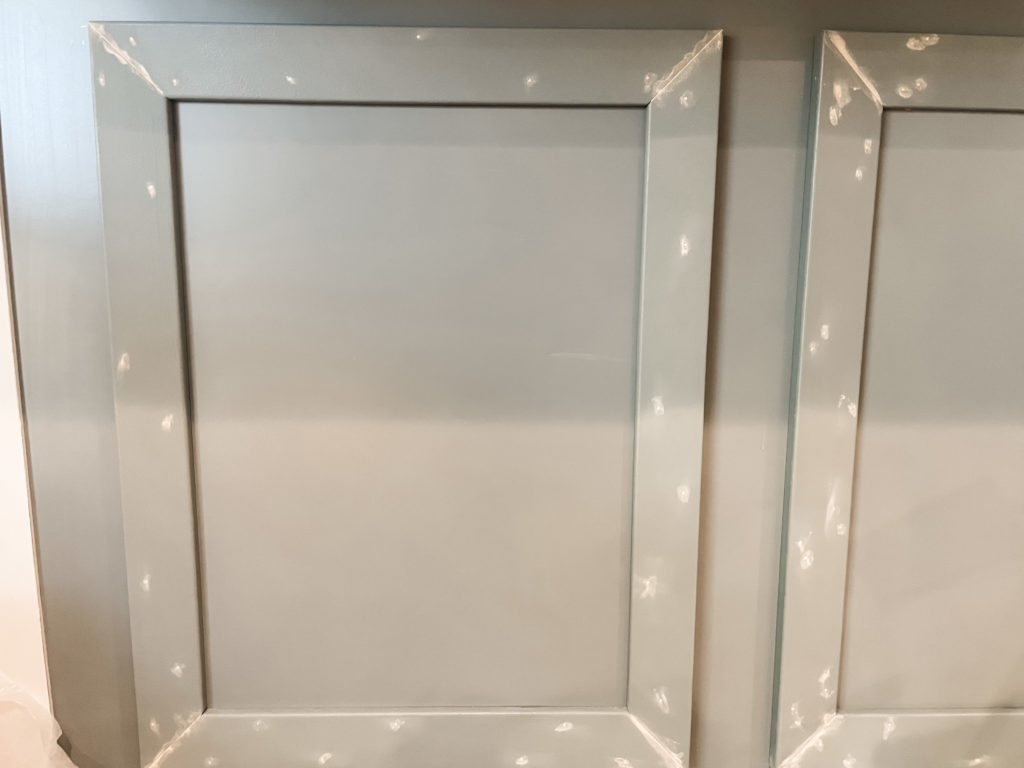
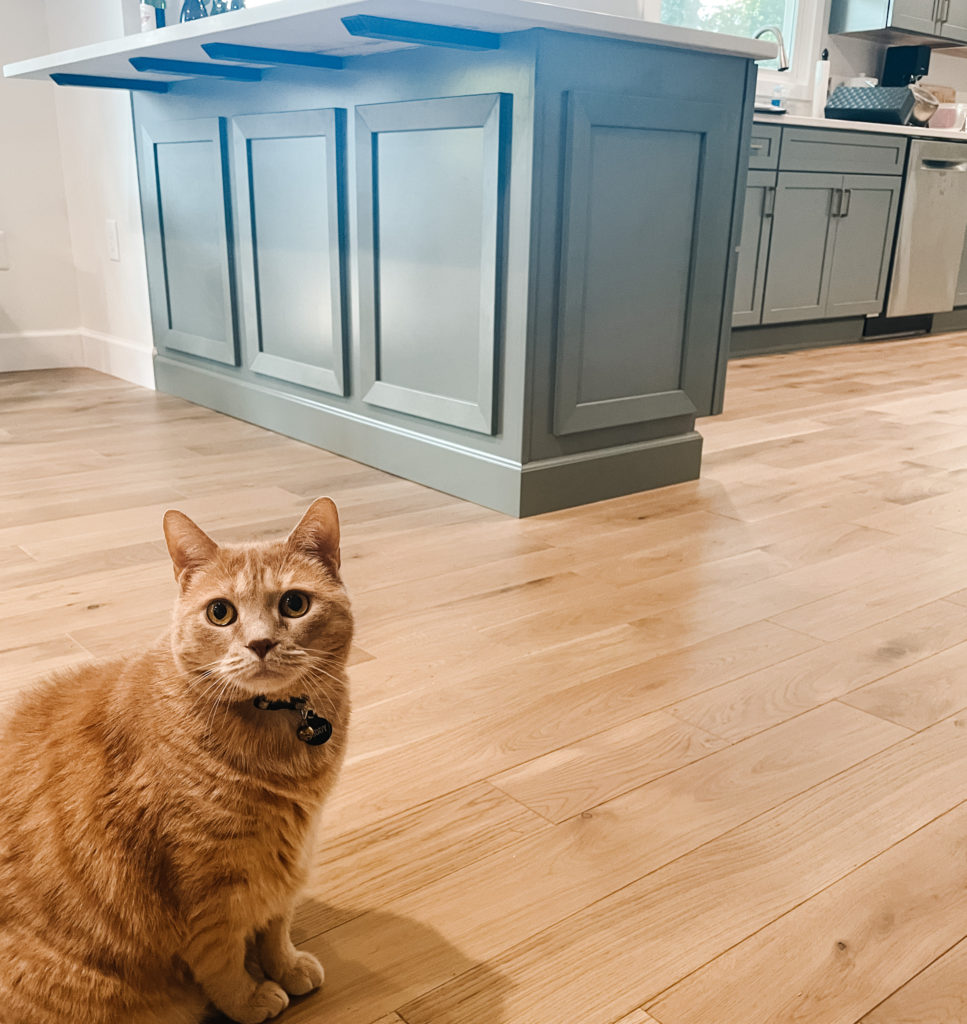
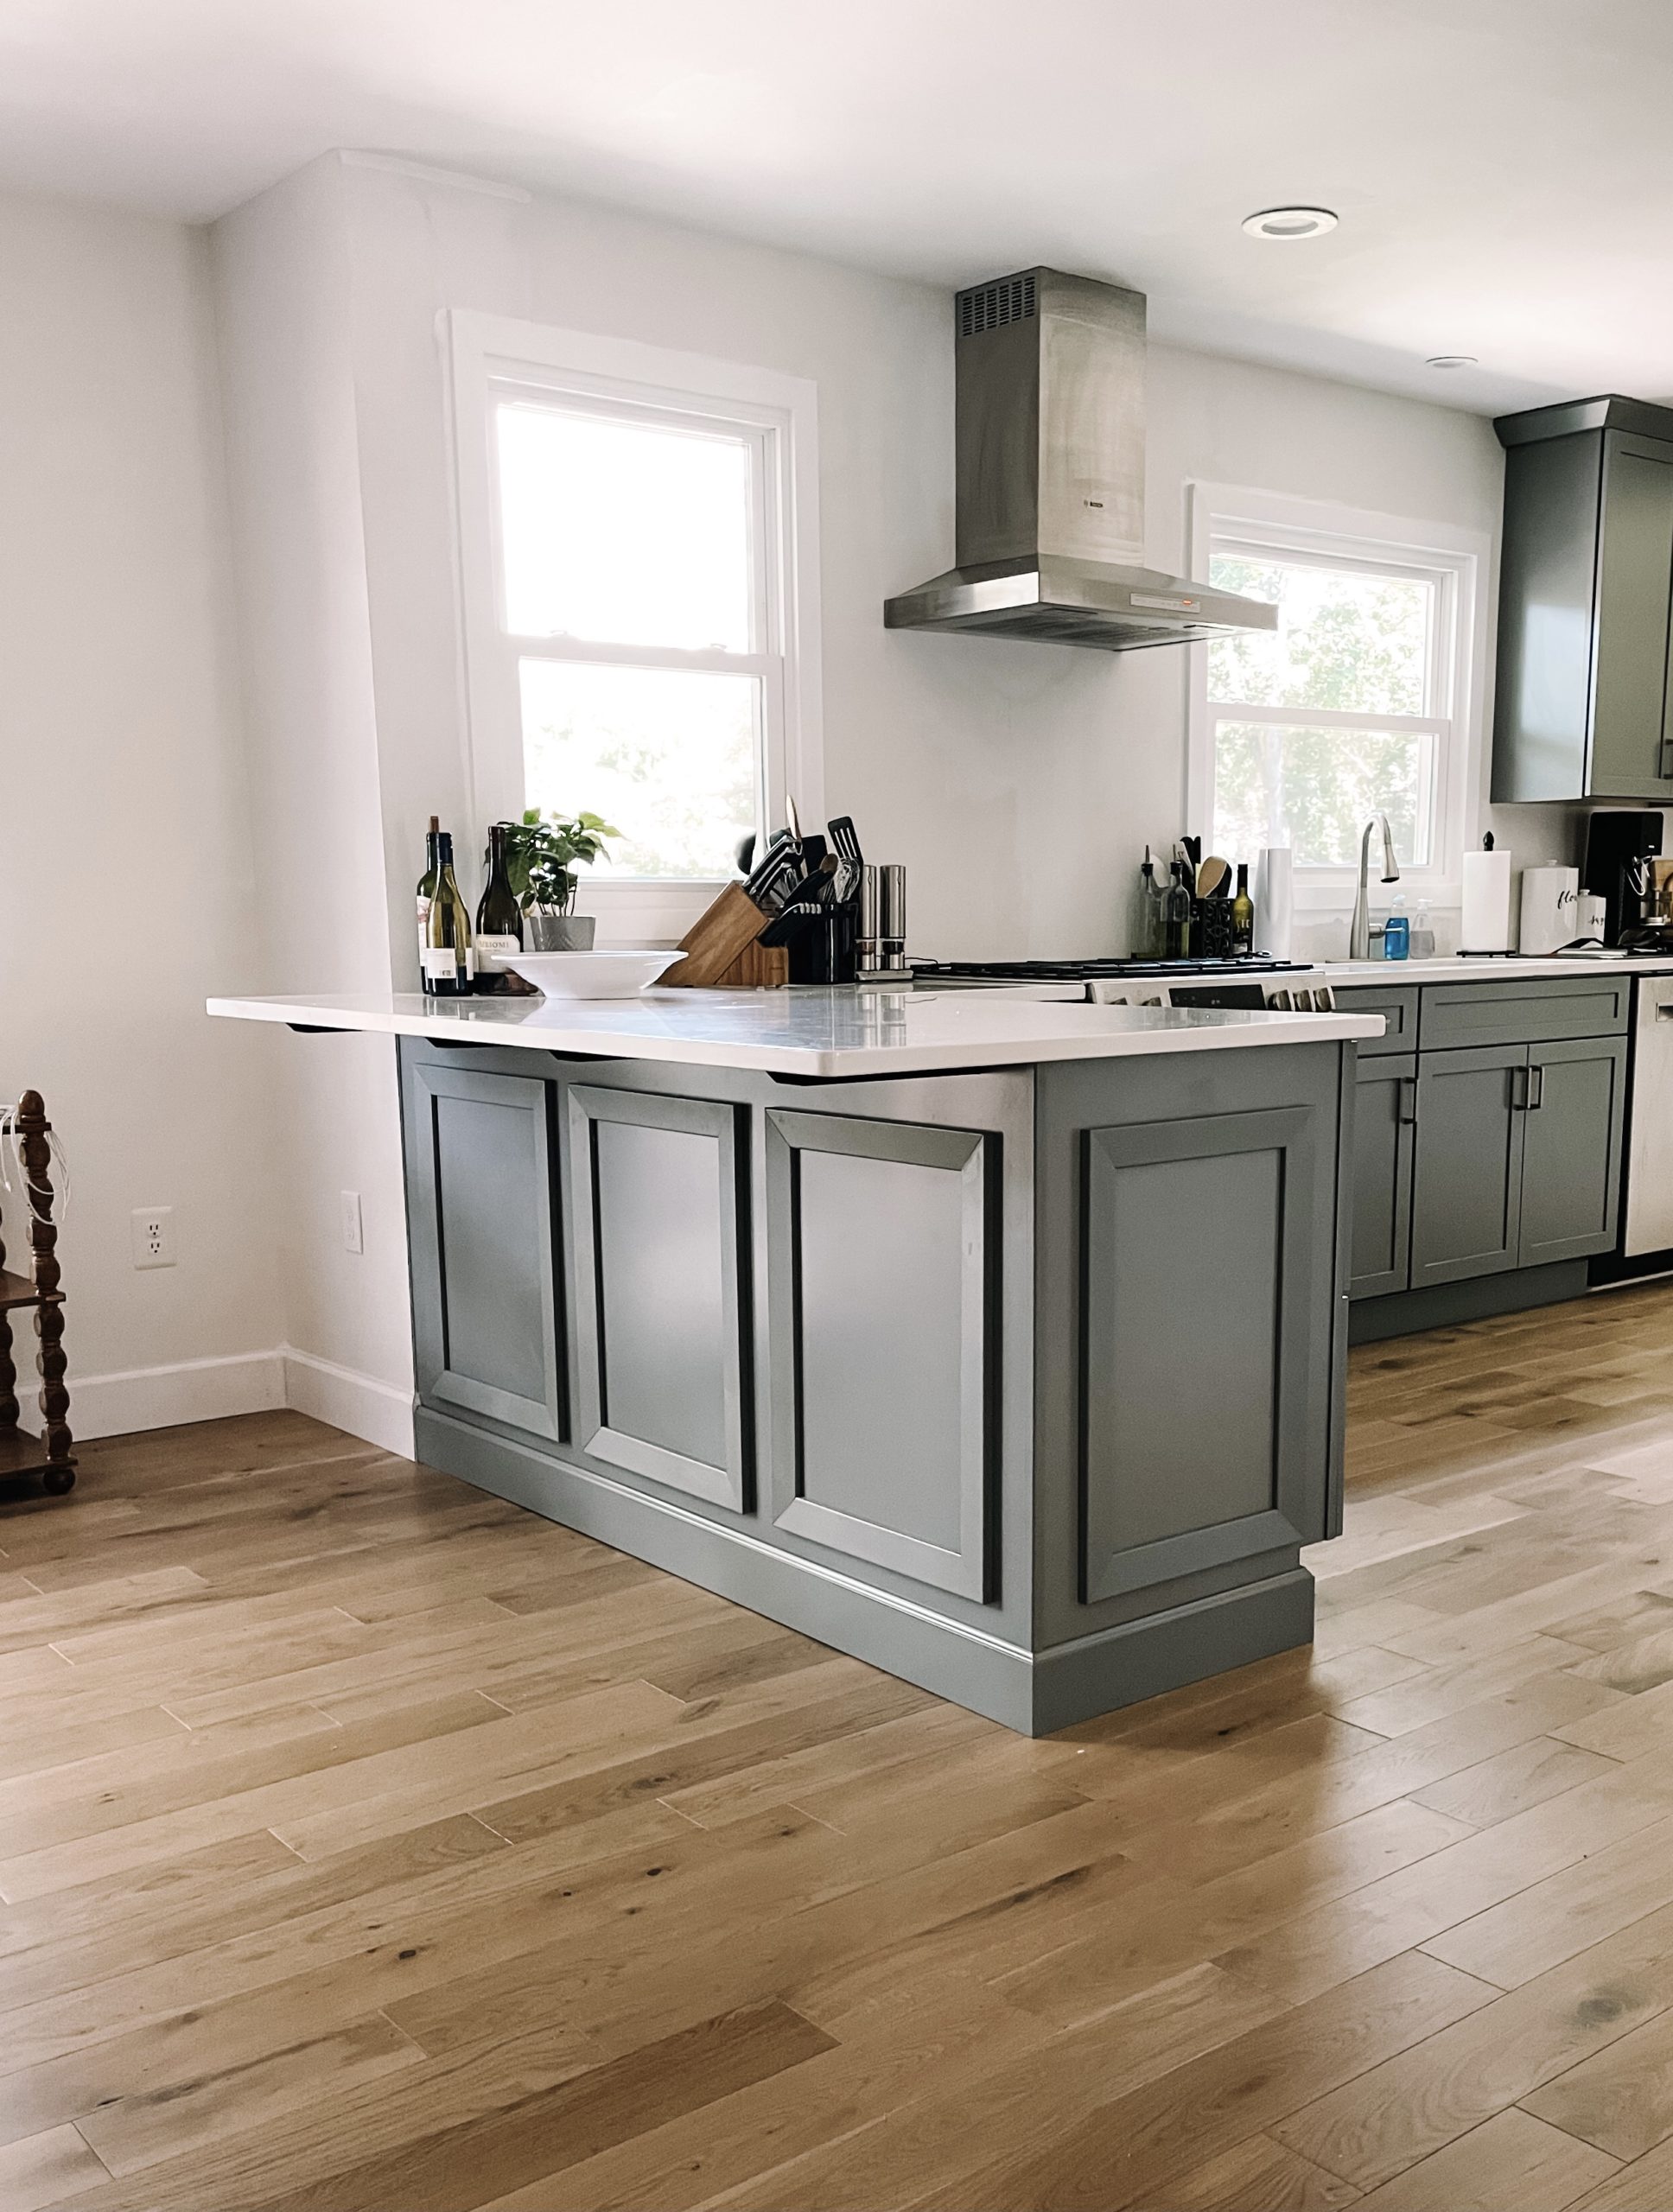
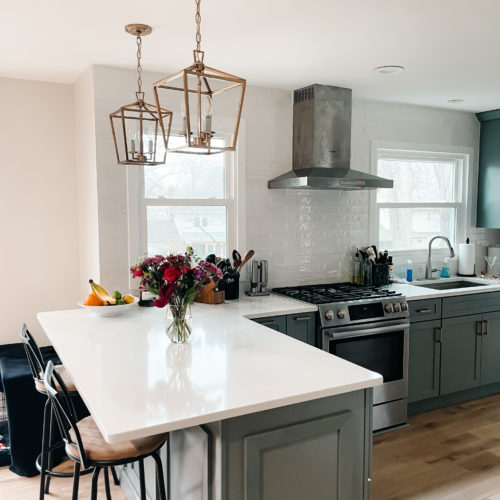
Look at the end results though!!! We’re so so happy with the finished product. It really ties the peninsula into the rest of the kitchen and makes it look incredibly custom. I can’t describe to you how exciting and rewarding it is to see this house slowly transform into our dream home. Thanks for following along with us. We can’t wait to see what’s next!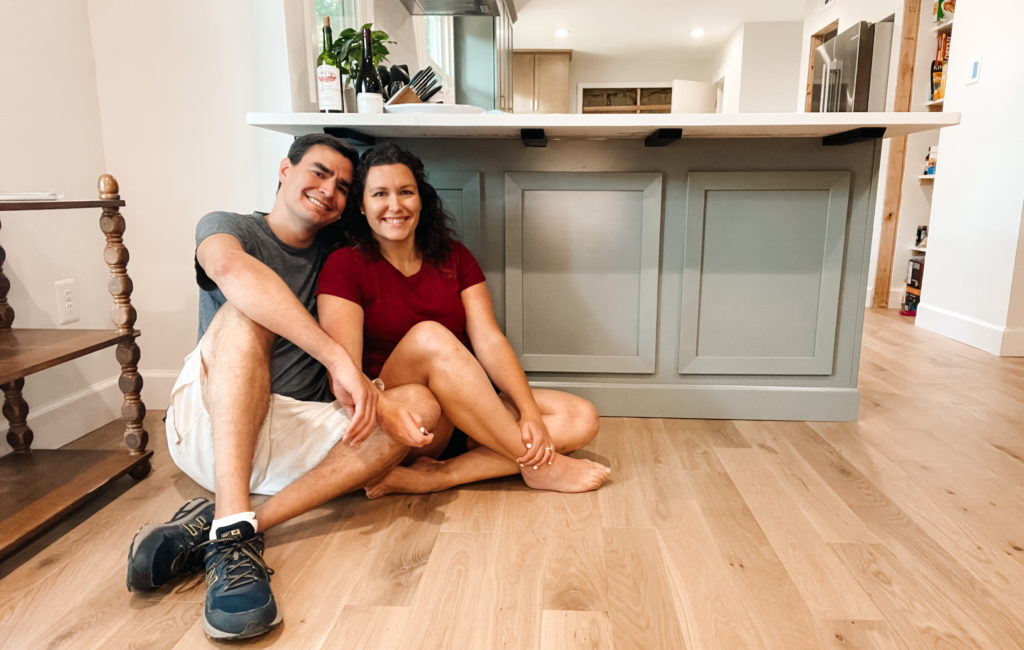


Leave a Reply