 We’re getting so close to a finished kitchen, I can’t even stand it. But one of the biggest pet peeves that I have in there are the windows. Or I guess more specifically it’s the lack of any trim on any of the windows. It’s like the 3 little pigs of windows in this house… one piggy window got shortened, one is a brand-new window that got cut and the last one was just part of the demo. Regardless of how we got here, all of the windows needed updating so I learned how to trim interior windows our kitchen and now I’m going to show you how too!
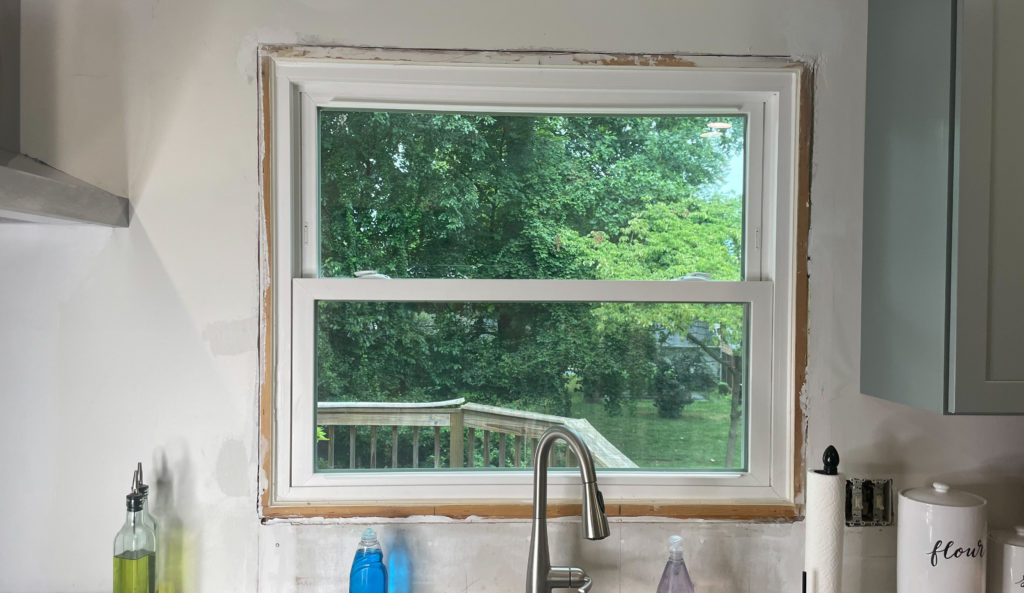
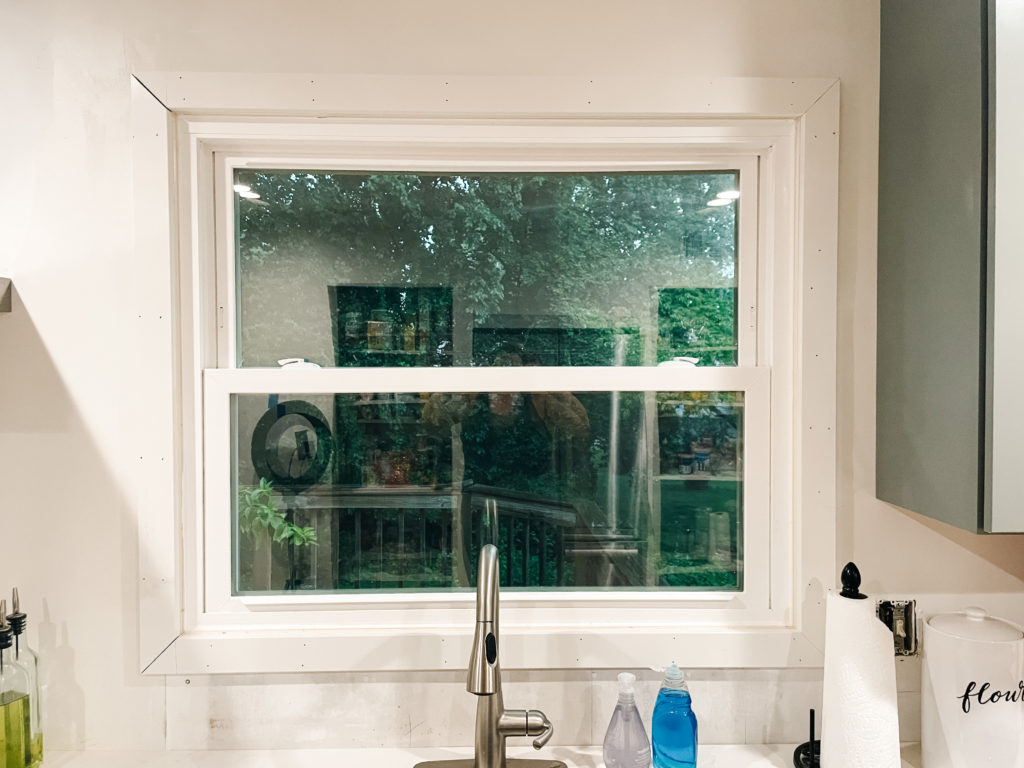
This is where we started. But before we get into it, here are the tools you need to install window trim: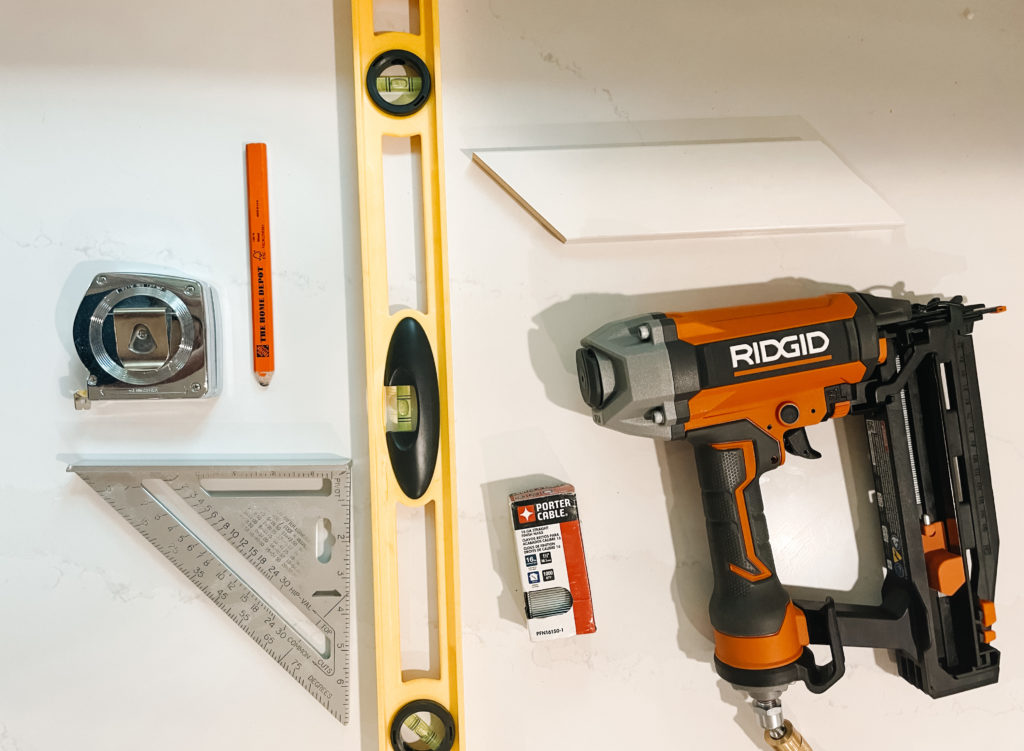
- Measuring Tape
- Molding
- A Level
- Framing Square
- Nail Gun
- 16 GA finishing nails
- A Pencil
- Miter Saw (not pictured)
How to trim interior windows
Day 1
For the kitchen, we’re sticking with a very simple square frame using craftsman molding (MDF) which is not wood, but a very firm composite. Since the corners will be angled at 45°, we went with a very basic formula:
Length/width + (width of the molding x 2)
In our case, the molding was 2.5 inches thick x 2 = 5 inches
36 ¼ L x 43 ¼ W + 5 inches = 41 ¼ L x 48 ¼ W (aka how long our cuts will be)
We set to work measuring and cutting the trim. Once you know the length the you need to cut your trim to, set up your Miter Saw to a 45° angle. As a tip, cut your first angled edge on your molding before marking your measurements to make sure your cuts are the right length.
I measure my lines straight across the wood and then use that to line up my angle so my cut angle would land exactly on the line. 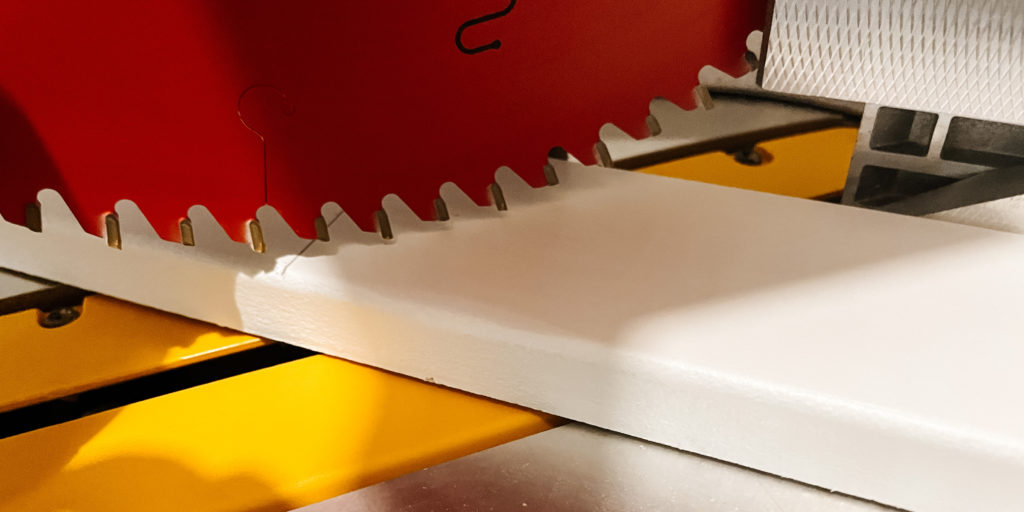
Make sure you are cutting on the right side of that line! It’s always better to be a little too long than too short! You can always trim it down.
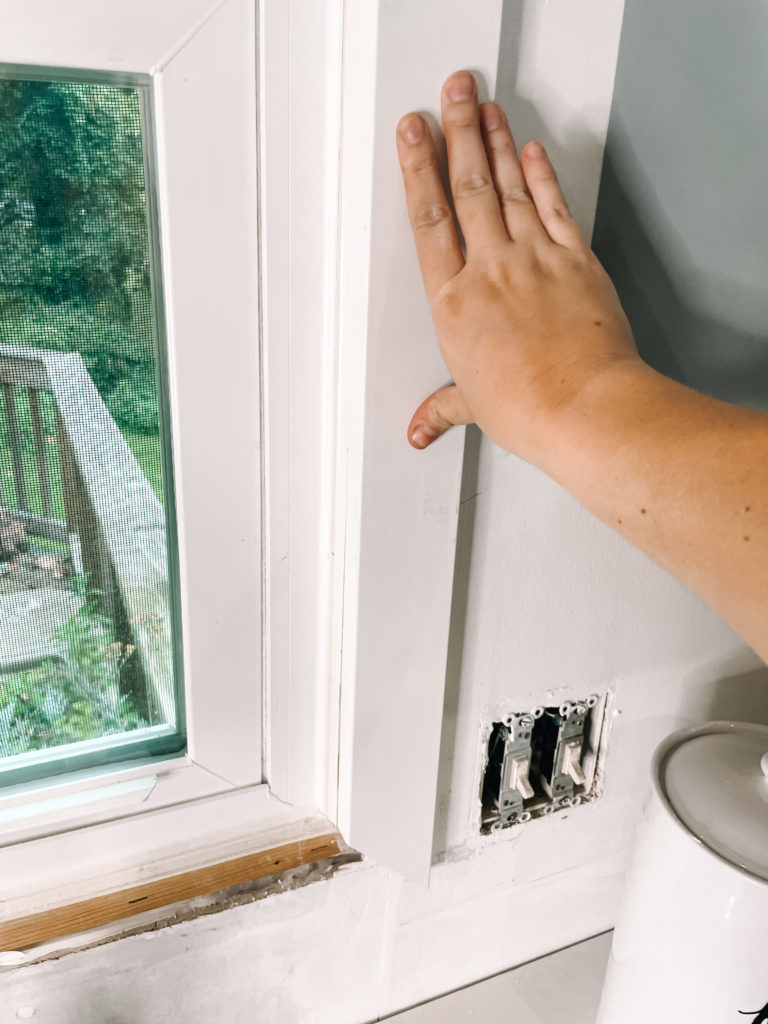
Once your pieces are cut and they line up on your window sill, you can start installing them. I started with 2 pieces and dry fit them first to make sure everything looked good. After the first two were installed, I remeasured and cut the remaining pieces as I went.
Use your level to make sure your trim pieces are being installed correctly! This will make the rest of the project go so much easier.
We’re using a nail gun with 16 GA finish nails.
Since the nail heads are so small on finishing nails, it gives a cleaner look on the finish product. It also makes filling all of those nail holes a lot quicker and less painful process.

When nailing in your trim you want to use two nails in each section as you work your way up the molding. The inside nail will hold the molding to the window frame, the outside nail will hold the molding to the drywall. This will make the trim very secure in place.
I followed the same pattern around the rest of the window until we had a full frame. That was it! How to trim interior windows the kitchen!
Next step, filling those holes, caulking and paint!
Day 2
Day two of the project was a LOT less stressful since it was all things I’ve done before. Aka filling holes, caulking and painting the frames. I said less stressful, but it’s also the more labor-intensive day of learning how to trim interior windows.
How to Trim Interior Windows
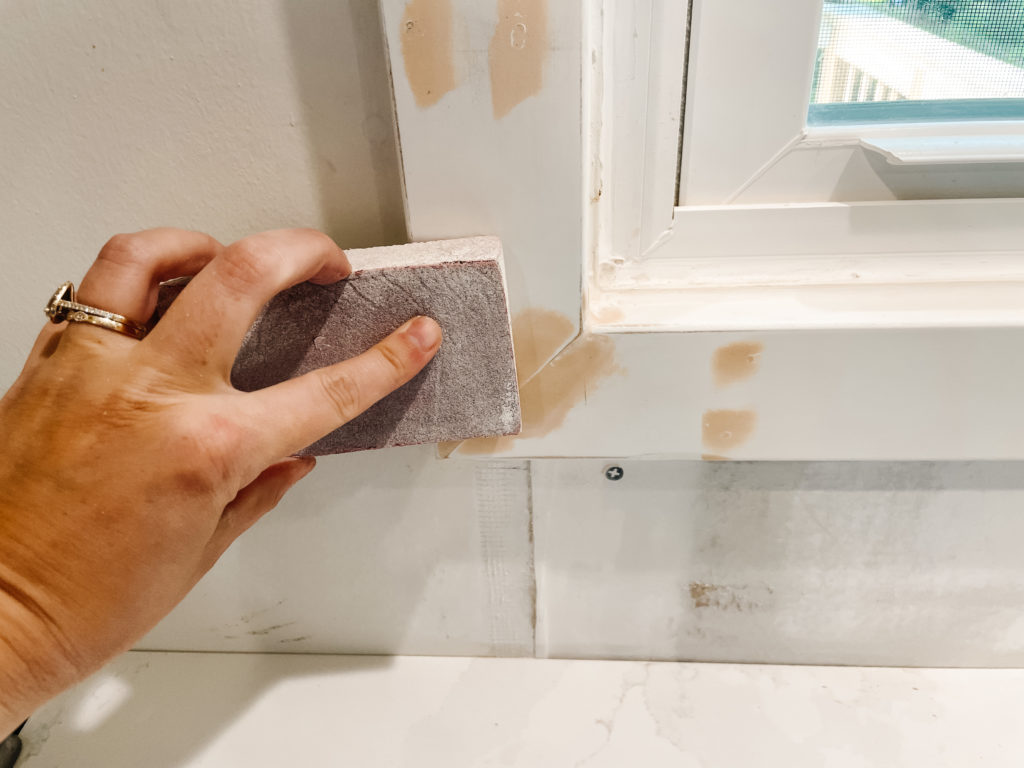
The very first thing I needed to do was use the wood filler to fill all of the holes made by the nails and in the corner seams.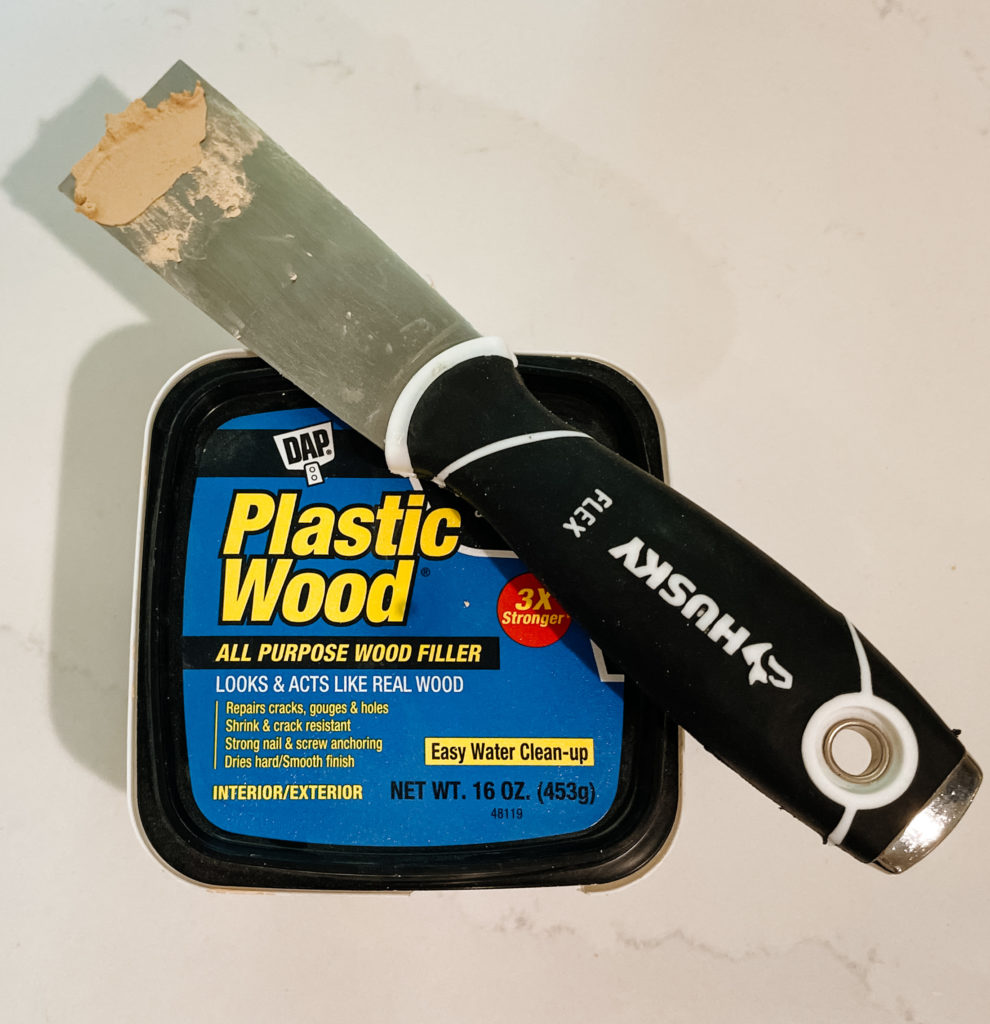
Wood filler is key here since it goes on as a putty, but will essentially act as wood once it’s dry. That means is you can sand it and paint it.
A little goes a long way here and if we’re being honest here, which we can because we’re friends… I’m a glooper. I always use too much. Wood filler, joint compound, you name it… which also means I end up having to sand wayyy more than necessary.
Don’t be a glooper. You can use your spackle knife and scrape off most of the excess avoiding yourself a lot of hassle.

While the wood filler is drying, you can move onto your caulk.
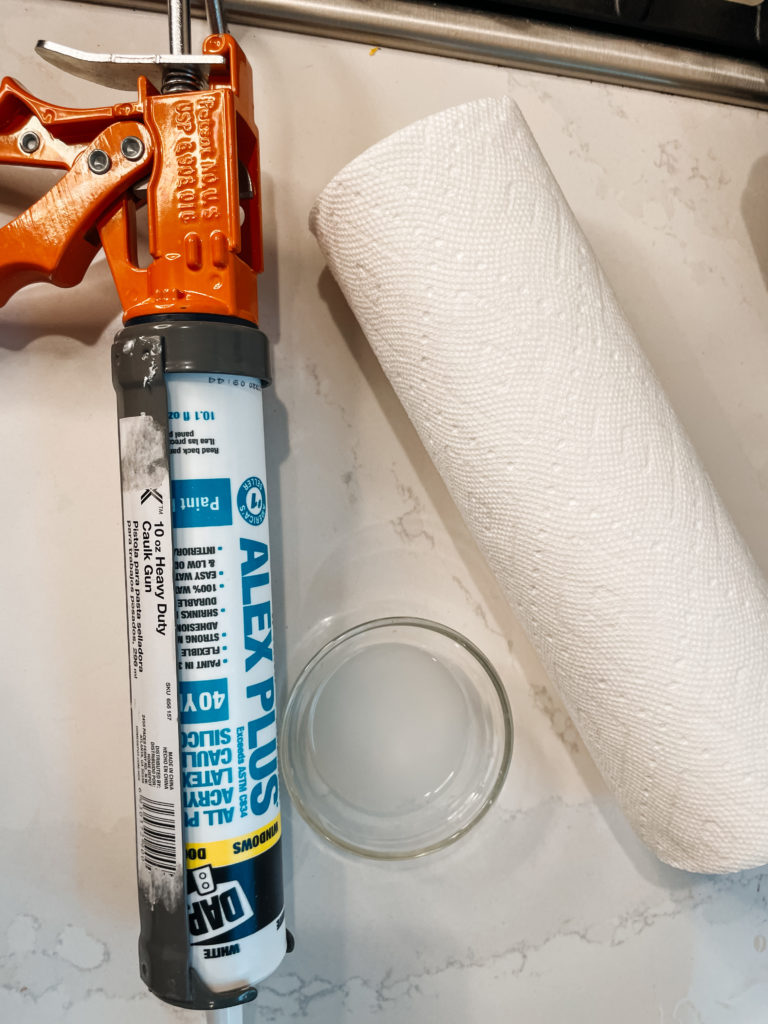
We are using paintable caulk for this project which is important because it is different from the caulk you’d use in your bathroom. While both are water resistant, the bathroom caulk is not paintable and the paint will more or less turn into little droplets on contact.
The paintable caulk will let you cover over it to give really clean lines.
The only other tools you’ll need besides the caulk and the gun are a small cup of water and LOTS of paper towels.
How to caulk your trim
Cut a very small angled hole in the tip of the caulk. For this I CAREFULLY used a utility knife, but you can also use the caulk gun itself.
When you’re ready to start using the gun, begin cranking the handle. The pressure will increase forcing the caulk out the top. WARNING: The caulk will continue to come out unless you release the pressure using the silver clip and the bottom. This little clip will be your best friend because otherwise this is an extremely messy project.
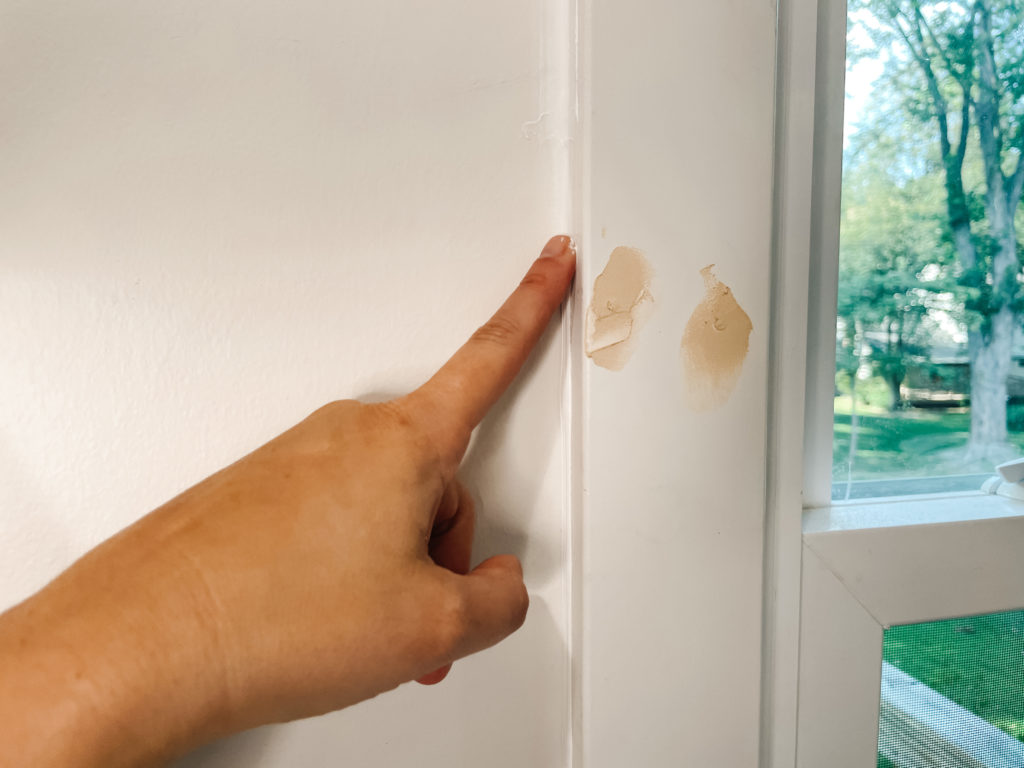
Run a thin line of caulk around the interior crack connecting the window and the new frame. Then wet your finger and run it down the caulk to smooth it out. Use the paper towel to wipe the excess off your finger as needed. Continue this process around the window and then do the same for the exterior of the frame (where the wood hits the drywall).
Make it look pretty
Follow the filler and caulk instructions for dry times, but 2-6 hours should be more than sufficient. Then you can go ahead and sand down your filler until you have nice smooth surfaces.
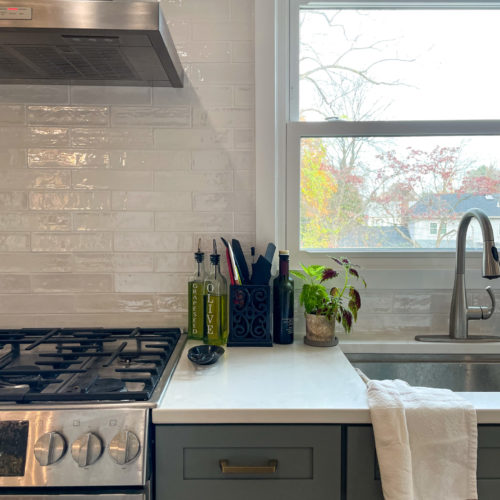
Finally, you’re good to paint! We used a white semi-gloss paint for this project and our window trim needed 2 coats of paint.
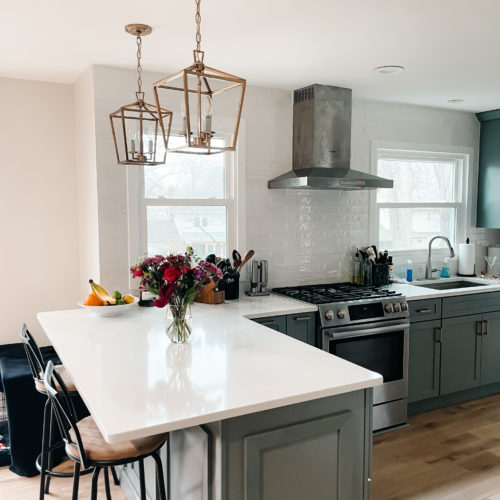
Here’s the finished product! Learning how to trim interior windows was a great first step in a longggg list of projects that we need to get done for this house, but now that I’ve tackled this, I feel confident taking on even bigger projects!


Leave a Reply