Our How-To Home

  • How-To
  • DIY
  • Lifestyle
    • Recipes
    • Kristen’s Book Club
  • Blog
    • Home Updates

Explore

  • How-To
  • DIY
  • Lifestyle
  • Blog
  • About Us
  • Ask Us Anything
  • Kristen’s Book Club

Connect

You are here: Home / How-To / Your Easy Guide to Patching a Drywall Hole

How-To · July 7, 2021

Your Easy Guide to Patching a Drywall Hole

Today I’m going to show you how to fix on of the most popular issues you’ll have in your home. How to patch a drywall hole.

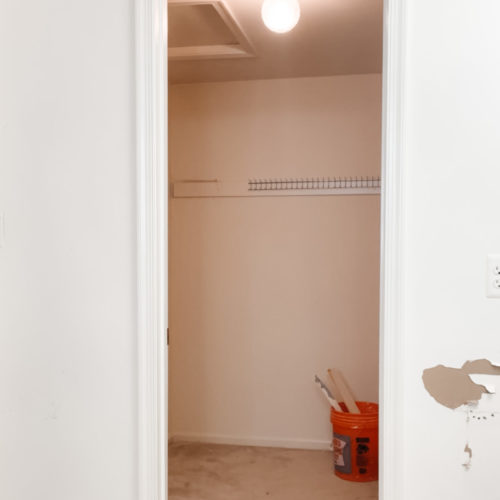
We have a bunch of little holes from running a wire for our recessed lighting a few weeks ago and I wanted to take you through the process of how to patch them in a couple different scenarios.

For this project you’ll need:

  • Drywall
  • A Utility knife
  • A saw if necessary for cleaning up your edges
  • A measuring tape or ruler depending on the size of your project
  • A pencil
  • Drill
  • Drywall screws
  • Extra wood that will be at least 2 inches longer than your hole.
  • Drywall tape
  • Joint compound
  • A putty knife
  • Fine Sand paper (120-150 grit)

The best way to see it is by watching it – check out the video here!

A couple of notes before we get started.

  1. There are multiple kinds of joint compound including wet and powder versions. If you’re just starting out, I would recommend the wet version which is going to come in a tub and will require little to no work to use. The powder form dries faster but requires you to mix it by hand work really quickly before it dries.
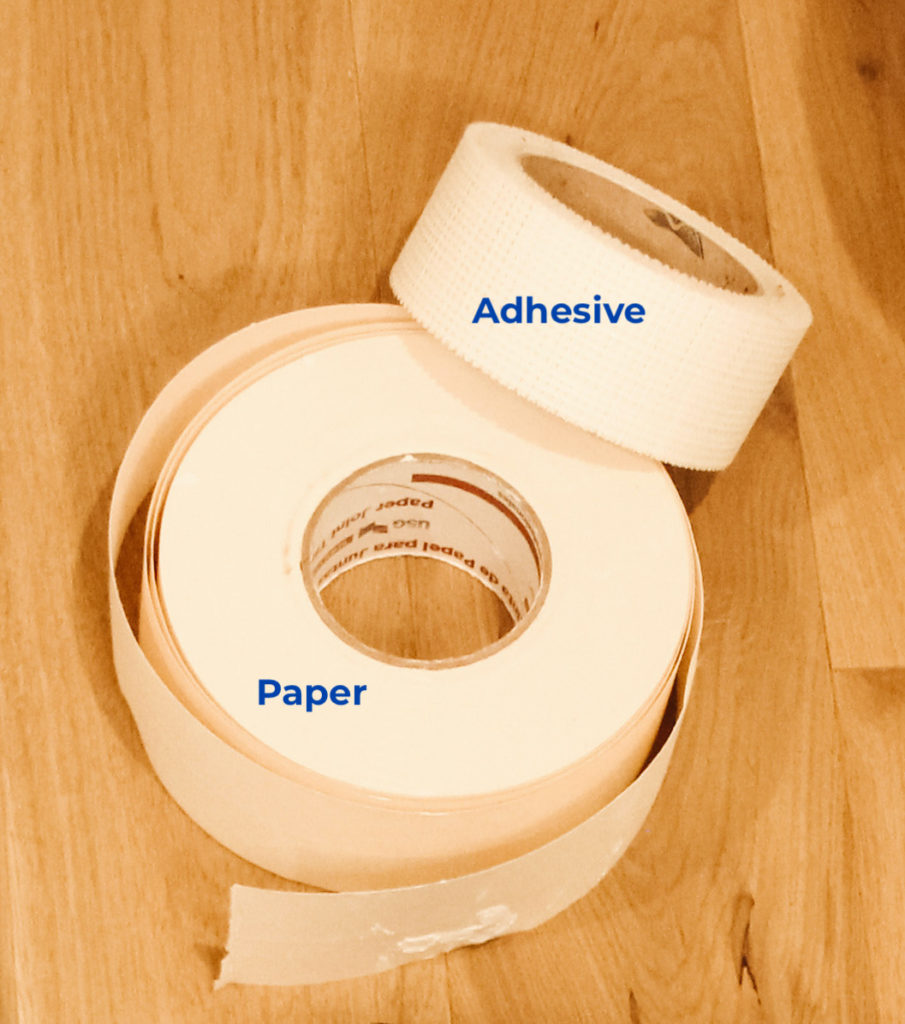
  2. There are also different kinds of drywall tape. We have paper and mesh tape. I’ll show you how to use both. 

This seems like a lot of equipment. Why do we need so many things to learn how to patch a drywall hole?

You may be thinking that the extra wood and the drywall tape seem unnecessary but they serve very important roles.

The extra wood is what we’re going to use to keep the new piece of drywall in place. Otherwise your new drywall square would just fall through the hole.

The drywall tape is to keep everything in place and stop the old drywall from separating from the new drywall. Houses shift and move. People :cough: :cough: accidentally run into wall sometimes. Without the tape, a minor shift could cause the two pieces to shift and the joint compound to crack.

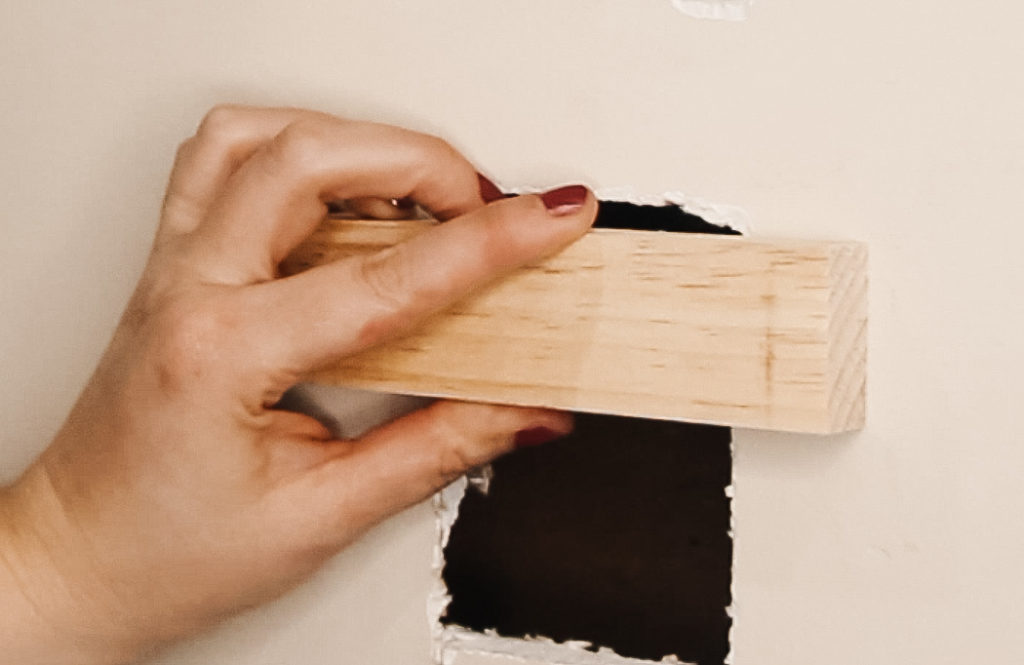
So let’s get started!

How to patch a drywall hole

I’m going to start by placing my wood piece in place. I’ve already cut it to the size that I need and since this is a small hole, I’m only going to use one. If your hole is larger than this, you can use two or as many as you need to stabilize the drywall.

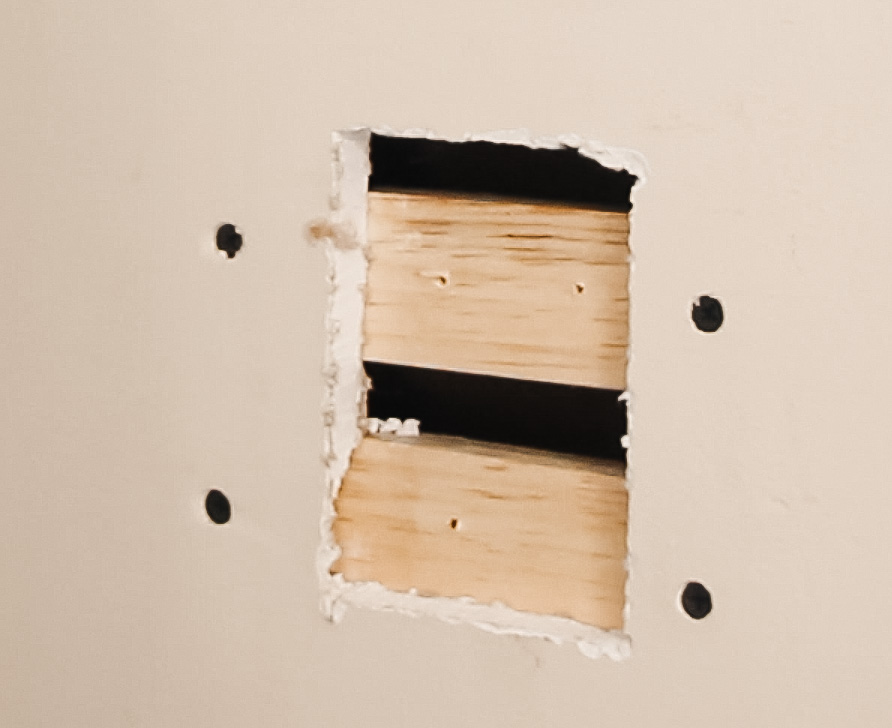
To easily place the wood, I’m going to drill a hole into the middle of the stick to use as a handle to hold onto while I align and screw it in place.

Once the wood is screwed in and secure, I can go ahead a cut my drywall.

Cutting drywall is actually very simple. Once I measure how large my square needs to be, I draw that out on my drywall. Then all you have to do is take your knife and cut along the lines. (I usually go over each line twice).

Then bend the drywall away from the cut and it will snap. Finally, just go back and score the back side of your drywall and you’re done!

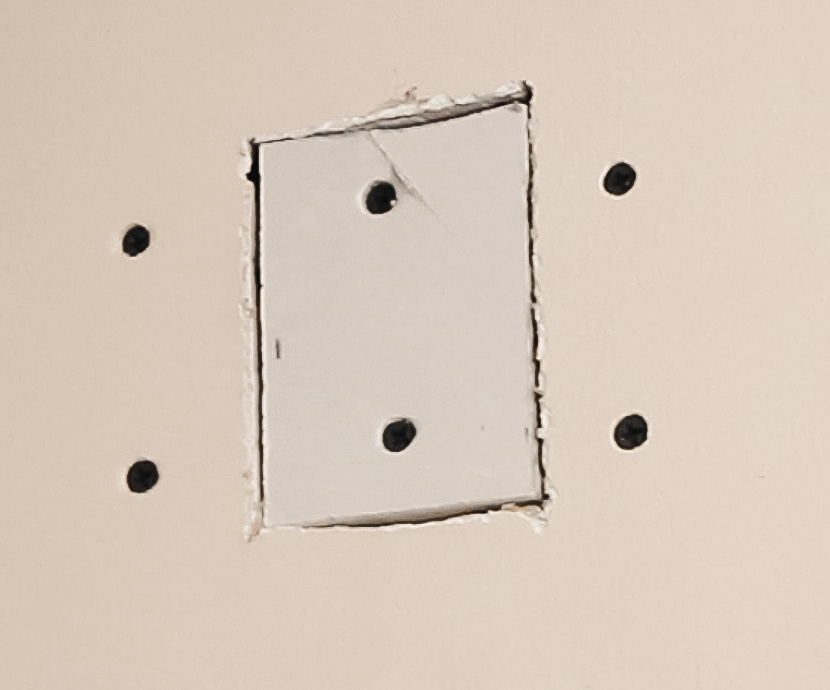
Now we just have to make sure the drywall fits and screw it in. If it doesn’t fit, you can take your knife or your saw and just trim it down a bit until it fits snug.

Then just screw it into those wood pieces you installed.
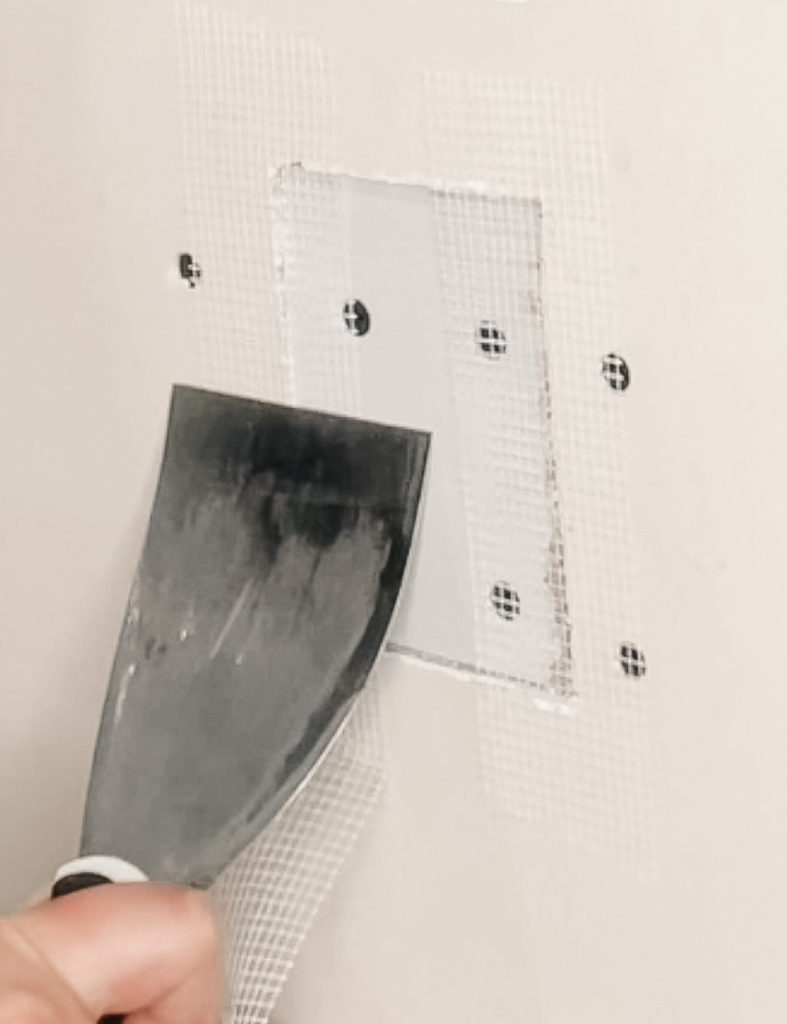
Mesh Adhesive Tape

Once our drywall is screwed into the wall, I’m going to grab our tape. For this first hole, we’ll be using the mesh tape which has an adhesive on the back of it. (the paper tape does not). Apply the tape by lining it up along the seam of the new and old drywall. Use your putty knife to press the tape down and secure it in place.

Paper Tape

For the paper tape, you’re going to need to have your joint compound ready to go. Since there is no adhesive, you’ll spread a thin layer of compound first and lay the paper tape on that. Then lightly cover the paper with another layer.

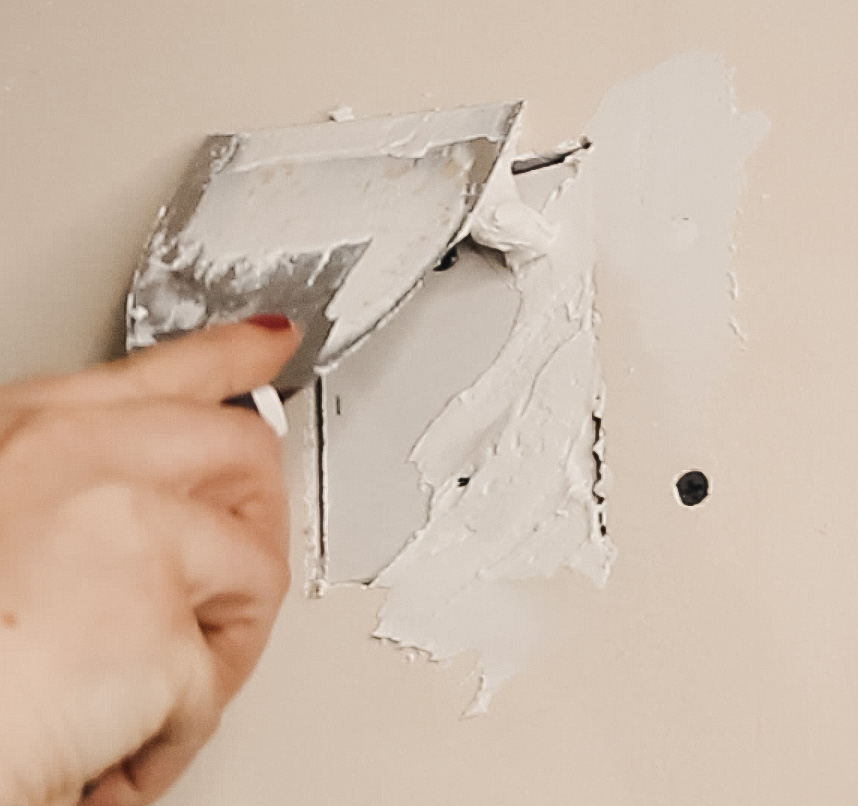
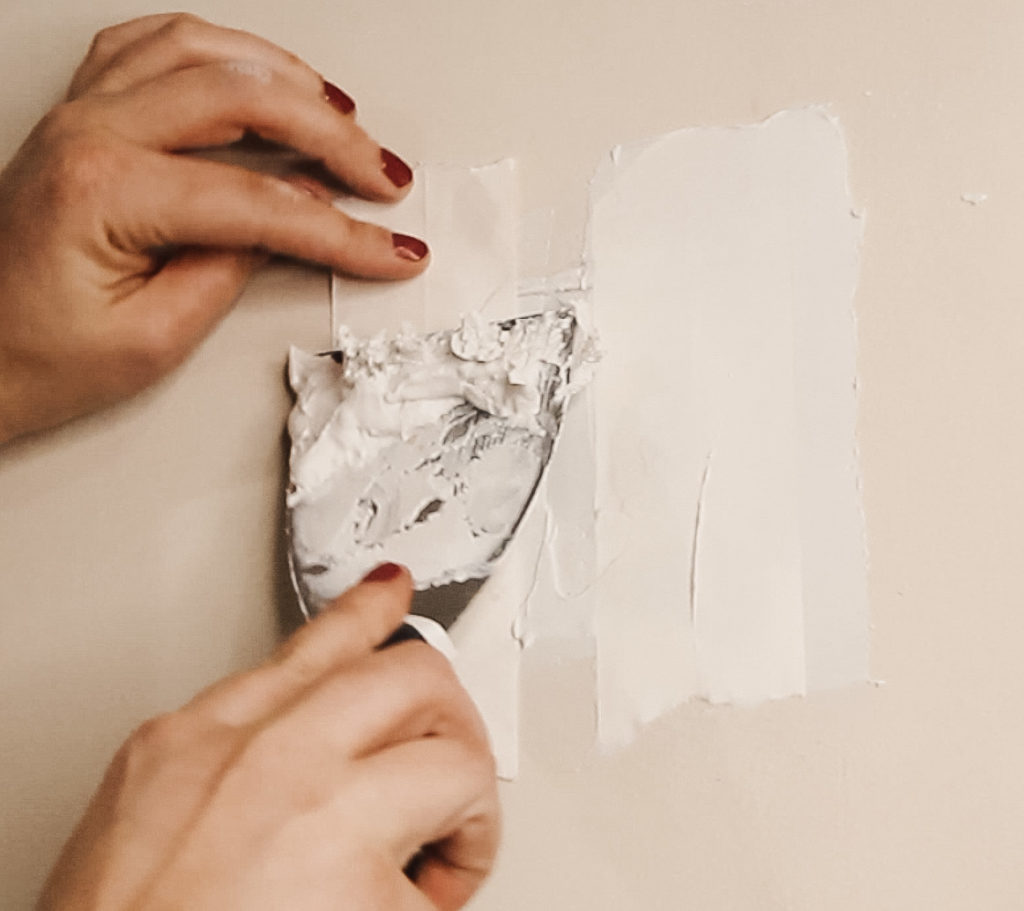
Now you’re ready to slather this thing with joint compound!

A rule of thumb for joint compound is to spread it on as thin as possible, in multiple layers. The thicker the layer, the longer it’s going to take to dry and the harder it will be to sand smooth. Apply a thin layer over the tape for the first round and on each round spread the joint compound a bit further out to make a smooth transition to the existing wall.

Once your sanded smooth, you’re ready for paint!

See learning how to patch a hole in your drywall is easy! Once you try it, let me know how it goes in the comments below! 

Posted By: Kristen · In: How-To

Mini Chicken and Waffles – The Ultimate Brunch Appetizer!
Raspberry Pina Colada Recipe – Incredibly Delicious And So Easy!

You’ll Also Love

Make a Doorway in an Existing Wall
Moving A Doorway: Demo And Rebuild In One Day
Gray, black and gold powder bathroomQuickly Remove a Bathroom Vanity

Comments

  1. Chrissy says

    July 7, 2021 at 12:06 PM

    Thanks for sharing! We will try this to fix the holes in the wall form the kids!

    Reply
    • ourhowtohome says

      July 7, 2021 at 12:26 PM

      I hope it helps! It’ll probably be useful as the get bigger/ more rambunctious too! 🙂

      Reply

Leave a Reply Cancel reply

Your email address will not be published. Required fields are marked *

Recipe Rating


Trending

  • Want a Black Interior Front Door? How New Trim And Paint Change Everything
  • Our Beautiful Traditional Brick House With Black Windows Remodel
  • Mini Chicken and Waffles – The Ultimate Brunch Appetizer!
  • Glass Barn Doors Gave Our Office A Stunning Modern Look
  • Gray, black and gold powder bathroom
    Get the Room: Details & Links – The Powder Room

Categories

  • Blog
  • DIY
  • How-To
  • Lifestyle
    • Kristen’s Book Club

More You’ll Love

This is the Easiest Homemade Apple Sauce You’ll Ever Make!

This is the Easiest Homemade Apple Sauce You’ll Ever Make!

Make Your Own Welcome Mat

Make Your Own Welcome Mat

Easily Install Cement Board to Prep for Tile Installation

Easily Install Cement Board to Prep for Tile Installation

ourhowtohome

Scarlett Annette Mangold ♥️ You are so so lov Scarlett Annette Mangold ♥️ 
You are so so loved baby girl.
One view of this nursery just isn’t enough😍 One view of this nursery just isn’t enough😍

We’re days away from meeting our little girl and if she’s anything like her parents we’re in big trouble! 

At least the room is cute. 

#nursery #babygirl #nurserydecor #nurseryinspo #nurserydesign #safaribaby #safaritheme #littlegirlsroom #38weekspregnant #whitefurniture #refurbishedfurniture #refinishedfurniture #diyhomedecor #diyprojects #housetohome
We’re so ready for you baby girl! When we starte We’re so ready for you baby girl! When we started working in the nursery there was not a chance I thought it would be totally ready in time. Close? Sure. But finished? No way. 

We are so lucky to have so many people help us along the way (and for getting so many great deals on marketplace to bring this room together!) 

Now all we need is a little girl to use it!

#nursery #nurserydecor #nurseryinspo #babygirl #babygirlnursery #safari #animalnursery #facebookmarketplace #refurbished #38weekspregnant #nurseryideas #babygirlroom #homedesign #bedroomdesign #changingstation #safaribaby
Bookshelves for the nursery are FINISHED!! Can yo Bookshelves for the nursery are FINISHED!!

Can you believe this was all done with scrap wood that we had in the garage? 

For our baby shower we asked guests to bring a book in lieu of a card and im obsessed. We have the perfect amount of new stories to fill our shelves and a million memories to make in this cozy nook. 

#booknook #bookshelves #bookshelvesofinstagram #childrensbooks #nursery #nurserydecor #nurseryinspo #scrapwood #scrapwoodproject #reelsinstagram #memoriesforlife #snuggletime #cozynook #reelsvideo #nurseryroom #nurseryinspiration #childrensroom #reelsviral #childrensroominspo
What a year it’s been! I feel like we’ve don What a year it’s been! 

I feel like we’ve done so much work to the house this year but when it’s almost all in one room, I’m realizing it doesn’t always look like it. 

With the nursery almost ready to go and baby girl coming any day, we can only begin to imagine the great things 2023 is going to have in store for us! 

Happy New Year everyone!

Thanks for sticking around and being a part of our story 💜

#newyearseve #2022recap #2022wrapped #homeprojects #2023 #happynewyear #housetoahome #primarybathroom #livingroom #homedecor #renovation #newyear #recap2022 #reelsofinstagram😍 #reelsvideo #homesweethome #homedesign #nursery #boardandbatten
GAME CHANGER After years of making gingerbread h GAME CHANGER 

After years of making gingerbread houses and waiting the torturous overnight for the icing to dry we finally asked the question - why are we doing it this way?
 
Hot glue for the win! We saved the icing for decorating and the brownstones we’re ready for decorating immediately. 

Even Kevin who was a skeptical gingerbread traditionalist agrees… we’re never going back!

#nevergoingback #gamechanger #rowhomes #gingerbreadhouse #gingerbread #reelsinstagram #instagood #christmascrafts #christmasdecor #reelinstagram #christmasreels #holidayseason #christmasvibes
When I found this sleigh in the Target dollar sect When I found this sleigh in the Target dollar section, I knew it needed to be part of our holiday decor this year. Only problem? It needed a little something extra- queue for the stain! 

This updated sleigh is so cute and the perfect addition to our mantle. I found this pine cone filler and mini ornaments to complete the look! 

#christmasdecor #sleigh #pinecone #miniornaments #mantledecor #merrychristmas #holidaydecor #holidaycrafts #reelsvideo #merryandbright #stain #sleighride #christmastime #holidayseason #reelforyou #christmasmantel
Load More... Follow on Instagram
  • Privacy Policy

Copyright © 2023 Our How-To Home · Theme by 17th Avenue