Great News! After having the kitchen done for almost 8 months, we’re finally finishing one of the most crucial parts: the backsplash. It took a while to find the perfect white subway tile for this project (and trust me, we looked at a ton of them). We ultimately decided on the Jeffrey Court Cotton Blossom tile. It also took us weeks to get the tile delivered and once it arrived, we went to go pick it up from the hardware store only to find out that half of the boxes had been smashed…. like completed shattered. So much for those fragile warnings huh? So here we are, tile in hand, ready to go get to work installing a backsplash in the kitchen.
Like our kitchen? Find links to our favorites here!
Ordering your Materials
First things first. Let’s make sure your tile is ready to go. When ordering the tile you need to measure out your space. There are a bunch of online tools to make sure you’re getting enough tile for your job, but general rule of thumb is to order and extra 10% over however many tiles you think you’re going to need.
Unless you have a truly massive kitchen, one bag of mortar and grout should be enough for your project. Check the instructions to be sure, but we’ve never had to use more than one bag per kitchen project.
Prepping the Area
First things first. Clean off all of your countertops, remove outlet covers and give yourself plenty of space to work. This is a messy job and you are not going to want any of your normal kitchen items to get caught in the cross roads. For us, it also meant removing our range hood. We removed the chimney of the hood first before taking off the exhaust part.
There are only a few screws holding the hood to the wall so it seems easy enough, but safely taking the hood down is a two-person job.
Get Your Materials Together
For this project we used two different tile cutters. The first was a manual cutter that scores the tile and then uses presser for simple straight cuts. You can see an example of how this is done in the video above. The second was a wet saw that we borrowed from friends of ours. Since the saw uses a spinning blade, the water avoids sparks and helps cut more precise corners, angles and more complicated cuts.
Beyond both cutters having different uses, the reality of the situation is it is cold outside. The wet saw really needs to be used outside. I’ve seen some people use it in their bathtub, but that mess is not for me. The manual cutter can be used inside which is a huge bonus on cold winter days.
Now before you do anything, determining your tile pattern is crucial. Once your mortar is mixed, you have a limited time until it dries so you should have your plan set to go so you can jump right in and get started. Since we wanted a subway tile look, we’re cutting every other tile in the first row in half to create a staggered effect.
Tools You Need:
- Tile cutter – manual or wet saw
- Drill and Mud Mixer for making grout and mortar
- Tile Spacers – we use 1/8 inch spacers
- Grout Float
- Sponge
Prepping your Mortar
With everything in place, I got to work mixing our mortar. Follow the instructions on the packaging mixing your powdered mortar with water. Mix well until it is the consistency of peanut butter. Mortar goes a long way so I always error on the side of multiple small batches rather than one giant batch in the beginning. (If nothing else, it’s a pain to clean out the bucket).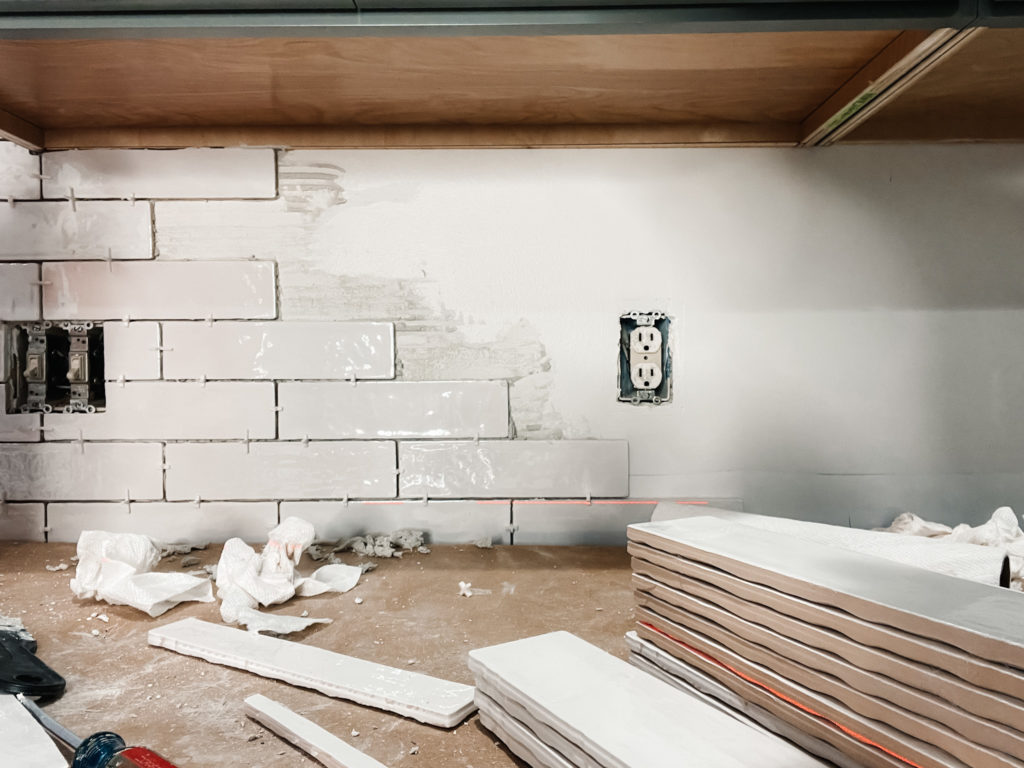
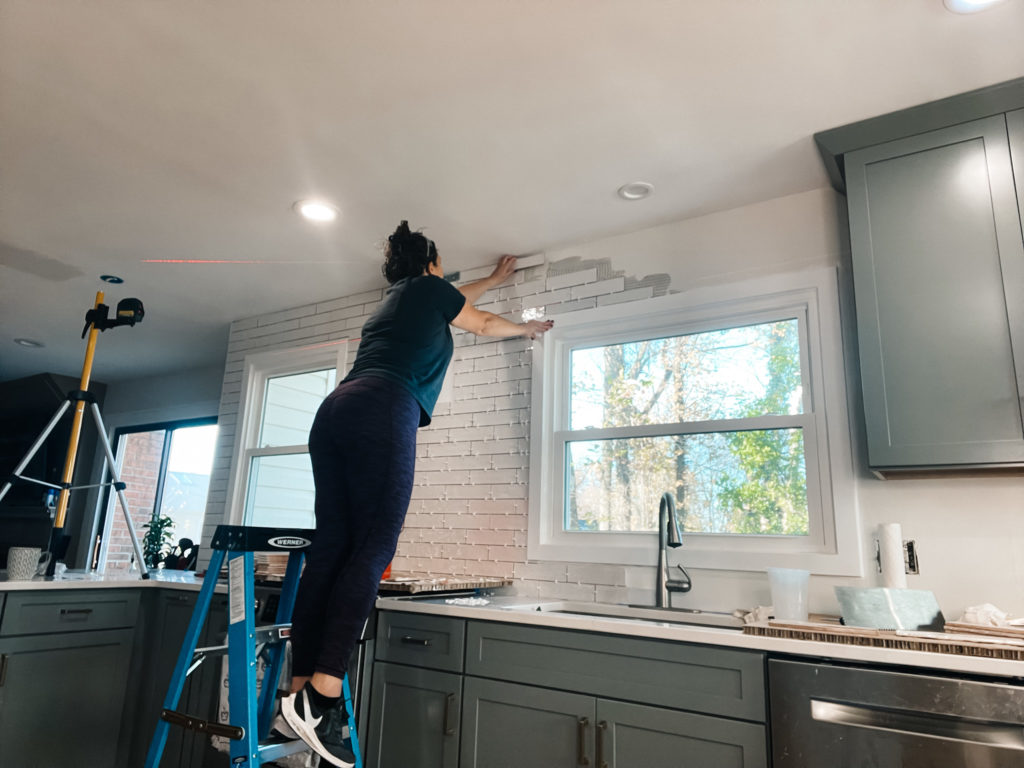
Start Installing a backsplash in the Kitchen
Since we have open edges on each side of the wall, we’re using Schluter systems trim pieces for to create a sleek smooth edge. These can be found in your local hardware store and comes in a number of shape and color options. To install the trim piece, first cut it to the size of your wall. We used an angle grinder, but you could probably use metal cutting shears as well. Spread your mortar on the wall and then apply the already cut to size trim piece. Apple the tile directly on top. The tile will sit on top of the trim to secure it in place.
Then it’s just time to put your head down and get to work. When applying your tile, there are two main ways to do it:
- First applying the mortar directly onto your tile. This is most useful for tight spaces. In either case, you want make sure there are lines in the mortar which will allow the tile to grip to the wall.
- The second way to install tile is applying the mortar directly to the wall and then placing the tile on top. This is most useful for long straightaways and areas were you don’t need to go back and make a lot of custom cuts.
For our tile, we opted for 1/8 inch spacers, but they come in many different sizes. These spacers were placed between every tile to allow for equal spacing across the whole wall.
Once the mortar dries, you can go ahead and remove the spacers. These can be reused for future projects. I also went ahead a scraped any excess mortar off the tiles to prep for the grout.
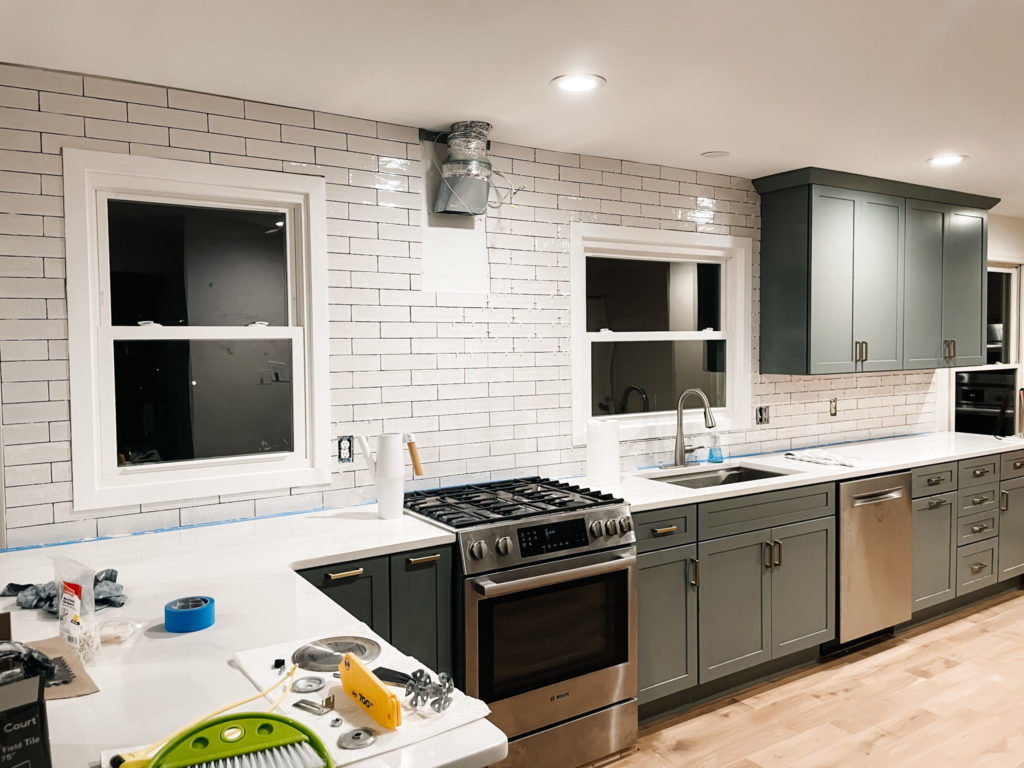
Apply your Grout
The next part of this project is applying the grout. The instructions are going to tell you to apply your grout across the whole wall and then wipe off the excess at the end. Speaking from personal heartache, DO NOT DO THIS. Your grout will dry and then it is an absolute nightmare to get off the tile. Instead, apply the grout in small sections and then wipe off the excess before moving on to the next section.
For our backsplash, we wanted a really crisp white so we chose the Mapei Ultracolor Plus unsanded grout in Avalanche (#38).
Since we don’t want to hurt the tile, we’re using a foam grout float to press the grout into the spaces between the tile. Once a section was complete, I took my large, damp sponge and wiped the excess off leaving only the grout between the tile.
Apply Impregnator
The final step is to paint impregnator onto the grout lines. Impregnator is essentially like a sealer that protects the grout from water or oil based stains. To apply your impregnator, paint in onto your grout lines with a clean brush and then after a few minutes, wipe the excess off the tile with a terrycloth towel. I ended up doing two coats of this for good measure.
Finish with Caulk
Now that the tile is complete, the only thing left to do is caulk all the edges. For this project I decided to use tape to create really clean lines. These lines would be more visible and I had some pretty major gaps to hide. The tape worked PERFECTLY and my edges look fantastic!
The finished look ended up better than I ever imagined! Installing a backsplash in the kitchen is something we’ve wanted to do for so long and now that it’s done, I only wish we did it sooner. The tile looks clean and crisp, but also luxurious and custom.
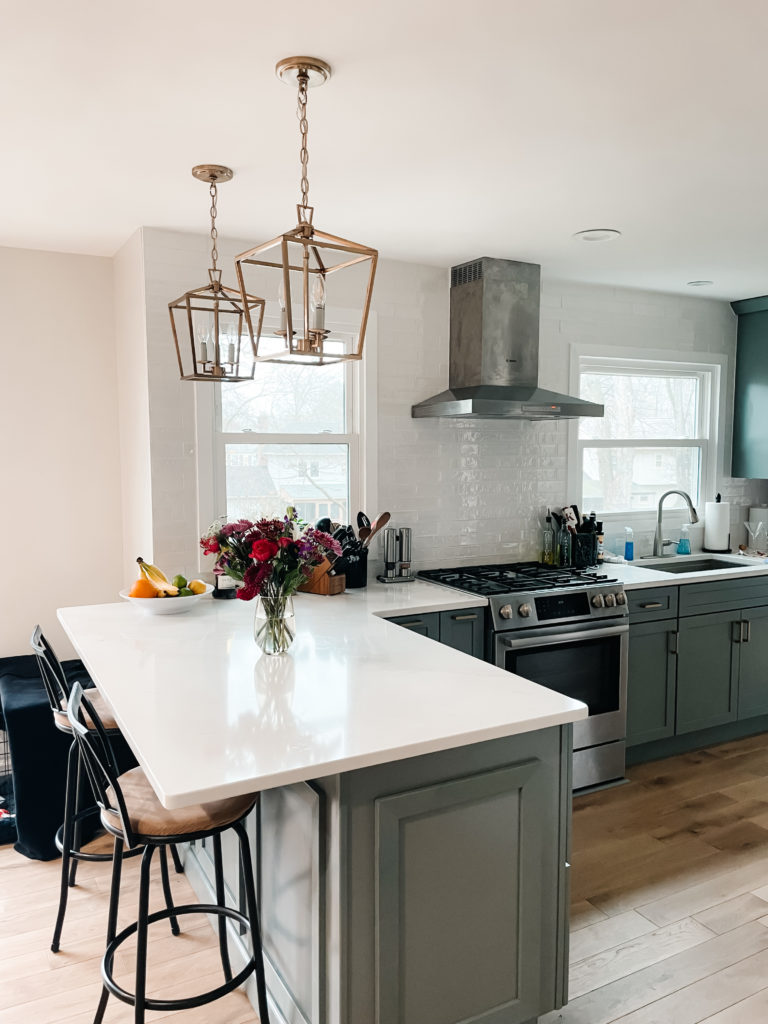
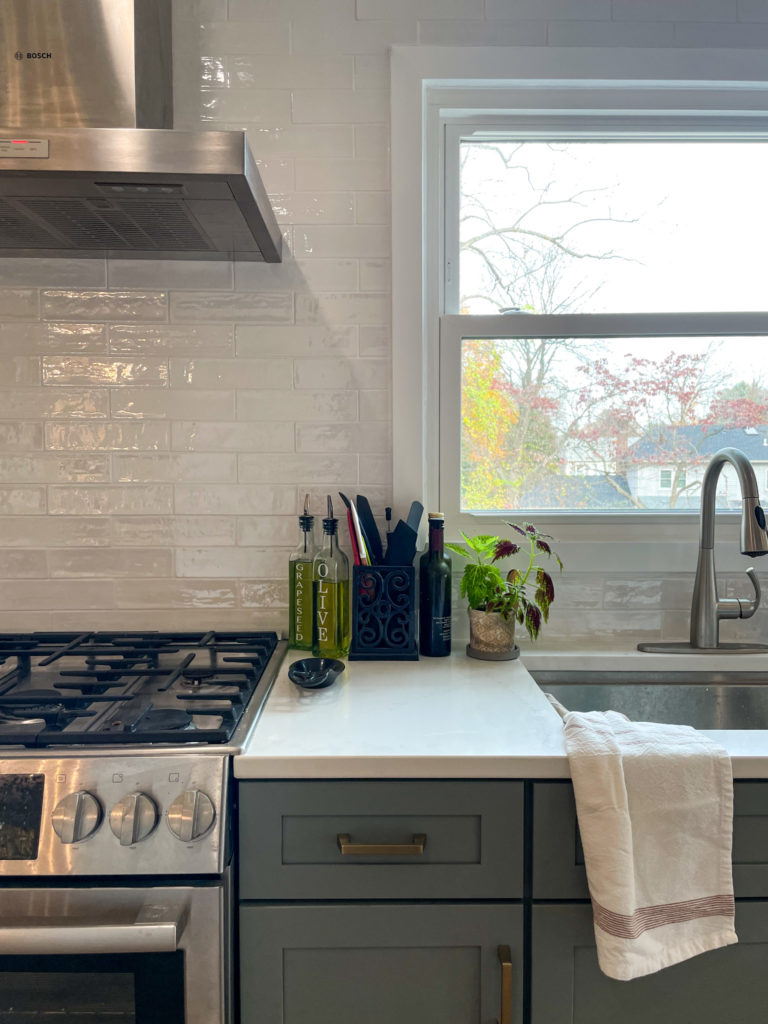
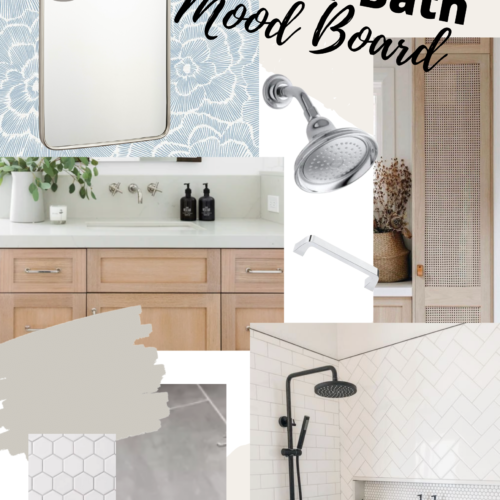
I’m so happy with how this turned out and now feel very confident going into my biggest tile job yet: The master bathroom!


Great site! I just ordered the same tile for my kitchen. It’s beautiful, and exactly what I have been looking for. What brand and color of grout did you use? I don’t see that listed anywhere.
Hi Katie – I’m so glad to hear you love the tile too! We decided on Mapei Ultracolor Plus unsanded grout in Avalanche (#38). It’s very white and blends with the tile nicely.
What color white paint did you use? We are using Jeffrey Court Cotton Blossom and Avalanche in our bathroom and I want bright white walls to match the tile! Thanks!
Hi Annie! The walls are Simply White by Sherwin Williams (SW 7021). In my opinion its the perfect white!