It’s been almost a year since we’ve started renovating our home and to say we’ve learned a thing or two is a major understatement. We had a pretty healthy budget for this reno, but we wanted to stretch it as much as possible.
Yes, we’ve worked our butts off, but we’ve saved SO MUCH MONEY! Kevin and I put our heads together to come up with the Top 11 ways to save money during a home renovation. If you’re the type that doesn’t like to read, no worries, I gotchu. Check out the video below!
1. Do the demo yourself
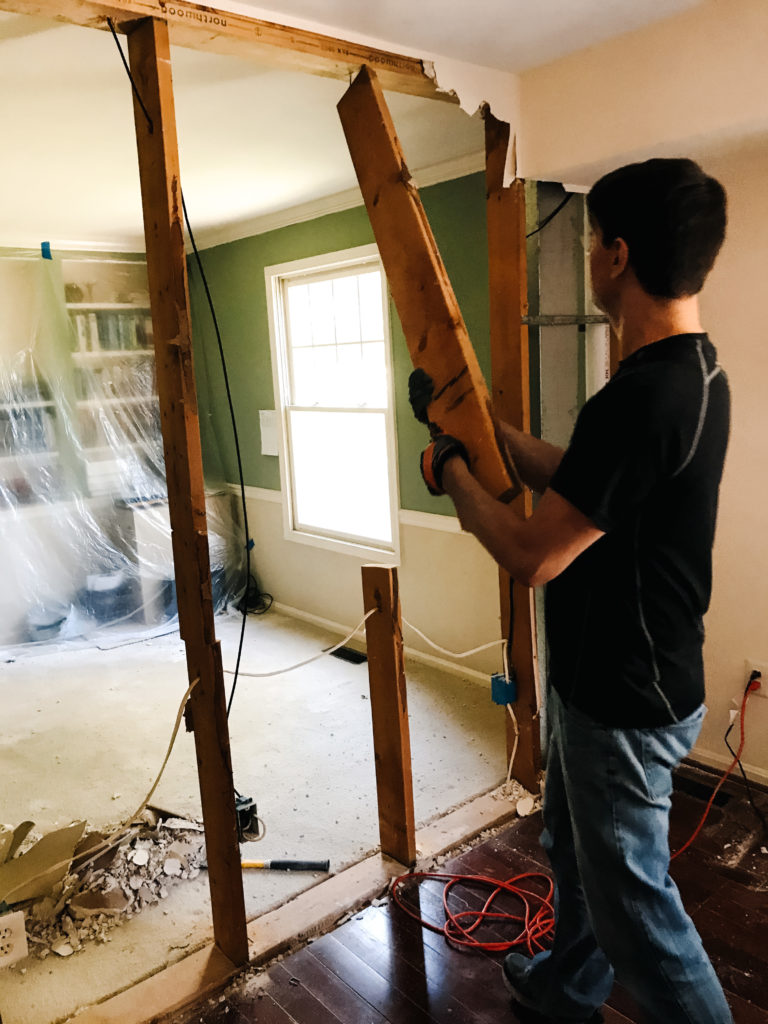
Whether you’re talking about a kitchen, bathroom or just ripping up a floor, the demo can easily be close to half the cost of a project when going through a contractor and here’s a little-known secret – it’s intimidating, but demo’s not actually that hard!
The key tools you typically need for demo include:
- a drill
- a crowbar and hammer
- a sledgehammer
- and sometimes a saw depending on the project
I get it, all you really want to do is kick a hole through some drywall and you have your partner record it because you gotta do it for the Gram. But then you get over hyped and kick too high, only to learn that your foot actually gets stuck in the wall when you kick drywall.
Lesson learned: Don’t karate the drywall. Burn the videos.
You can learn more about floor demo in an upcoming post, but that along with removing cabinets and demoing rooms is not very complicated. Do your research and be prepared for the surprises you will find in the walls like pipes and wires so you can be mindful of them while you go.
Let’s run the numbers. So far, in our house we’ve demo’d:
- The kitchen – $3,750
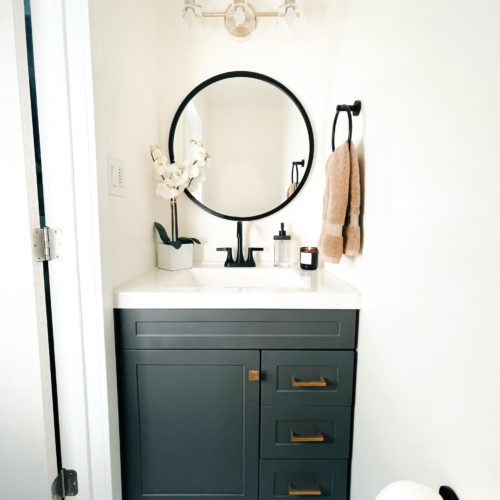
- A powder bathroom – $1,200
- 4 additional walls – $2,600
- Master bath shower – $500
Total Savings: $8,050
2. Get your own materials
Leaving it up to your contractor to buy and bring all the materials is convenient. But delivery is big money. Going to Home Depot or Floor and Décor to pick up your trim or paint will not only potentially save you on delivery fees, but it also means the contractor is coming right to your house to get started in the morning. Not running errands and potentially delaying your project.
3. Re-use materials when you can
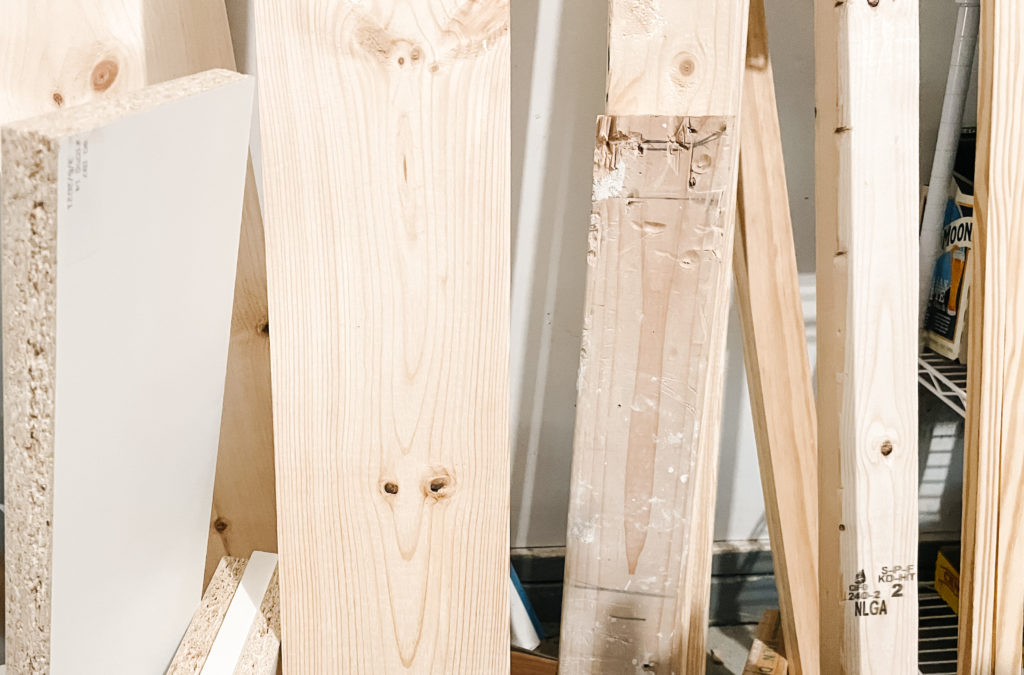
The cost of lumber right now is INSANE. Due to Covid-19 there is a massive shortage of lumber. As of May 2021, a sheet of plywood is almost $80… that wasn’t the case before the pandemic, when it was around $20. A 2×4 which typically costs around $3 is now almost $8. $5 may not seems like a huge jump, but when you think about how many 2x4s are used in a remodel, it can add up very fast.
We started salvaging lumber pretty early on to save money, but it’s also just better for the environment. Between wood and venting, we estimate that we saved about $300 re-using materials and putting them back into the house.
4. Trash haul away
If you have a local dump, trash haul away can be a major savings. Whether you have a large SUV or truck or decide to rent one, you can save big here. We were recently quoted $450 to load up our old flooring and take it to the dump for us. (And honestly, that’s a cheap price).
Luckily Kevin bought a truck last year which means we roll deep in garbage. I know, every girl’s dream.
Here’s what we’ve saved so far:
- Trash haul away for flooring – $450
- Demo haul away – $1,200
Total: $1,650
Check with your local dump because it likely doesn’t have a charge for dropping things off so even if your renting a truck for an hour, you’re still saving big.
5. Meal prep your meals while you’re without a kitchen
The idea of a new state of the art custom kitchen sounds amazing, but what you may not know is that you’re going to be without a kitchen for at least 3 weeks if not longer. That means no stove for part of it and most importantly no sink for all of it.
When you redo your kitchen, there is a set sequence of events that must be followed:
- You have to get the cabinets completely installed
- THEN have the countertop installers come out to measure
- Next, you have to wait 2-4 weeks for the stone to be cut before it can be installed.
You can’t install your sink until AFTER the counters have been installed. That means you’re without a sink for a veryyyy long time.
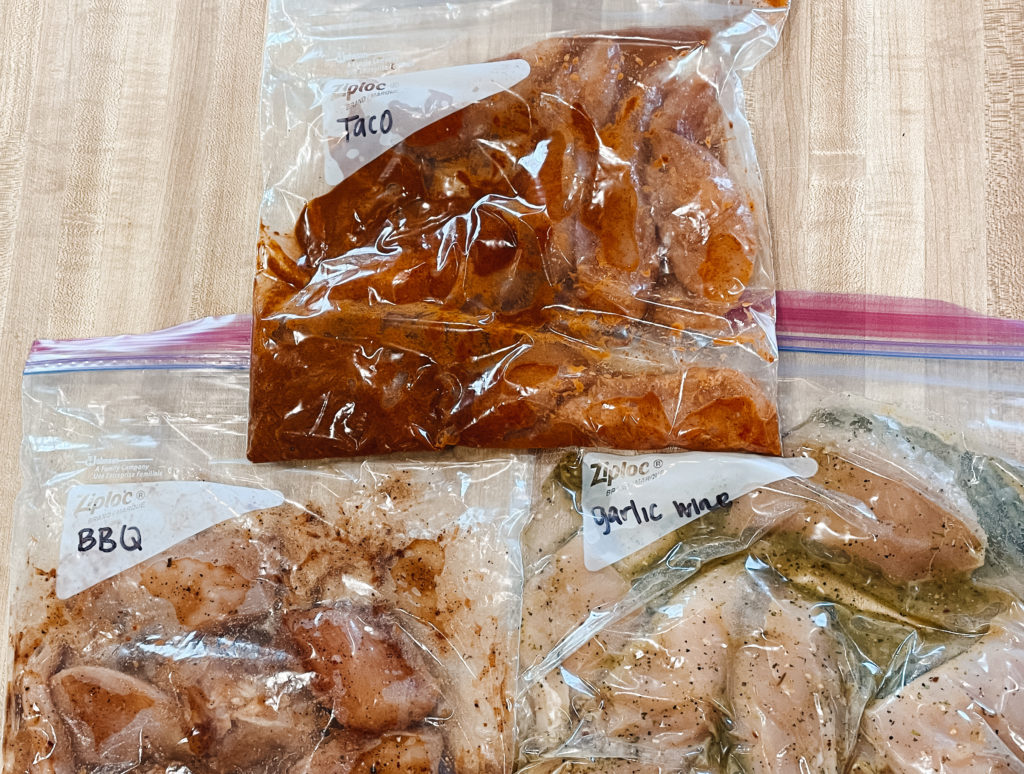
After about a week of even the healthiest takeout – you’re over it. I’ve honestly never craved sautéed broccoli more. Meal prepping food you can microwave or even grill saves a ton of money. Some foods that we prepped are:
- Soup
- Chili
- Marinated chickens/steak (tacos, barbecue, etc.)
Total saved meal prepped frozen meals – $420
6. Rehab cabinets rather than getting new
If your cabinets are in good condition, just not your style color-wise, you can stain them, paint them, or whitewash them.
I’ll be rehabbing our bathroom cabinets later this year because they’re in fine condition and we’re not changing the foot print of the bathroom so there’s no need to add the expense of changing them.
If you’re going to paint your cabinets, make sure you sand them down to rough up the existing finish. If you’re going from a stained cabinet to a painted one, make sure you use a good primer that has a stain blocker in it. Finally, if you can help it, use a roller or spray kit to apply your paint. Not a necessity it’ll just help you avoid streaks that you’d get from a brush.
7. Don’t move plumbing if you don’t have to
I don’t care how casual they are about it on HGTV, MOVING PLUMBING IS EXPENSIVE. Anything plumbing is expensive. It’s just the nature of the beast. We spent about $10k in plumbing last year moving a bathroom and laundry room.
As a rule of thumb, if the plumbing is already installed, try to work with it where it is. In my experience the sink is usually in a decent place anyway.
8. Install your own backsplash
This is a bit of a bigger project but you can save big. We installed our own backsplash in our last house and plan to do it here as well.
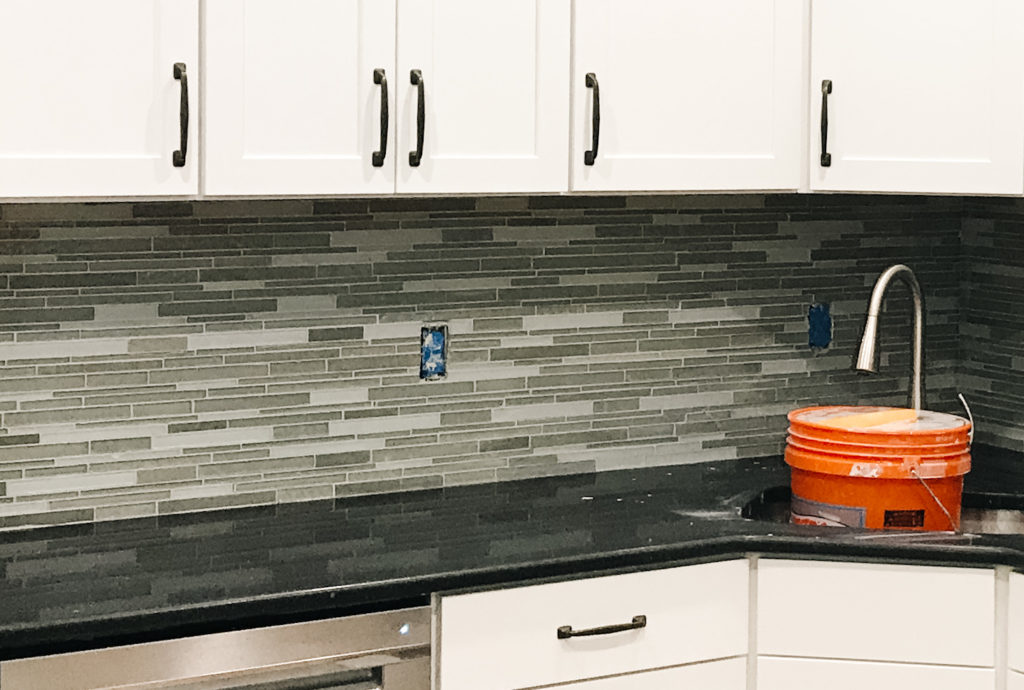
Cost of labor is on average about $50/hour for a basic install such as a subway tile or up to $100/hour for something more detailed. That’s not including the material cost which would include the tile, grout, mortar).
For our kitchen, which I think we’ll do something pretty simple, we’ve estimated installation of a backsplash would cost us about $800 on top of the materials. That’s almost $1000 in savings! And we’ll show you how we did it soon.
9. Do the painting yourself
Painting is one of the easiest things you can do yourself and a skill worth learning. A 10×12 room will cost you on average $500 to have painted. It will only cost you time and materials to do it yourself so that’s about $100. That’s a savings of around $400 per room!
We’ll be painting the remaining rooms ourselves which will save us at least $3,600.
10. Pay cash
It doesn’t always help but if your contractor allows it, paying cash can help you save money because you don’t have the credit card processing fees. It’s worth at least asking.
11. Donate/sell items rather than throw them away
Donate
There are a ton of organizations such as ReStore for Habitat for Humanity and the Salvation Army that take cabinets, mirrors and other house hold items. Besides just feeling great about helping others, those donated items can used for a tax deduction next April.
Sell
The use of Facebook Marketplace or Craigslist is a great resource for selling unwanted items such as tables, couches, and even appliances. To be honest we’re terrible at selling things, but we have offered old appliances for free if people come pick them up which has also helped us save money on haul away
Now for what you’ve all been waiting for! How much did we save? Totaling up everything we’ve talked about above, we have:
Demo – $8,050
Trash haul away – $1,650
Reusing materials – $300
Meal Prep – $420
Installing your Backsplash – $800
Painting – $3,600
That gets us to a Total Savings of $14,820!
That’s HUGE! We’re going to turn around and put that money back into the house and are going to use it to pay for our Master Bathroom renovations.
These are simple tips and tricks that anyone can do and it makes a major impact on your budget.
What other ways can you think of to save money? Leave a comment below!


Leave a Reply